Table des Matières
Publicité
Liens rapides
Publicité
Table des Matières

Manuels Connexes pour Alphacool EISBAER LT


Sommaire des Matières pour Alphacool EISBAER LT
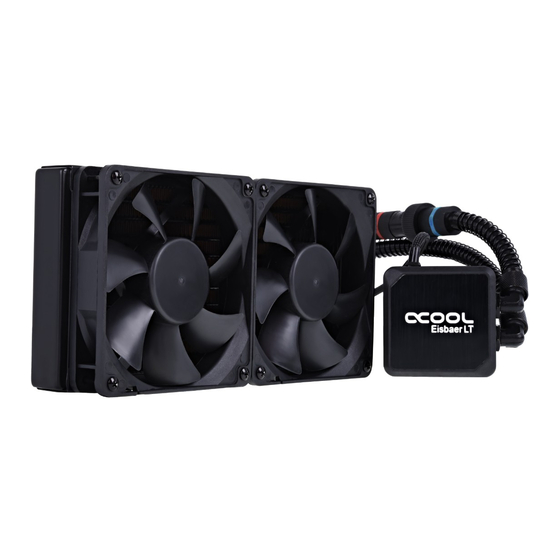
- Page 1 EISBAER LT...
- Page 2 Read the safety instructions before starting the installation. Lesen Sie die Sicherheitshinweise, bevor Sie mit der Installation beginnen. Lisez les instructions de sécurité avant de commencer l‘installation.
- Page 3 Alphacool Eisbaer LT INTEL 775 /1156 / 1155 / 1150 / 1151 / 1366 / 2011 / 2011-3 / 2066 / 604 / 771 AMD 754 / 939 / AM2 / AM2+ / AM3 / AM3+ / AM4 [ RYZEN ] / FM1 / FM2 / FM2+ /...
-
Page 4: Mounting Material
mounting material - Montagematerial - Matériel de montage PWM-adapter version varies depending on the product you purchased screws bracket Intel 2011 / 2011-3 screws Intel Intel 775 / backplate 1156 / 1155 / 1150 / 1151 / 1366 / 604 / 771 screws springs Intel... -
Page 5: Funktionsweise/ Technologie - Fonctionnalité / Technologie
La base du refroidisseur contient beaucoup d’ailettes de refroidissement très fi nes afi n d’ob- tenir une performance de refroidissement optimale. Le réservoir avec une pompe DC-LT 2600 ultra low noise en céramique se trouve directement au-dessus. Alphacool DC-LT Power consumption: 2,04W Operating voltage: 7 - 13,5V Flow rate: max. -
Page 6: Radiateur Entièrement En Cuivre
functionality / technology - Funktionsweise/ Technologie - fonctionnalité / technologie Full-copper radiator The use of copper in all important areas, like the front chamber, the cooling fi ns and also the corresponding channels, raises cooling performance to a whole new level. This has been shown in many tests by independent media. Vollkupfer Radiator Durch die Verwendung von Kupfer in allen wichtigen Bereichen, wie der Vorkammer, den Kühlfi nnen und auch den dazugehörigen Kanälen, wurde die Kühlleistung auf ein neues Niveau gehoben. -
Page 7: Raccord Rapide
functionality / technology - Funktionsweise/ Technologie - fonctionnalité / technologie Quick release Fitting Quick release Fitting Quick release Fitting Quick release Fitting The hoses are encased in anti-kink springs to prevent bending and the resulting blockage The hoses are encased in anti-kink springs to prevent bending and the resulting blockage of the water fl... - Page 9 installation - Montage - montage Intel 775 / 1156 / 1155 / 1150 / 1151 / 1366 / 604 / 771 10-11 Intel 2011 / 2011-3 / 2066 12-13 754 / 939 / AM2 / AM2+ / AM3 / AM3+ / FM1 / FM2 / FM2+ / 940 / C32 / G34 14-15 AM4 [ RYZEN ] 16-17...
- Page 10 Intel screw mounting - Schraubenmontage - montage de vis 1156 1155 1150 1151 1366 Select corresponding bracket + screws 1. Plug bracket together screw 2. Place compression springs and washers onto screws + attach to bracket with nuts spring ...
- Page 11 Intel CPU mounting - CPU Montage - montage de CPU 3. Spread thermal grease on the CPU (< 0,5mm coating thickness) 3. Spread thermal grease on the CPU (< 0,5mm coating thickness) 4. Mount the cooler – using the included backplate – onto the socket ...
- Page 12 Intel screw mounting - Schraubenmontage - montage de vis 2011 2011-3 2066 Select corresponding bracket + screws 1. Plug bracket together 2. Place compression springs and washers onto screws + attach to screw bracket with nuts spring Passende Halterung + Schrauben wählen 1.
- Page 13 Intel CPU mounting - CPU Montage - montage de CPU 3. Spread thermal grease on the CPU (< 0,5mm coating thickness) 3. Spread thermal grease on the CPU (< 0,5mm coating thickness) 4. Mount the cooler onto the socket Hand-tighten screws crosswise Please note: Some motherboards of the Socket 2011 / - 3 do not have continuous mounting holes in the socket area.
- Page 14 screw mounting - Schraubenmontage - montage de vis UNC 6-32 AM2+ AM3+ 10,5 FM2+ screw Select corresponding bracket + screws 1. Plug bracket together spring 2. Place compression springs and washers onto screws + attach to bracket with nuts washer ...
- Page 15 CPU mounting - CPU Montage - montage de CPU 3. Spread thermal grease on the CPU (< 0,5mm coating thickness) 3. Spread thermal grease on the CPU (< 0,5mm coating thickness) 4. Mount the cooler – using the backplate (included with the motherboard) – onto the socket ...
- Page 16 screw mounting - Schraubenmontage - montage de vis RYZEN UNC 6-32 10,5 screw Select corresponding bracket + screws 1. Plug bracket together 2. Place compression springs and two different washers onto screws + attach to spring mount with nuts washer washer ...
- Page 17 CPU mounting - CPU Montage - montage de CPU 3. Spread thermal grease on the CPU (< 0,5mm coating thickness) 3. Spread thermal grease on the CPU (< 0,5mm coating thickness) 4. Mount the cooler – using the backplate (included with the motherboard) – onto the socket ...
-
Page 18: Radiator Mounting
radiator mounting - Radiator Montage - montage de radiateur 1. Choose suitable place in your case 1. Passende Öffnung im Gehäuse wählen 1. Passende Öffnung im Gehäuse wählen 1. Passende Öffnung im Gehäuse wählen 1. Sélectionner ouverture appropriée dans le boîtier 1. -
Page 19: Connecting Fans & Pump
connecting fans & pump - Lüfter & Pumpe anschließen - brancher ventilateur & pompe pump fan adapter 1. Connect fans with PWM adapter 1. Connect fans with PWM adapter 1. Lüfter mit PWM Adapter verbinden 1. Lüfter mit PWM Adapter verbinden 1. -
Page 20: Launch The System
launch the system - Inbetriebnahme - mise en service If your Eisbaer AiO is unusually loud during initial operation, tipping the entire PC case back and forth a little can help. If your Eisbaer AiO is unusually loud during initial operation, tipping the entire PC case back and forth a little can help. The higher volume level of the pump occurs due to air bubbles in the closed system. - Page 21 5. Connect the radiators to a closed circuit Always combine red with blue quick release parts 6. Add liquid Only use Alphacool Cape Kelvin Catcher (part no.: 18188) or pure distilled or osmosis filtered water for refilling. Using other liquids will void the manufacturer‘s warranty.
- Page 22 Alle Eisbaer - Ready Produkte sind mit Schnellverschlüssen ausgestattet und damit im handumdrehen kombinierbar. Tous les produits Eisbaer-Ready sont équipés de raccords rapide et peuvent être combinés facilement. Alphacool Eiswand 360 CPU External Radiator with included reservoir and two pumps. Quick Connectors only included in the CPU bundle.
- Page 24 Imprint: Alphacool International GmbH Marienberger Str. 1 38122 Braunschweig Head Office: +49 (0) 531 28874 - 0 Fax: +49 (0) 531 28874 - 22 E-Mail: info@alphacool.com General Manager: Fabian Noelte WEEE-Reg.-Nr.: DE 54464644 Trade Register: Amtsgericht Braunschweig HRB 202390 VAT.ID.Nr.:...