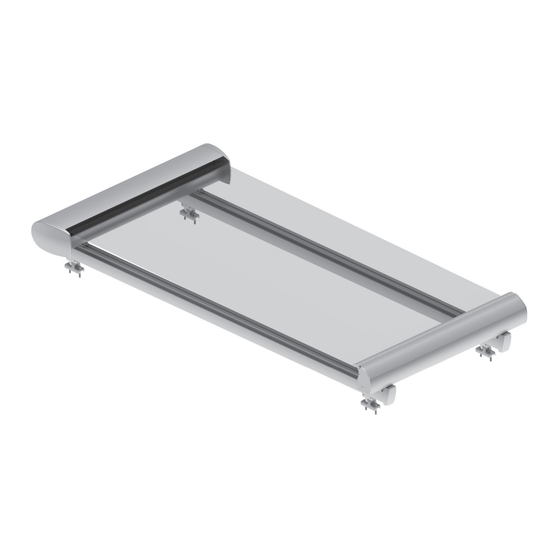
Sommaire des Matières pour gaviota VERANDA EOS
- Page 1 VERANDA EOS SOBRE TECHO ON CEILING SUR TOIT A TETTO Manual de Instalación sobre techo Assembly Instructions on ceiling Manuel d´Installation sur toit Manuale d´installazione a tetto...
- Page 2 Failure to follow the assembly instructions, use conditions and technical specifi cations of the article, as well as excessing the specifi ed maximum use ranges (weights, etc ...), will mean the exclusion of the Warranty and After Sales Service Policy of Gaviota Simbac, S.L.
- Page 3 Kit anclaje eos s/techo blanco • Set of fi xing supports for eos, white • Kit fi xation s/toit blanc • Kit supporto veranda eos su tetto bianco 80110014 Kit anclaje eos s/techo ral esp. • Set of fi xing supports for eos, special ral • Kit fi xation s/toit ral spécial • Kit supporto veranda eos su tetto ral speciale 80110044 Kit tapas cofre eos blanco •...
-
Page 4: Recomendaciones De Uso
VERANDA EOS SOBRE TECHO Recomendaciones de uso: Recommandations d’utilisation: Use recommendations: Raccomandazioni d’uso: Guías • Guides • Profi l • Guide Guías • Guides • Profi l • Guide Guías • Guides • Profi l • Guide 2,5 m 3 - 4 m 5 - 6 m Longitud de corte de guía S... - Page 5 VERANDA EOS SOBRE TECHO * El par mínimo es para instalaciones con 2 guías. Para instalaciones con 3 o más guías, aumentar proporcionalmente el par motor. * The minimum torque is for installations with 2 guides. For installations with 3 or more guides, progressively increase the motor torque.
- Page 6 VERANDA EOS SOBRE TECHO Assemblage a l’usine: Montaje en fábrica: Assembly at the factory: Montaggio in fabbrica: Paso 1. Ajustar la longitud de las guías. Step 1. Adjust the guides length. Desmontar la tapa trasera y las garras. Take apart the rear cap and the claws.
- Page 7 • Rullo D=L-87 mm. • Tessuto : E= (L-100 mm) x (S). Le misure D e E sono applicabili quando si usa il motore, il rullo, l’ adattatore e la calotta di Gaviota Simbac (Vedi tabella “Raccomandazioni d’uso” all’inizio del manuale).
- Page 8 VERANDA EOS SOBRE TECHO Refuerzo Reinforcement Renforce Rinforzo Refuerzo Reinforcement Renforce Rinforzo Paso 3. Premontar los soportes laterales, teniendo en cuenta en qué lado irán el motor y la espiga. *En caso de usar punto con rodamiento, ver longitud de corte del eje en su manual de instrucciones específi...
- Page 9 VERANDA EOS SOBRE TECHO Paso 4. Atornillar el soporte espiga al perfi l inferior. Step 4. Screw down the round pivot support to the lower profi le. Visser le support avec pivot au profi l inférieur. Fase 4. Avvitare la testata con il supporto perno tondo al profi...
- Page 10 VERANDA EOS SOBRE TECHO Paso 7. Atornillar las tapas a la barra de carga. Step 7. Screw down the caps to the charge profi le. Visser les couvercles à la barre de charge. Fase 7. Avvitare i tappi al profi lo terminale.
- Page 11 VERANDA EOS SOBRE TECHO Paso 10. Poner las guías sobre los pies, a tope de la pared trasera. Step 10. Put the guides on the supports, at the limit of the rear side. Poser les profi ls de guidage sur les pieds, juste à...
- Page 12 VERANDA EOS SOBRE TECHO Allen 6 Paso 13. Poner el cajón sobre la guía y moverlo a tope de la guía trasera. Step 13. Place the box over the guide and move it to the limit of the rear guide.
- Page 13 VERANDA EOS SOBRE TECHO Paso 15. Soltar toda la lona. Enganchar la barra Lâcher toute la toile. Accrocher la barre de de carga en los carros; dejar un juego de charge aux charriots; laisser une paire de vis- tornillotuerca a cada lado de cada carro.
- Page 14 VERANDA EOS SOBRE TECHO Paso 18. Regular los fi nales de carrera de apertura y de cierre. Muy importante: con el toldo completamente abierto, deben quedar al menos 5 mm de espacio entre el carro y el fi nal del carril.
- Page 15 VERANDA EOS SOBRE TECHO Paso 20. Poner las tapas del cajón metiendo los Poser les couvercles du coff re en fi xant les 2 2 tetones a presión en sus agujeros y tétons à pression aux trous, et visser les 2 vis atornillando los 2 tornillos inferiores.
- Page 16 VERANDA EOS SOBRE TECHO...
- Page 18 GAVIOTA Autovía de Alicante, A-31 Km.196 03630 Sax (Alicante) - España / Spain Tel. +34 965 474 200•Fax +34 965 475 680 International Dept: +34 966 968 276•Fax +34 966 968 075 comercial@gaviotasimbac.com - export@gaviotasimbac.com www.gaviotasimbac.com...


