Publicité
Liens rapides
Did you know you can buy MAAX replacement parts online for your product? Visit parts.maax.com for more information.
Saviez-vous que vous pouvez acheter en ligne des pièces de rechange MAAX pour votre produit? Visitez le parts.maax.com pour plus d'information.
Read all instructions carefully before proceeding.
SAVE THIS GUIDE FOR FUTURE REFERENCE.
Lire toutes les instructions attentivement avant de
commencer l'installation.
CONSERVER POUR UN USAGE ULTÉRIEUR.
IMPORTANT
Record the serial numbers
•
IMPORTANT
Noter les numéros de série
•
INSTALLATION INSTRUCTIONS
GUIDE D'INSTALLATION
REGULAR WINDOW
FENÊTRE ORDINAIRE
Serial numbers • Numéros de série
3A
Publicité

Sommaire des Matières pour MAAX MODULR 3A
- Page 1 Did you know you can buy MAAX replacement parts online for your product? Visit parts.maax.com for more information. Saviez-vous que vous pouvez acheter en ligne des pièces de rechange MAAX pour votre produit? Visitez le parts.maax.com pour plus d’information. Read all instructions carefully before proceeding.
- Page 2 NOTE: ASSEMBLE THE IN THE FOLLOWING ORDER NOTE: ASSEMBLER LES UNITÉS DANS L'ORDRE SUIVANT (Regular window installation guide) (Guide d'installation de fenêtre ordinaire) Already installed (if ordered) You are here Déjà installé (si commandé) vous êtes ici Installation guides sequence: Séquence de guides d'installation: 1A/1B HALF WALL...
-
Page 3: Supplies Matériaux
TOOLS OUTILS REQUIRED REQUIS 1/8" drill bits Mèches de 1/8 24" level min. Pencil Electric drill Niveau de 24po. min. Crayon Perçeuse électrique Utility knife Safety equipment Screwdriver Couteau à lame Tournevis Équipement de rétractable sécurité SUPPLIES MATÉRIAUX SOLD SEPARATELY VENDUS SÉPARÉMENT Measuring tape 18"... -
Page 4: Vue D'ensemble De La Configuration En Pivot
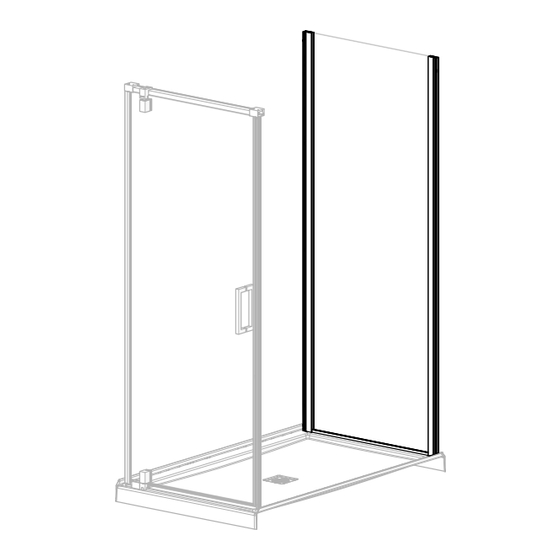
PIVOT CONFIGURATION VUE D'ENSEMBLE DE LA OVERVIEW CONFIGURATION EN PIVOT... - Page 5 A. Position the wall jamb centered on the threshold. B. Level and mark the position of the wall jamb holes. C. Drill the holes. D. Apply silicone in the holes and behind the wall jamb. E. Fasten the return panel wall jamb with the screws. F.
- Page 6 A. Measure the distance from wall jamb to wall jamb. B. Cut u-channel using the previously taken measurement. C. Remove the film from the tape under the U-channel and place it on the base. A. Mesurer la distance d'un montant mural à l'autre. B.
- Page 7 A. Insert the glass in the u-channel, centered between the wall jambs. Use the provided shims if needed. B. Insert the glass panel and the gasket in the wall jamb leaving a 19/32" (15mm) gap at the back (for the self-tapping screws). C.
- Page 8 LIMITED WARRANTY — UNITED STATES MAAX Bath Inc. offers express limited warranty on each of its products. This warranty extends only to the original owner/end-user for personal household use. For commercial uses, additional limitations apply. For accessing product Limited warranty please visit: www.maax.com/us-warranty...


