Publicité
Les langues disponibles
Les langues disponibles
Liens rapides
1
Charge the Flight Battery
USB power source,
not included
A
3
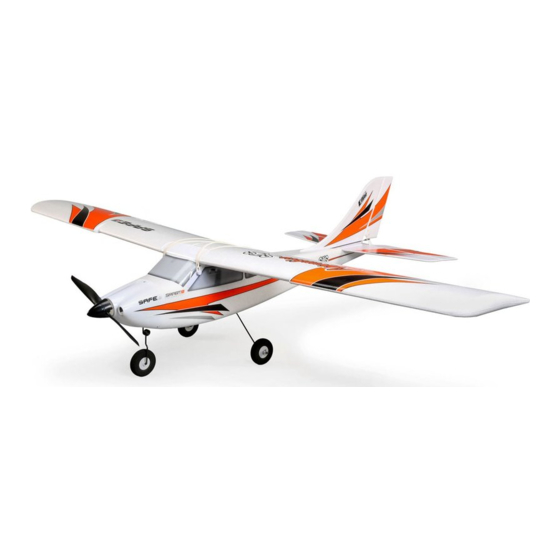
Assemble the Aircraft
Landing Gear
Remove the pin from nose gear bracket.
Loosen the nose
gear bracket screw.
Insert the nose gear
in the collar and
tighten the
screw against
the fl at-spot
on the gear
wire.
Tail
Attach vertical fi n and
horizontal stabilizer into place
with 2 screws.
Attach clevises to vertical and
horizontal stabilizer control horns.
CAUTION: See the aircraft
instruction manual for a
complete list of charging instructions
and warnings. All instructions and
warnings must be followed exactly.
Mishandling of LiPo batteries can
result in a fi re, personal injury and/or
property damage.
Both the charge lead (A) and the balance
lead (B) must be connected for the
charge cycle to begin.
LED Indications
B
Flashing purple: Charging
Solid green: Charging complete
Solid red: Charging error
Refer to the aircraft instruction manual for complete step-by-step instructions.
Slide the main
gear in the
slot until it
locks.
Quickstart Guide
2
Wing
Install the stabilizer rod, then apply the
Peel the
pre-installed
two-sided tape
and adhere wing
covers to the front
and back of the wing.
Connect clevises to
the control horns.
Connect the left and right
aileron servo connectors to the
aileron servo wire
extensions from
the fl ight controller.
Going from front to back
over the wing, attach 8
rubber bands to secure the
wing to the fuselage.
1
Install (4) AA Transmitter
Batteries (RTF Aircraft)
included two-sided tape to the
area where wings will meet.
Slide the
two wing
halves
together
over the
carbon
wing tube.
EN
Publicité

Manuels Connexes pour E-FLITE Apprentice STS


Sommaire des Matières pour E-FLITE Apprentice STS
- Page 1 Quickstart Guide Charge the Flight Battery Install (4) AA Transmitter Batteries (RTF Aircraft) CAUTION: See the aircraft instruction manual for a complete list of charging instructions and warnings. All instructions and warnings must be followed exactly. Mishandling of LiPo batteries can result in a fi re, personal injury and/or USB power source, property damage.
- Page 2 Find a Suitable Outdoor Flying Area Install the Flight Battery Power On the Aircraft Consult local laws and ordinances before choosing a fl ying location. Never fl y over other people, roads or structures. CAUTION: Always keep Power On the Transmitter hands away from the propeller.
- Page 3 Kurzanleitung Flug-Akku laden Setzen Sie (4) AA- Sender-Akkus ACHTUNG: Eine vollständige (RTF-Fluggerät) ein Aufl istung der Ladeanweisun- gen und Warnungen ist der Bedienungsanleitung des Fluggeräts zu entnehmen. Alle Anweisungen und Warnungen sind genau zu befolgen. USB-Stromquelle, Eine unsachgemäße Handhabung der nicht im LiPo-Akkus können einen Brand sowie Lieferumfang...
- Page 4 Finden Sie einen geeigneten Flug- Setzen Sie den Flug-Akku ein bereich im Freien Schalten Sie das Fluggerät ein Konsultieren Sie vor der Wahl des Flugstandorts die örtlichen Gesetze und Verordnungen. Fliegen Sie niemals ACHTUNG: über Menschen, Straßen oder Gebäuden. Halten Sie immer die Schalten Sie den Sender ein Hände vom...
- Page 5 Guide de démarrage rapide Charger la batterie de vol Installez (4) batteries AA pour émetteur (avion ATTENTION : consultez le RTF) manuel d’instructions pour connaître la liste complète des instructions et mises en garde liées au chargement. Toutes les instructions et mises en garde doivent être Source électrique strictement suivies.
- Page 6 Trouver un espace de vol extérieur Installation de la batterie de vol adéquat Mettre l’appareil en marche Consultez les lois et ordonnances locales avant de choisir un espace de vol. Ne volez jamais au-dessus de ATTENTION : personnes, routes ou infrastructures. n’approchez jamais les mains de Mettre l’émetteur en marche...
- Page 7 Guida rapida Installare (4) batterie Caricare la batteria di bordo AA per la trasmittente (versione RTF) ATTENZIONE: vedere il manuale di istruzioni dell’aeromodello per l’elenco completo delle istruzioni e delle avvertenze per la ricarica. È necessario osservare rigorosamente tutte le istruzioni e le avvertenze. L’utilizzo improprio delle batterie Li-Po Alimentatore USB, può...
- Page 8 Farlo può provocare danni al materiale espanso. ©2019 Horizon Hobby, LLC. E-flite, Apprentice, the SMART technology logo, and the Horizon Hobby logo are trademarks or registered trademarks of Horizon Hobby, LLC. US 9,056,667. US 9,753,457. US 10,078,329. US 8,672,726. D774,933. CN201721563463.4...