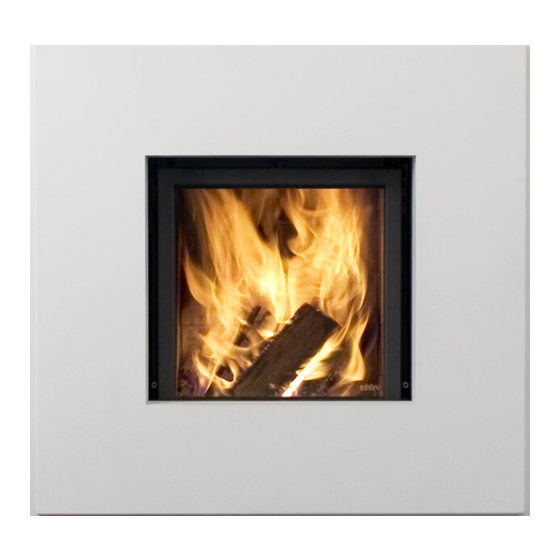
Stuv 21 Notice D'installation
Masquer les pouces
Voir aussi pour 21:
- Manuel d'installation & mode d'emploi (94 pages) ,
- Instructions (21 pages) ,
- Notice d'installation (14 pages)
Publicité
Liens rapides
C A D R E A P P L I Q U É
S T Û V 2 1
NOTICE D'INSTALLATION
OUTILS À PRÉVOIR
Tournevis plat
Marteau
!
IMPORTANT
Ce document est une notice complémentaire à la
notice d'installation du Stûv 21. Ces informations
doivent être suivies afin de réussir l'installation. Repérer
le symbole dans la notice d'installation du Stûv 21 pour
savoir quand vous y référer.
Niveau
Visseuse
Embout Torx 25
P I C T U R E T Y P E F R A M E
INSTALLATION MANUAL
FR EN
T25
Flat screwdriver
S T Û V 2 1
REQUIRED TOOLS
Hammer
Level
Driver
!
IMPORTANT
This document is an additional manual to the Stûv 21
installation manual. For a successful installation, it is
important to follow these instructions carefully. Look
for this symbol in the Stûv 21 installation manual to
know when to refer to this additional manual.
T25
Torx 25 bit
Publicité

Sommaire des Matières pour Stuv 21
- Page 1 Driver Torx 25 bit IMPORTANT IMPORTANT This document is an additional manual to the Stûv 21 Ce document est une notice complémentaire à la notice d'installation du Stûv 21. Ces informations installation manual. For a successful installation, it is doivent être suivies afin de réussir l’installation. Repérer important to follow these instructions carefully.
-
Page 2: Dimensions
DIMENSIONS... -
Page 3: Recommandations
2 à 3" 2 Respecter toutes les recommanda- 2 Follow all recommendations written in tions inscrites dans la notice du Stûv 21. Stûv 21 instruction manual. 3 Suivre les instructions pour ce cadre 3 Follow these instructions before fi- avant la finition des murs. - Page 4 INSTALLATION...
- Page 5 Step 4 With the help of a flat screwdriver bend them to a 90° angle. Étape 4 Plier ces encoches à 90° à l’aide d’un tournevis plat. 90° CADRE APPLIQUÉ STÛV 21 PICTURE TYPE FRAME STÛV 21...
- Page 6 Wall finishing must be non Étape 8 Si désiré, poser le parement mural sur le fibrociment. Le parement mural doit combustible and can be place over the être non combustible. cement board. CADRE APPLIQUÉ STÛV 21 PICTURE TYPE FRAME STÛV 21...
- Page 7 Étape 10 À l’aide d’un niveau, aligner le cover plate. Check the depth to ensure it is well adjusted. cadre avec la coiffe du Stûv 21. Vérifier que la profondeur est bien ajustée. The bending of the hooks may need to be Il est possible que le pliage des crochets changed for perfect alignment.
- Page 8 Les foyers Stûv sont conçus par : Stûv fireplaces are designed by : Stûv sa – Belgique stuv.com Rue Jules Borbouse n°4 B-5170 Bois-de-Villers Et fabriqués en Amérique du Nord par : And manufactured in North America by : Stûv America inc. – Canada stuvamerica.com...


