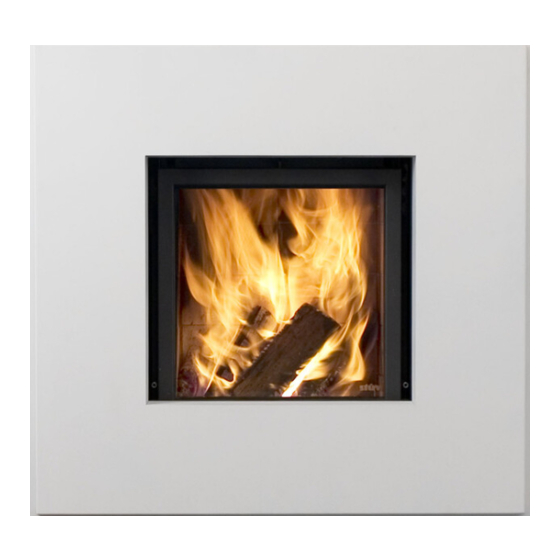
Stuv 21 Mode D'emploi
Masquer les pouces
Voir aussi pour 21:
- Manuel d'installation & mode d'emploi (94 pages) ,
- Instructions (20 pages) ,
- Notice d'installation (14 pages)
Publicité
Liens rapides
Publicité

Sommaire des Matières pour Stuv 21
- Page 1 The essential fire Podium Stûv...
- Page 2 Ajustable et facile à installer, le podium Stûv soulève le foyer jusqu'à la hauteur désirée. Avec le podium Stûv il n'y a pas de détérioration, ni déformation possible. C'est une solution à long terme Ava i l a b l e fo r Disponible pour Stûv 21...
- Page 3 Components Dimensions / Composantes / Dimensions 1" À l'int érieur du foye r Stûv podium HEX. M10 x 40 " " " " 1" INCLUDED WITH YOUR STÛV 21 INCLUS AVEC VOTRE STÛV 21...
- Page 4 " À l'in té rieur du foye r " Recut | Re co up e " À l'in té rieur du foye r " " " " MINIMUM MAXIMUM It is important to limit your cut to 12.75 "long which is equiva- The maximum height represents the height possible without lent to the minimum possible height of 10 .75"...
- Page 5 Installation / Installation Before installing Avant d'installer "MAX Recut | Re coup e ATTENTION / Installation - Because they are not symmetrical , the longer sides of the base elements should be placed toward the front of the fi - replace.
- Page 6 Installation / Installation 1. Make sure to choose heigth (H2) between 10 " (MIN.) & 23 " (MAX.) 2. C alculate the re-cut needed. It c an n ot b e higher t han ". Recut is equal to the difference between the height between H1 (podium) and the desi r ed height) Hea rt Ât re...
- Page 7 ATTENTION! Vice Ét au 2. M ake sure to secure y our w ork area. U se t he appro- priate tools for your own safety before the cut. Cutting i s necessary if t he fi replace needs t o have a "...
- Page 8 Wa l l f r a m i n g ossature de mur 4. Remove the insulated shell of the fi replace before the ins- tallation. 5. Insert the insulated shell on the wall. 4. Le foyer doit être séparé du caisson d'isolation avant de commencer l'installation.
- Page 9 6. Lay down the fi replace on 2 planks of wood in order to have access below the unit. 7. With a srewdriver, remove the 4 knockouts caps as shonw. The podium goes inther e. 6. Déposer le dos du foyer contre 2 planches de bois pour avoir accès au-dessous de l'appareil.
- Page 10 8. Remove the 4 adjustable feet under the fi replace so that they can be installed under the adjustable feet. 9. To prevent any unwanted air fl ow inside the hearth, seal the threads t hat held the adjustable struts w ith the extra M10x40 bolts.
- Page 11 10. Fully tighten the 4 adjustable feet (without locking them) under the podium. 11. Insert t he podium i nto the square openings a s shown. knock delicately to put it in well. 10. Revisser complètement l es 4 p ieds à rotule réglables (sans les bloquer) sous le podium.
- Page 12 12. Lift the fi replace. Be carfull. 13. Use a 5- mm Allen key to adjust the height at the four corners. Level the fi replace. 12. Soulever le foyer. Manipuler avec précaution. 13. Utiliser la clé Allen de 5mm pour le réglage de la hauteur des 4 coins.
- Page 13 Stûv fireplaces are designed and manufactured by : Stûv sa - Belgique stuv.com In North America : Stûv America inc. 34, Boul. de l'Aéroport Bromont QC J2l 1S6 - Canada T 514 396 9463 - F 514 528 9538 - toll free 1 866 487 7888 info@stuvamerica.com - stuvamerica.com...


