
Manuels Connexes pour Alt Progetto Aqua VOLO 10770


Sommaire des Matières pour Alt Progetto Aqua VOLO 10770
- Page 1 VO LO # 10 7 70 single-hole lavatory faucet robinet de lavabo monotrou Installation & Care Guide Guide d’installation et d’entretien last revision: 31/03/2022...
-
Page 2: Félicitations Pour L'achat De Votre Produit Alt
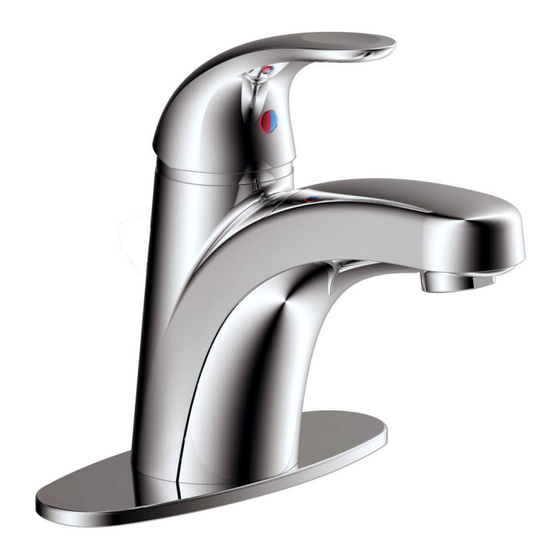
Félicitations pour l’achat de purchase of your Alt product votre produit Alt By purchasing an Alt product, you are taking part in En achetant un produit Alt, vous prenez part au the global movement for better living. We take pride in mouvement global pour le mieux-vivre. - Page 3 FAUCET COMPONENTS COMPOSANTES DU ROBINET SPECS AT LARGE / SHÉMA DES PIÈCES ALT7-10-781-01: handle / poignée ALT7-55-736-00: cartridge / cartouche ALT7-10-780-01: 4"cover plate (optional) / plaque décorative 4" (optionnel) ALT7-10-723-00: tie-down kit / pièces d’assemblage ALT7-10-717-01: aerator / aérateur ALT7-10-799-01: pop-up drain / drain pop-up à pression ABFH73737: water supply hoses / flexibles d'eau...
-
Page 4: Before You Start Avant De Commencer
BEFORE YOU START AVANT DE COMMENCER CAUTION: FOR BEST RESULTS, WE STRONGLY MISE EN GARDE: POUR OBTENIR UN RÉSULTAT RECOMMEND THE INSTALLATION OF THIS FAUCET BE OPTIMAL, NOUS RECOMMANDONS FORTEMENT QUE DONE BY A LICENSED PLUMBER. L’INSTALLATION DE CE ROBINET SOIT FAITE PAR UN PLOMBIER ACCRÉDITÉ. -
Page 5: Install The Faucet
INSTALLATION Install the faucet We recommend drilling a 1-3/8" diameter hole for insertion of the faucet Installing the faucet with 4" (optional) cover plate (2): Insert the threaded rod (3) and the water inlets into the cover plate hole (2) as shown. You don't need to use the o-ring (1). -
Page 6: Install The Drain
INSTALLATION Connect the hot & cold water inlets Connect the hot & cold 3/8" G water inlet to the water supply lines. Before turning on the water, unscrew the aerator case (5) and remove the aerator (6) from the faucet. Then turn on both hot and cold water in order to flush residue and impurities. -
Page 7: Maintenance, Entretien
MAINTENANCE ENTRETIEN Cleaning the aerator To clean the aerator (6), unscrew the aerator holder (5) from the spout. Then pull out the aerator and soak it in a vinegar and water solution to remove lime build-up. Once parts have been cleaned, reassemble by reversing steps. - Page 8 CARE SOIN To clean your ALT faucet or accessory, wash with a Pour nettoyer et conserver l’apparence de vos wet nonabrasive soapy cloth. Then wipe dry with a robinets ou accessoires ALT, utiliser un linge soft towel or cloth. We recommend this be done on non-abrasif imbibé...
- Page 9 (2) years for all other commercial/industrial applications, in each case from the date of original purchase. For purposes of this warranty, the term “multi-family residential application” refers to the purchase of the faucet from an authorized ALT seller by a purchaser who owns but does not live in the residential dwelling in which the faucet is initially installed, such as in a rented or leased single unit or multi-unit detached home (duplex or townhome), or a condominium, apartment building or community living center.
-
Page 10: Garantie
GARANTIE Alt offre une garantie à vie contre les défauts de matériel et de main d’œuvre dans des conditions normales d’utilisation et d’entretien du produit, et ce tant que l’acheteur d’origine est propriétaire de sa maison. La garantie est applicable seulement si le produit est acheté chez un détaillant Alt dûment autorisé. Elle n’est pas transférable et est limitée aux produits vendus et installés au Canada et aux États-Unis.