
Manuels Connexes pour Alt PROGETTO AQUA RIGA 20729


Sommaire des Matières pour Alt PROGETTO AQUA RIGA 20729
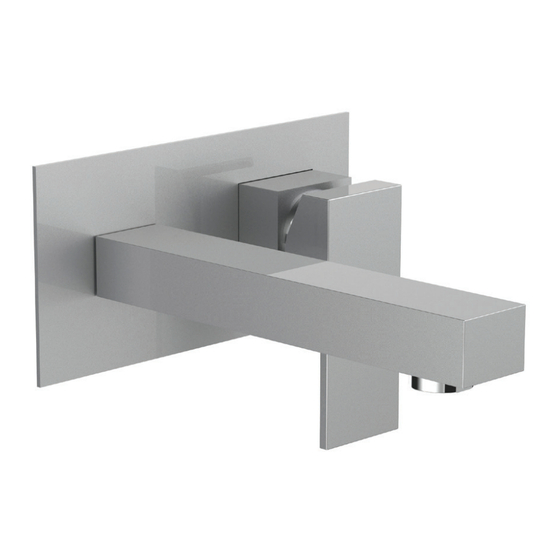
- Page 1 RIGA #2 0 729 wallmount lavatory faucet robinet de lavabo mural Installation & Care Guide Guide d’installation et d’entretien last revision: 23/01/2022...
-
Page 2: Félicitations Pour L'achat De Votre Produit Alt
Félicitations pour l’achat de purchase of your Alt product votre produit Alt By purchasing an Alt product, you are taking part in En achetant un produit Alt, vous prenez part au the global movement for better living. We take pride in mouvement global pour le mieux-vivre. - Page 3 FAUCET COMPONENTS COMPOSANTS DU ROBINET SPECS AT LARGE / SCHÉMA DES PIÈCES 1 ALT7-507-95-00: Cartridge / Cartouche 2 ALT7-559-71-01: Plate / Plaque 3 ALT7-559-73-01: Handle / Poignée 4 ALT7-559-72-00: Aerator / Aérateur 5 ALT7-559-75-01: Spout / Bec...
-
Page 4: Before You Start Avant De Commencer
BEFORE YOU START AVANT DE COMMENCER CAUTION: FOR BEST RESULTS, WE STRONGLY MISE EN GARDE: POUR OBTENIR UN RECOMMEND THE INSTALLATION OF THIS FAUCET RÉSULTAT OPTIMAL, NOUS RECOMMANDONS BE DONE BY A LICENSED PLUMBER. FORTEMENT QUE L’INSTALLATION DE CE ROBINET SOIT FAITE PAR UN PLOMBIER ACCRÉDITÉ. - Page 5 INSTALLATION General dimensions Dimensions générales Mounting plate Plaque de montage Min. 1 ’’ 3/16 Max. 2 3/8’’ Prepare the valve For optimal valve positioning, it is suggested to perform a test assembly before permanently placing the valve into the wall (while it is still possible to regulate the depth of the wood support).
-
Page 6: Installing The Faucet
INSTALLATION Cutting hole [53.00] We recommend drilling a 5'' x 2'' hole to clear the 2” faucet valve. Do not exceed this size as the decorative trim may not entirely cover the hole. Perçage Nous recommandons de perçer un trou de 5" x 2" pour l'insertion du robinet. - Page 7 INSTALLATION Installing the drain A. Unscrew the tube (2) and remove the hexagonal nut (3), the white nylon washer (4) and the black rubber washer (5). B. Insert the body of the drain (1) into the sink hole. C. Reinstall the washers and the hexagonal nut in the same order (5) (4) (3).
-
Page 8: Maintenance, Entretien
MAINTENANCE ENTRETIEN Cleaning the Aerator To clean the aerator (2), unscrew the aerator case (1) from the spout. Then pull out the aerator and soak it in a vinegar and water solution to remove lime build-up. Once parts have been cleaned, reassemble by reversing steps. - Page 9 CARE SOIN To clean your ALT faucet or accessory, wash with a Pour nettoyer et conserver l’apparence de vos robinets wet non-abrasive soapy cloth. Then wipe dry with a ou accessoires ALT, utiliser un linge non-abrasif soft towel or cloth. We recommend this be done on a imbibé...
- Page 10 For purposes of this warranty, the term “multi-family residential application” refers to the purchase of the faucet from an authorized ALT seller by a purchaser who owns but does not live in the residential dwelling in which the faucet is initially installed, such as in a rented or leased single unit or multi-unit detached home (duplex or townhome), or a condominium, apartment building or community living center.
-
Page 11: Garantie
GARANTIE ALT offre une garantie à vie contre les défauts de matériel et de main d’œuvre dans des conditions normales d’utilisation et d’entretien du produit, et ce tant que l’acheteur d’origine est propriétaire de sa maison. La garantie est applicable seule- ment si le produit est acheté...