Table des Matières
Publicité
Liens rapides
Publicité
Table des Matières

Manuels Connexes pour Alt PROGETTO AQUA 30882 Misto


Sommaire des Matières pour Alt PROGETTO AQUA 30882 Misto
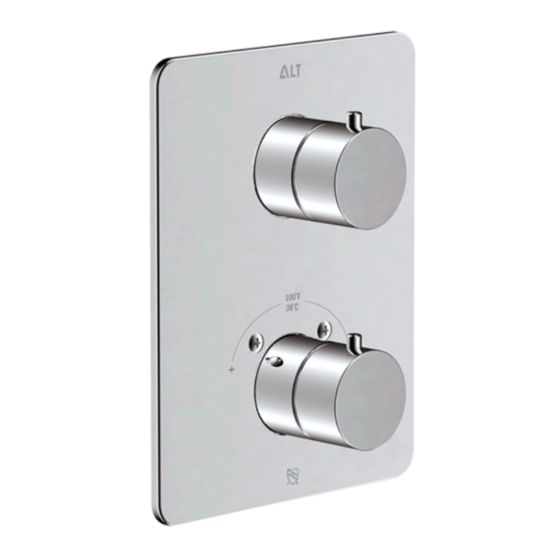
- Page 1 M ISTO #30882 Misto 2-way thermostatic valve trim kit Garniture pour valve thermostatique 2 voies #30883 Misto 3-way thermostatic valve trim kit Garniture pour valve thermostatique 3 voies Installation & Care Guide Guide d’installation et d’entretien last revision: 04/01/2015...
-
Page 2: Félicitations Pour L'achat De Votre Produit Alt
Félicitations pour l’achat de purchase of your Alt product votre produit Alt By purchasing an Alt product, you are taking part in En achetant un produit Alt, vous prenez part au the global movement for better living. We take pride in mouvement global pour le mieux-vivre. -
Page 3: Trim Components Composantes De Finition
TRIM COMPONENTS COMPOSANTES DE FINITION EXPLOSION PARTS / SCHÉMA DES PIÈCES ALT7-60-670-01: Foam gasket / joint mousse ALT7-60-851-01: Rectangular trim plate+screw / plaque rectangulaire+vis ALT7-60-657-00: 2-way diverter cartridge / Cartouche avec déviateur a 2 voies ALT7-60-658-00: 3-way diverter cartridge / Cartouche avec déviateur a 3 voies 4&5 ALT7-60-603-01: Decorative Sleeve / ensemble de l'anneau décoratif ALT7-60-846-01: 1/2"... -
Page 4: Before You Start Avant De Commencer
BEFORE YOU START AVANT DE COMMENCER CAUTION: FOR BEST RESULTS, WE STRONGLY MISE EN GARDE: POUR OBTENIR UN RÉSULTAT RECOMMEND THE INSTALLATION OF THIS VALVE BE OPTIMAL, NOUS RECOMMANDONS FORTEMENT QUE DONE BY A LICENSED PLUMBER. L’INSTALLATION DE CETTE VALVE SOIT FAITE PAR UN PLOMBIER ACCRÉDITÉ. - Page 5 INSTALLATION Installing the cartridge First, shut off the 2 check-valves (1),afterwards, un- screw the large nut (2) and remove the protective plug (3) (see Fig.1) . Insert the diverter cartridge (4) into the valve body as shown (Fig.2). Screw the large nut (2) back into place. DO NOT OVERTIGHTEN.
- Page 6 INSTALLATION Installing the trim kit Insert the broach extensions (3 & 6) and secure with the screws (4 & 7). Then screw the components 2 & 1 in place, and put the temperature stop ring (5) onto and thermostatic cartridges. Screw the decorative sleeves (8 &...
-
Page 7: Water Temperature Adjustment
INSTALLATION Water temperature adjustment The highest tempature setting has been factory preset at 120˚F (49˚C). However, the preset temperature can be adjusted by following these steps: Remove the setscrew (1) and the volume control handle (2) (See Fig.4). Pull out the temperature stop ring (3) from the car- tridge. - Page 8 MAINTENANCE To Service The Cartridges Shut off the main water supply, then remove all the components from (7) to (21). (See Fig.5). Afterwards, shut off the 2 check valves (1) by turning them clock- wise with a screwdriver. Unscrew the screw (3), the large nuts (5 &...
- Page 9 CARE SOIN To clean your ALT faucet or accessory, wash with a Pour nettoyer et conserver l’apparence de vos wet nonabrasive soapy cloth. Then wipe dry with a robinets ou accesoires ALT, lavez-les avec un linge soft towel or cloth. We recommend this be done on mouillé...
-
Page 10: Warranty Garantie
- Any and all ALT products that are subjected to any type of harsh sionnel ou par toute autre personne. abrasive, such as cleaners containing abrasive cleansers, ammonia, - Tout produit ALT nettoyé...