
Manuels Connexes pour Alt 40231


Sommaire des Matières pour Alt 40231
- Page 1 CI RCO/VO LO #40231 Circo ThermOne complete trim kit with cartridge and handle #10231 Volo ThermOne Garniture pour avec cartouche et poi- gnée Installation & Care Guide Guide d’installation et d’entretien VOLO CIRCO last revision: 04/06/2021...
- Page 2 Félicitations pour l’achat de purchase of your Alt product votre produit Alt By purchasing an Alt product, you are taking part in En achetant un produit Alt, vous prenez part au the global movement for better living. We take pride in mouvement global pour le mieux-vivre.
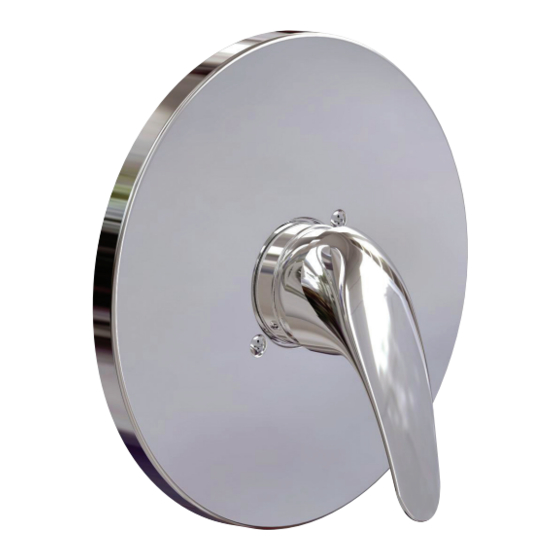
- Page 3 TRIM KIT COMPONENTS COMPOSANTES DE LA GARNITURE VOLO MODEL MODÈLE VOLO CIRCO MODEL MODÈLE CIRCO SPECS AT LARGE / SCHÉMA DES PIÈCES ALT7-60-666-01: CIRCO handle / poignée CIRCO ALT7-60-663-01: VOLO handle / poignée VOLO ALT7-CTCB-0967-01: Dome cap / Capuchon en dôme ALT7-60-706-01: Decorative sleeve / Ensemble de l'anneau décoratif ALT7-50-418-00:...
- Page 4 BEFORE YOU START AVANT DE COMMENCER CAUTION: FOR BEST RESULTS, WE STRONGLY REC- MISE EN GARDE: POUR OBTENIR UN RÉSULTAT OMMEND THE INSTALLATION OF THIS VALVE BE DONE OPTIMAL, NOUS RECOMMANDONS FORTEMENT QUE BY A LICENSED PLUMBER. L’INSTALLATION DE CETTE VALVE SOIT FAITE PAR UN PLOMBIER ACCRÉDITÉ.
- Page 5 INSTALLATION Installing the cartridge Unscrew the cartridge holder (1) and remove the protec- tive plug (2) (Fig. 1). Make sure the "top" plastic spacer remains in place (3). Insert the cartridge (4) into the valve body as shown Fig.2. Make sure its guiding lugs line-up with the corresponding openings in the rough.
- Page 6 INSTALLATION Installing the trim kit Insert the decorative sleeve (1) onto the cartridge holder (Fig.3), then screw the dome cap (4) onto the valve body. Slide in trim around the valve body and press it firmly against the wall. Make sure the trim is properly aligned with red marking (HOT water) on the left and blue mark- ing (COLD water) on the right.
- Page 7 #10231 PLATE MODELS / MODÈLE DES PLAQUES: To reinstall the components, just reverse the above steps. Reinstall the plate back onto the finished wall. #40231 Fig.4 Entretien de la cartouche Si nécessaire, fermer l'alimentation d'eau principale et démonter toutes les composantes de (1) à (5). Fig.4.
- Page 8 CARE SOIN Pour nettoyer et conserver l’apparence de vos To clean your ALT faucet or accessory, wash with a wet robinets ou accesoires ALT, lavez-les avec un linge nonabrasive soapy cloth. Then wipe dry with a mouillé à l’eau tiède et enduit d’un savon doux soft towel or cloth.
- Page 9 - Any and all ALT products that are subjected to any type of harsh de produits abrasifs, de corrosion et/ou d’accidents causés par un abrasive, such as cleaners containing abrasive cleansers, ammonia, professionnel ou par toute autre personne.