Table des Matières
Publicité
Les langues disponibles
Les langues disponibles
Liens rapides
Operating & Safety Instructions
Bedienings- en
veiligheidsvoorschriften
Instructions d'utilisation
et consignes de sécurité
Sicherheits- und
Bedienungsanleitung
Version date: 22.02.19
tritontools.com
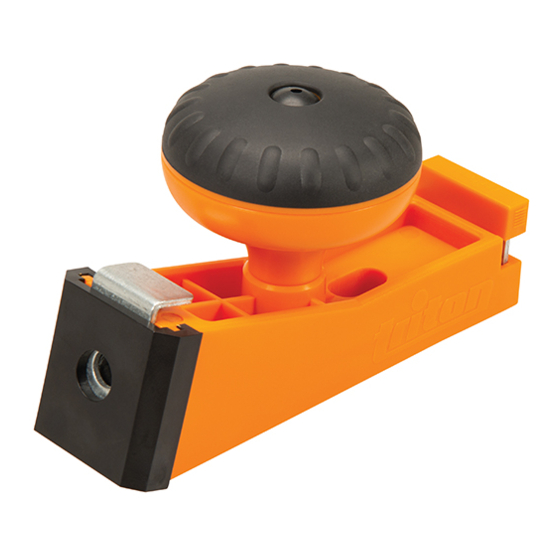
T3 Handy Pocket-Hole Jig
3/4" (19mm)
Istruzioni per l'uso
e la sicurezza
Instrucciones de
uso y de seguridad
Instrukcja obsługi
i bezpieczeństwa
T3
PHJ
Publicité
Table des Matières

Sommaire des Matières pour Triton T3
- Page 1 T3 Handy Pocket-Hole Jig 3/4" (19mm) Operating & Safety Instructions Bedienings- en Istruzioni per l’uso veiligheidsvoorschriften e la sicurezza Instructions d’utilisation Instrucciones de et consignes de sécurité uso y de seguridad Instrukcja obsługi Sicherheits- und i bezpieczeństwa Bedienungsanleitung Version date: 22.02.19...
-
Page 4: Intended Use
Original Instructions Introduction Timber Thickness Screw Thank you for purchasing this Triton product. This manual contains 13 – 18mm / 1/2" - 11/16" 25mm / 1" information necessary for safe and effective operation of this product. This product has unique features and, even if you are 19 –... -
Page 5: Vertaling Van De Originele Instructies
Vertaling van de originele instructies Inleiding Houtdikte Schroef Hartelijk dank voor de aankoop van dit Triton-product. Deze 13 – 18 mm / 1/2" - 11/16" 25 mm / 1" handleiding omvat informatie die nodig is voor een veilig en efficiënt gebruik van dit product. Dit product is in het bezit van 19 –... -
Page 6: Usage Conforme
Traduction des instructions originales Introduction Épaisseur du bois Nous vous remercions d’avoir choisi cet équipement Triton. 13 – 18 mm / 1/2" - 11/16" 25 mm / 1" Ces instructions contiennent les informations nécessaires 19 – 25 mm / 3/4" – 1"... -
Page 7: Bestimmungsgemäße Verwendung
(Abb. I). Für eine professionelle Endbearbeitung können nun die Abdeckdübel in die Taschenlöcher eingesetzt werden. Vielen Dank, dass Sie sich für dieses Triton-Werkzeug entschieden haben. Diese Anleitung enthält wichtige Informationen für das sichere und effektive Arbeiten mit diesem Produkt. Bitte lesen Sie Holzstärke... -
Page 8: Uso Previsto
Traduzione delle istruzioni originali Introduzione Spessore del legno Vite Grazie per aver acquistato questo prodotto Triton. Questo manuale 13 – 18mm / 1/2" - 11/16" 25mm / 1" contiene le informazioni necessarie per un funzionamento sicuro ed efficace di questo prodotto. Questo prodotto ha caratteristiche 19 –... -
Page 9: Traducción Del Manual Original
Traducción del manual original Introducción Grosor de la pieza de trabajo Tornillo Gracias por haber elegido esta herramienta Triton. Estas 13 – 18 mm / 1/2" - 11/16" 25 mm / 1" instrucciones contienen la información necesaria para utilizar este producto de forma segura y eficaz. -
Page 10: Tłumaczenie Oryginalnej Instrukcji
Wprowadzenie 9. Wyjąć wiertło z płyty przytrzymującej wiertło (zdjęcie H). 10. Powtórzyć powyższe kroki, aby wykonać wymaganą Dziękujemy za zakup tego produktu marki Triton. Zapoznaj liczbę otworów, i wykończyć detal za pomocą wkrętów się z niniejszymi instrukcjami: zawierają one informacje samogwintujących i kołków (zdjęcie I). - Page 11 Notes...

