Corsair CRYSTAL Série Manuel D'installation
Masquer les pouces
Voir aussi pour CRYSTAL Série:
- Guide d'installation (60 pages) ,
- Mode d'emploi (29 pages) ,
- Mode d'emploi (18 pages)
Table des Matières
Publicité
Liens rapides
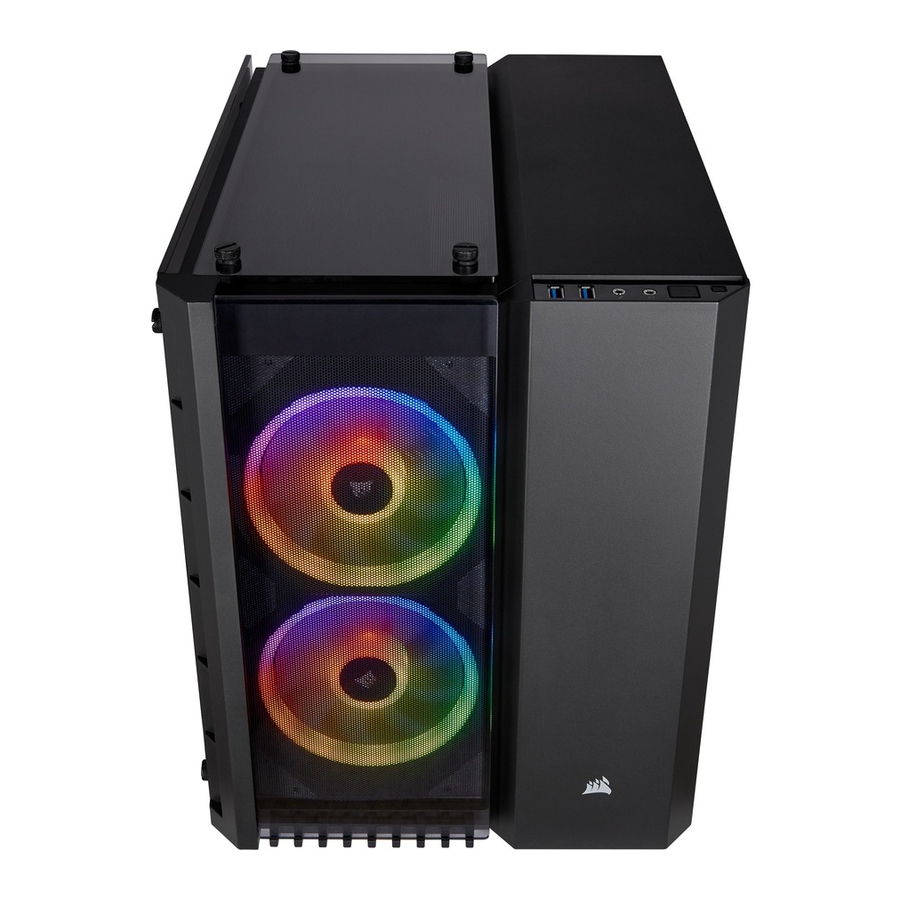
CRYSTAL SERIES
®
280X
CRYSTAL SERIES
®
280X
corsair.com
EMAIL: support@corsair.com
FORUM: forum.corsair.com
FACEBOOK: facebook.com/corsair
TWITTER: twitter.com/corsair
BLOG: corsair.com/blog
USA and CANADA: (510) 657-8747 | INTERNATIONAL: (888) 222-4346
| FAX: (510) 657-8748
MICRO ATX CASE
© 2018 CORSAIR COMPONENTS, INC. All rights reserved.
CORSAIR and the sails logo are registered trademarks of CORSAIR in the United States
and/or other countries. All other trademarks are the property of their respective owners.
Product may vary slightly from those pictured. 49-001671 AC
INSTALLATION GUIDE
47100 Bayside Parkway • Fremont • California • 94538 • USA
Publicité
Table des Matières

Manuels Connexes pour Corsair CRYSTAL Série


Sommaire des Matières pour Corsair CRYSTAL Série
- Page 1 MICRO ATX CASE © 2018 CORSAIR COMPONENTS, INC. All rights reserved. CORSAIR and the sails logo are registered trademarks of CORSAIR in the United States and/or other countries. All other trademarks are the property of their respective owners. Product may vary slightly from those pictured. 49-001671 AC INSTALLATION GUIDE 47100 Bayside Parkway •...
-
Page 2: Table Des Matières
CRYSTAL SERIES 280X ® Table of Contents Table of Contents Table des matières Inhaltsverzeichnis Contenido Содержание Índice Table des matières Inhaltsverzeichnis Contenido Содержание Índice Case Specifications ................................3-4 Installing PCI-e Card(s) ................................ 14 Spécifications du boîtier • Technische Daten des Gehäuses • Especificaciones del chasis Installation des cartes PCI-e •... -
Page 3: Case Specifications
CRYSTAL SERIES 280X ® Case Specifications Case Specifications Spécifications du boîtier Technische Daten des Gehäuses Especificaciones del chasis Spécifications du boîtier Technische Daten des Gehäuses Especificaciones del chasis Especificações do Gabinete Especificações do Gabinete Технические характеристики корпуса Технические характеристики корпуса Länge ................398mm Lüfterpositionen: Length ................398mm... -
Page 4: Accessory Kit Contents
CRYSTAL SERIES 280X ® Accessory Kit Contents Accessory Kit Contents Contenu du kit d’accessoires Inhalt des Zubehörkits Contenido del kit de accesorios Contenu du kit d’accessoires Inhalt des Zubehörkits Contenido del kit de accesorios Conteúdo do kit de acessórios Conteúdo do kit de acessórios Содержимое... -
Page 5: Case Features
CRYSTAL SERIES 280X ® Case Features Caractéristiques du boîtier Funktionsmerkmale des Gehäuses Características del chasis Recursos do gabinete Особенности корпуса Tempered Glass Side Panel Top Bezel Panneau Latéral En Verre Trempé Panneau Supérieur Seitenabdeckung Aus Gehärtetem Glas Obere Lünette Panel Lateral De Cristal Templado Bisel Superior Боковая... -
Page 6: Removing The Side Panels
CRYSTAL SERIES 280X ® Removing the Side Panels Installing the Motherboard Retrait des panneaux latéraux Abnehmen der Seitenplatten Installation de la carte mère Installation des Motherboards Instalación de la placa base Retirada de los paneles laterales Remover os painéis laterais Instalar a placa-mãe Снятие... -
Page 7: Installing Hdds
CRYSTAL SERIES 280X ® Installing HDDs Installing SSDs Installation des disques durs Installation von HDD-Laufwerken Installation des SSD Installation von SSD-Laufwerken Instalación de las unidades SSD Instalación de las unidades HDD Instalar HDDs Instalar SSDs Установка жестких дисков Установка твердотельных накопителей... -
Page 8: Installing Psu
CRYSTAL SERIES 280X ® Installing PSU Installing PCI-e Cards Installation du bloc d’alimentation Installation des Netzteils (PSU) Installation des cartes PCI-e Installieren von PCI-e-Karten Instalación de la PSU Instalar a PSU Instalación de las tarjetas PCI-e Установка плат PCI-e Instalar placas PCI-e Установка... -
Page 9: Removing The Front Bezel
CRYSTAL SERIES 280X ® Removing the Front Bezel Removing Top Panel Retrait du panneau avant Abnehmen der vorderen Blende Retrait du panneau supérieur Entfernen der oberen Abdeckung Retirada del embellecedor frontal Remover o bisel dianteiro Retirada del panel superior Removendo painéis superiores Снятие... -
Page 10: Installing The Front I/O Connectors
CRYSTAL SERIES 280X ® Installing the Front I/O Connectors Installation des connecteurs E/S avant Installation der vorderen I/O-Anschlüsse Using Lighting Node Pro (CRYSTAL 280X RGB only) Instalación de los conectores de E/S frontales Установка передних разъемов ввода-вывода Instalar os conectores de E/S dianteiros •... -
Page 11: Utilisation Du Lighting Node Pro (Crystal 280X Rgb Uniquement)
CRYSTAL SERIES 280X ® Table of Contents Utilisation de Lighting Node PRO (CRYSTAL 280X RGB uniquement) Mit Lighting Node PRO (nur CRYSTAL 280X RGB) • Éteignez votre système avant d’installer le Lighting Node PRO. • Schalten Sie Ihren Computer aus, bevor Sie den Lighting Node PRO installieren. •... -
Page 12: Использование Lighting Node Pro (Только Для Crystal 280X Rgb)
CRYSTAL SERIES 280X ® Table of Contents Usando Lighting Node PRO (solo en CRYSTAL 280X RGB) Использование Lighting Node PRO (только для CRYSTAL 280X RGB) • Apague el sistema antes de instalar el Lighting Node PRO. • Перед установкой Lighting Node PRO отключите ПК. •... -
Page 13: Uso Do Lighting Node Pro (Crystal 280X Rgb Apenas)
9 pinos em um slot USB 2.0 interno do sistema. 2. Who should I contact if I received my case damaged? Please go to support.corsair.com and request an RMA so that we can replace the damaged part(s). 3. Where can I mount a fan? - Page 14 1x 120mm / 140mm Droit 1x 120mm / 140mm Weitere Informationen über dieses Gehäuse finden Sie auf der Produktseite Pour en savoir plus sur ce boîtier, veuillez vous rendre sur le site corsair.com, bei corsair.com. à la page des produits.
-
Page 15: Preguntas Más Frecuentes
2. ¿Con quién debo ponerme en contacto si recibo mi chasis dañado? 2. К кому следует обратиться, если корпус получен поврежденным? Vaya a support.corsair.com y solicite un RMA para que podamos reemplazar las Перейдите на веб-сайт support.corsair.com и запросите разрешение на возврат... - Page 16 3. Onde posso montar uma ventoinha? Montar Um Fã Frente 2x 120mm / 140mm Topo 2x 120mm / 140mm Traseira 2x 120mm / 140mm certo 1x 120mm / 140mm Para saber mais sobre este gabinete, visite a página do produto em corsair.com.