Publicité
Liens rapides
Please Contact Moen First
For Installation Help, Missing or
Replacement Parts
(USA)
1-800-BUY-MOEN (1-800-289-6636)
Mon - Fri 8:00 AM to 7:00 PM, Eastern
Sat. 9:00 AM to 3:00 PM Eastern
WWW.MOEN.COM
(Canada)
1-800-465-6130
Mon - Fri 7:30 AM to 7:00 PM, Eastern
WWW.MOEN.CA
Por favor, contáctese primero
con Moen
Para obtener ayuda de instalación, piezas
faltantes o de recambio
011 52 (800) 718-4345
Lunes a viernes de 8:00 a 20:00 hs.
(Costa Este)
Sáb. 8:00 a 18:30 hs. (Costa Este)
WWW.MOEN.COM.MX
Veuillez d'abord contacter Moen
En cas de problèmes avec l'installation, ou
pour obtenir toute pièce manquante ou de
rechange
1-800-465-6130
Du lundi au vendredi :
de 7 h 30 à 19 h, HE
WWW.MOEN.CA
HELPFUL TOOLS
For safety and ease of faucet replacement, Moen recommends the use
of these helpful tools.
HERRAMIENTAS ÚTILES
Para que el cambio de la llave sea fácil y seguro, Moen le recomienda
usar estas útiles herramientas.
OUTILS UTILES
Par mesure de sécurité et pour faciliter l'installation, Moen suggère
l'utilisation des outils suivants.
Installation Guide
Guía de Instalación
Guide d'installation
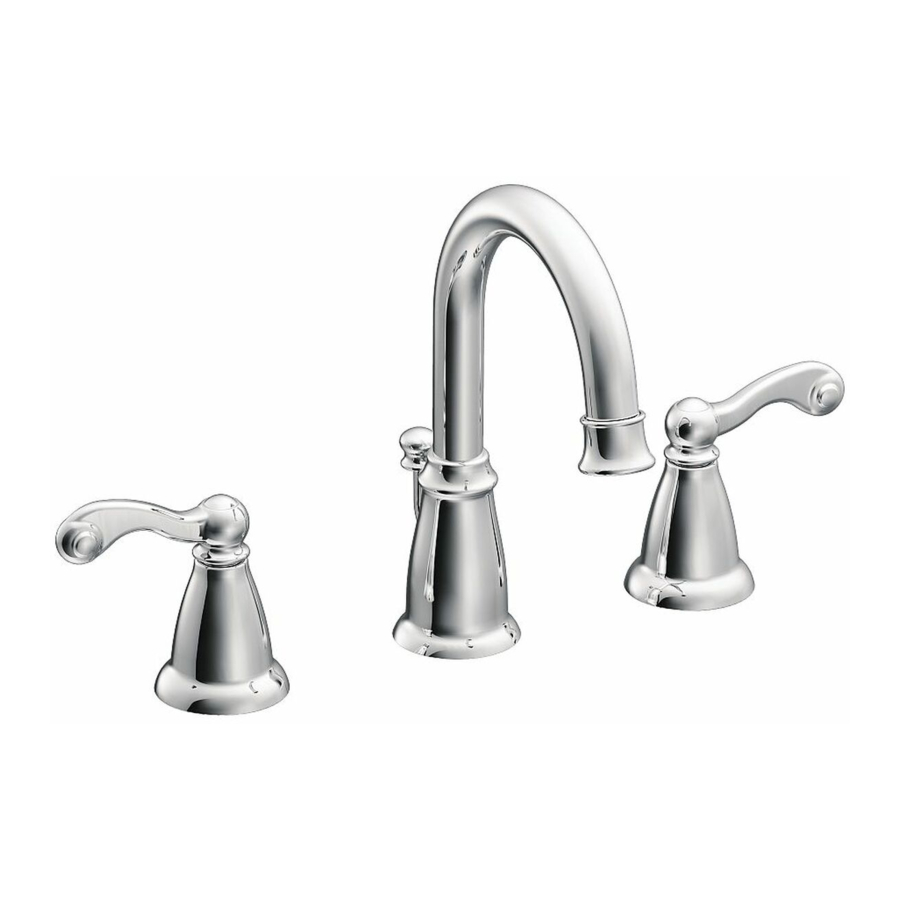
TWO HANDLE LAVATORY FAUCET
MODEL WS84004 SERIES
MEZCLADORA PARA LAVABO DE
DOS MANERALES
MODELO SERIE WS84004
ROBINET DE LAVABO À DEUX POIGNÉES
MODÈLE DE LA SÉRIE WS84004
Images in this instruction sheet may not reflect your current product, but should follow the same step-by-step
instructions.
Las imágenes en esta hoja de instrucciones pueden no reflejar su producto pero se debe seguir las mismas instrucciones
de instalación paso a paso.
Plumber' s Putty or Non-Staining Sealant
Masilla de plomero o sellador que no mancha
Mastic de plombier ou agent d'étanchéité non tachant
Il est possible que les images dans ce feuillet de directives ne reflètent pas votre produit actuel, mais les directives à
suivre sont les mêmes.
INSXXX29 - 4/13
CAUTION — TIPS FOR REMOVAL OF OLD FAUCET: Always turn water
supply OFF before removing existing faucet or disassembling the valve.
Open faucet handle to relieve water pressure and ensure that
complete water shut-off has been accomplished.
PRECAUCIÓN — CONSEJOS PARA CAMBIAR LA LLAVE MEZCLADORA
Siempre CIERRE la toma de agua antes de quitar la llave existente o
desmontar la válvula. Abra la llave para liberar la presión, y asegúrese de
que esté bien cerrada el agua.
ATTENTION — SUGGESTIONS POUR ENLEVER L'ANCIEN ROBINET :
Toujours couper l'alimentation en eau avant d'enlever ou de démonter le
robinet. Ouvrir le robinet pour libérer la pression d'eau et pour s'assurer que
l'alimentation en eau a bien été coupée.
INS10540 - 5/16
Publicité

Manuels Connexes pour Moen WS84004 Série


Sommaire des Matières pour Moen WS84004 Série
- Page 1 HERRAMIENTAS ÚTILES Para que el cambio de la llave sea fácil y seguro, Moen le recomienda PRECAUCIÓN — CONSEJOS PARA CAMBIAR LA LLAVE MEZCLADORA usar estas útiles herramientas. Siempre CIERRE la toma de agua antes de quitar la llave existente o desmontar la válvula.
- Page 2 Nickel brossé Spot Resist Moen recommande de nettoyer le fini Spot Resist avec du savon doux puis de rincer soigneusement à l’ e au tiède avant d’ e ssuyer avec un chiffon doux propre. Ne jamais utiliser de produits de nettoyage contenant des abrasifs (y compris éponges abrasives ou laine de verre),...
- Page 3 INS10540 - 5/16 Waste Assembly For Chrome and Spot Resist Brushed Nickel Waste/ Parts List Lista de piezas Conjunto de desagüe para Cromo y Níquel cepillado Spot Resist / R. Plug R. Tapón Assemblage de bonde pour nis Chrome et Nickel brossé Spot Resist S.
- Page 4 Thin sink / Fregadero delgado / Thick sink / Fregadero grueso / Évier mince Évier épais <1/2" (13mm) >1/2" (13mm) Sealant Sellador Mastic Discard Deseche Jeter For sinks thinner than ½" use (H) and (I). Hand tighten the mounting nut (J). For decks Use mounting tool (O) to tighten the mounting nut (J) to the Apply a generous bead of plumbers putty or other sealant to thicker than ½"...
- Page 5 INS10540 - 5/16 Click Clic Click Cliquez sur Clic Cliquez sur Follow the same procedure as in step 11 to attach the Hold valve body (N) with one wrench and tighten the lower Attach the hose assembly (K) to the bottom of the spout shank mounting nut (F) using a 2nd wrench.
- Page 6 Spot Resist Brushed Nickel/Níquel cepillado Spot Resist/ Chrome/Cromo/Chrome Fini Nickel brossé Spot Resist Sealant Sellador Mastic correct orientation orientación correcta orientation correcte Position the o-ring (Y) in the groove at the top of the tail Insert (U) into (U1) and into drain opening in the Apply a generous amount of sealant to the underside of piece (AA) and thread onto the waste seat (U).
- Page 7 INS10540 - 5/16 Verify white plastic pivot rod seat (Z) is in place with Push pivot rod (BB) down. Insert pivot rod through closest hole Install lift rod (S) into opening on the top of the beveled side facing out. The pivot rod (BB) can be on liftrod strap (DD) with pivot rod down.
-
Page 8: Parts List
Mediterranean Bronze Waste Desagüe de bronce mediterráneo Bonde Bronze méditerranéen HH1* From the underside of the sink, thread the drain body (LL) into the waste seat (HH) and Waste Seat Gasket (HH1). Desde la parte inferior del fregadero, enrosque el cuerpo de desagüe (LL) en el asiento de desagüe (HH) y en el empaque del asiento de desagüe (HH1). - Page 9 INS10540 - 5/16 Using an adjustable wrench or channel locks, tighten Drain Nut (JJ). Con una llave o pinzas ajustables, apriete la tuerca del desagüe (JJ). À l'aide d'une clé anglaise ou d'une pince multiprise, SÍ serrer l'écrou du drain (JJ). Rotate pivot rod opening on side of drain body (LL) to face towards wall as illustrated.
- Page 10 Cold Frio Froid Caliente Chaud Place product ID label (Q) here. Coloque la etiqueta de identi cación del producto (Q) aquí. Placer l'étiquette d'identi cation du produit (Q) ici. Turn hot and cold water stop valves to the on position. 1.
- Page 11 Il suffit d’écrire area code and telephone number. estado a otro o de una provincia o nación a otra. Moen lo à Moen inc. à l’adresse indiquée ci-dessous, pour expli- asesorará en el procedimiento a seguir para hacer válida quer le défaut, d’inclure une preuve d’achat, d’inscrire...
- Page 12 Moen Incorporated Moen de Mexico, S.A. de C.V. Moen Inc. 25300 Al Moen Drive Carretera Saltillo-Monterrey KM 14.7 2816 Bristol Circle North Olmsted, Ohio 44070-8022 Ramos Arizpe, Coahuila Oakville, Ontario L6H 5S7 U.S.A. Mexico 25900 Canada INS10540 - 5/16 ©2016 Moen Incorporated...