Publicité
Les langues disponibles
Les langues disponibles
Liens rapides
Publicité

Sommaire des Matières pour Bowers & Wilkins CCM362
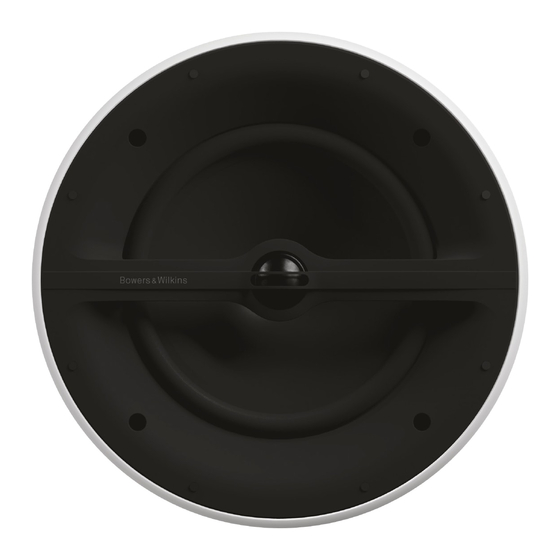
- Page 1 CCM362 CCM382...
- Page 2 Welcome to Bowers & Wilkins and the CCM3 Series Thank you for choosing Bowers & Wilkins. When John Bowers first established our company he did so in the belief that imaginative design, innovative engineering and advanced technology were keys that could unlock the enjoyment of audio in the home.
- Page 3 Model Aperture Diameter Clearance behind and either side of the listening position. Try to avoid corner locations for any of the speakers and to CCM362 204mm (8.0 in) 79mm (3.2 in) ensure that the acoustic environment around each CCM382 253mm (9.9 in) 85mm (3.4 in)
- Page 4 4. Installing CCM3 Series Speakers To install a CCM3 Series speaker proceed as described in the following paragraphs: 4.1 Using the supplied aperture template, mark a cut line on the ceiling. Check the cut line defines the correct aperture diameter. Cut along the line with an appropriate tool to create a round aperture in the ceiling.
- Page 5 5 Using a Pre-mount Kit Custom install pre-mount kits enable the locations of in-ceiling and in-wall speakers to be defined before the sheetrock (plasterboard) is fitted to the studs (joists). Routing and cutting of speaker cable is also made easier using pre-mount kits. A pre-mount kit (PMK) comprises a plastic moulding that defines the aperture size of the specific speaker model, two perforated metal straps and four plastic clips.
- Page 6 6 Using a Back-box Kit Custom install back-box kits comprise a fire-proof box that can be fitted behind in-wall or ceiling speakers before the sheetrock (plasterboard) is fitted to the studs (joists). As well as enabling compliance with fire regulations, back-boxes also help optimise speaker performance by providing a defined acoustic loading volume.
- Page 7 Bienvenue dans le monde Bowers et Wilkins et à la CCM3 Series Nous vous remercions d’avoir choisi Bowers & Wilkins. Lorsque John Bowers a créé sa société, il savait déjà qu’un design imaginatif, une conception innovante et une technologie avancée seraient les clés du plaisir de l'écoute de la musique chez soi.
-
Page 8: Déballage
Diamètre Profondeur Les écrans LCD, OLED ou plasma ne sont pas Modèle d’ouverture d’encastrement minimale sensibles aux champs magnétiques. CCM362 204 mm 79 mm CCM382 253 mm 85 mm Applications audio stéréo 3 m - 5 m 3m (10 ft) - 5m (16.5ft) - Page 9 4. Installation des enceintes CCM3 Series Pour installer correctement une enceinte CCM3 Series, veuillez suivre les conseils donnés dans les paragraphes suivants : 4.1 En utilisant le gabarit fourni, tracez une ligne sur le plafond. Vérifiez que cette ligne correspond bien au diamètre voulu.
- Page 10 5. Utilisation du « kit de Pré-montage » Les kits d’installation de Pré-montage permettent de matérialiser l’emplacement des enceintes encastrées au mur ou au plafond, avant que les plaques de plâtres ne soient fixées sur leur structure de poutrelles métalliques. Le cheminement et la coupe à la bonne taille des câbles de haut-parleur sont en outre facilités de part l’utilisation des kits de pré-montage.
- Page 11 6. Utilisation d’un « kit Back-box » Le kit d’installation Back-box est constitué d’un boitier ignifuge pouvant être utilisé pour encastrer des enceintes au mur ou au plafond, avant que les plaques de plâtres ne soient fixées sur la structure de poutrelles métalliques.
- Page 12 Welkom bij Bowers & Wilkins en de CCM3 Serie Dank u voor het kiezen van Bowers & Wilkins. Toen John Bowers het bedrijf oprichtte, was hij ervan overtuigd dat een fantasievol ontwerp, innovatieve techniek en moderne technologie de sleutels vormden tot muziekbeleving thuis. Het is deze overtuiging waar we nog steeds van uitgaan en die de inspiratie vormt voor elk product dat we ontwerpen.
- Page 13 Minimale Model Opening Inbouwhoogte magnetisch strooiveld. Opmerking: verschillende akoestische omgevingen zijn bijvoorbeeld een kale wand en CCM362 204 mm (8.0”) 79 mm (3,2”) een raam met een zwaar gordijn. CCM382 253 mm (9,9”) 85 mm (3,4”) Opmerking: wanneer CCM3 luidsprekers worden geïnstalleerd in een nieuwbouw...
- Page 14 4. Installeren CCM3 Serie Luidsprekers Om een CCM3 Serie luidspreker te installeren gaat u te werk als in de volgende paragrafen beschreven: 4.1 Met behulp van het bijgevoegde sjabloon markeert u de te maken uitsnede in het plafond. Controleer of de markering de juiste diameter heeft. Maak op de markering een ronde opening in het plafond.
- Page 15 5. Gebruik Voormontage Set Deze speciale voormontage sets zijn bedoeld om een ruimte in het plafond of in de wand te definiëren voordat het stucwerk op de tengels wordt aangebracht. Het trekken en op lengte maken van de luidsprekerkabels gaat ook gemakkelijker met een voormontage set.
- Page 16 6. Gebruik Achterkast Set De Custom achterkast set bestaat uit een brandveilige kast die achter plafond- of wandluidsprekers kan worden gemonteerd voordat het pleisterwerk of andere afwerking wordt aangebracht. Naast het voldoen aan de regels voor brandpreventie, helpen achterkasten ook de prestaties van de luidsprekers te verbeteren doordat zij een tevoren bepaalde akoestische belasting vormen.


