Table des Matières
Publicité
Les langues disponibles
Les langues disponibles
Liens rapides
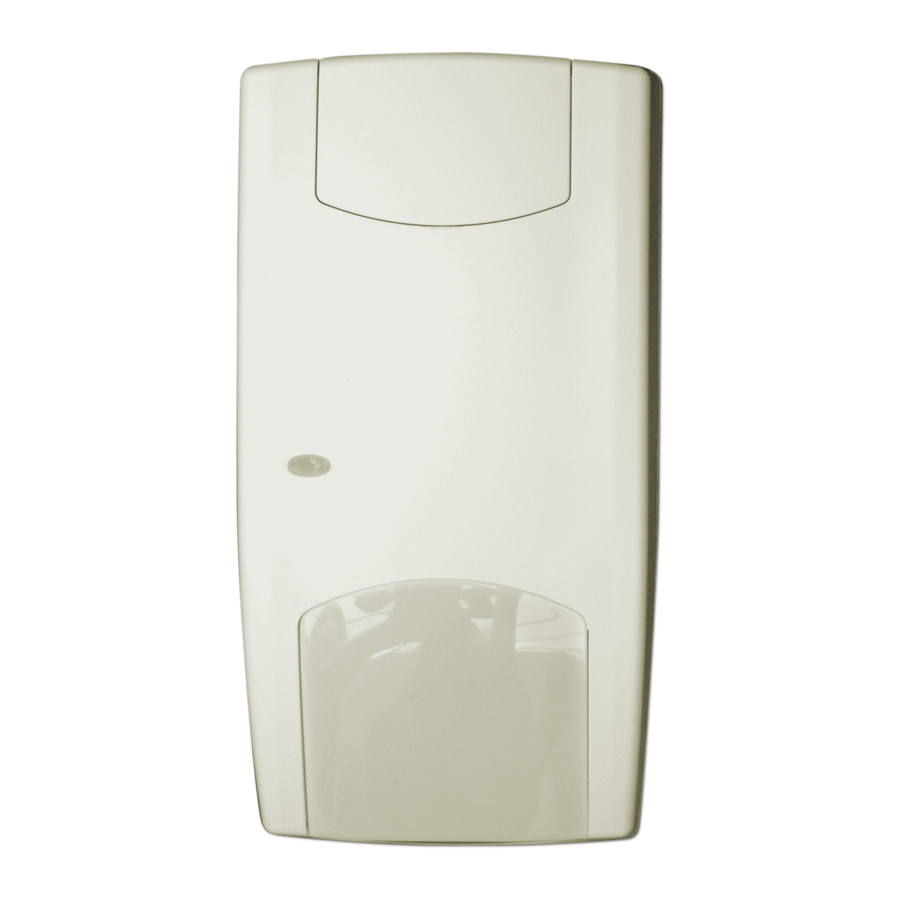
VE1012PI PIR Detector Installation Sheet
EN DE ES FR
IT
NL PL PT SV
1
3
© 2010 UTC Fire & Security. All rights reserved.
GE and the GE monogram are trademarks of the General Electric Company and are under license to
UTC Fire & Security, 9 Farm Springs Road, Farmington, CT 06034-4065
2
4
12 m range (39 ft. 4 in.)
8 m
6 m
4 m
2 m
0 m
2 m
4 m
6 m
8 m
2.4 m (7 ft. 10 in.)
(optimum)
3.67
m
(12 ft.)
1 / 12
1
3
1
2.0 m
(39 ft. 4 in.)
P/N 146413999-2 • REV 1.0 • ISS 20JUL10
2
Publicité
Table des Matières

Sommaire des Matières pour GE VE1012PI
- Page 1 © 2010 UTC Fire & Security. All rights reserved. 1 / 12 P/N 146413999-2 • REV 1.0 • ISS 20JUL10 GE and the GE monogram are trademarks of the General Electric Company and are under license to UTC Fire & Security, 9 Farm Springs Road, Farmington, CT 06034-4065...
- Page 2 2 / 12 P/N 146413999-2 • REV 1.0 • ISS 20JUL10...
- Page 3 Insert the screw and place the custom insert. For EN 50131 Grade 3 installations, do not use mounting position C. Introduction Figure 8 legend The VE1012PI is a PIR motion sensor with pet friendly optics. Item Description Standard connection (factory default) Installation guidelines...
-
Page 4: Regulatory Information
Melder-LED ist immer deaktiviert (keine Speicherfunktion). Einführung J3 und J4: Einstellung für Dual-Meldegruppe Der VE1012PI besteht aus einem IR-Bewegungsmelder mit Dient zur Einstellung des Alarm- und Sabotagerelais. Sie haustierfreundlicher Optik. können damit den Melder an eine beliebige Einbruchmeldezentrale anschließen. Verwenden Sie die Installationsanleitungen Steckbrücken 3 und 4 (Abb. -
Page 5: Technische Daten
Offen (Alarm) Automatisch nach Einbruchalarm 3 Sek. Introducción Ständig Ein Normales Blinken (1 Hz) El VE1012PI es un detector de movimiento IR con opticas antimascotas. Technische Daten Instrucciones para la instalación Melder Signalauswertung La tecnología utilizada en estos detectores resiste riesgos de... -
Page 6: Especificaciones Técnicas
25 s Introduction et compatibilité Tensión Abierto (alarma) Aplicar el voltaje baja adecuado Le VE1012PI est un détecteur de mouvements infrarouge avec une optique tolérant les animaux de compagnie. Alarma PIR Abierto (alarma) Automáticamente de intruso después de 3 s... -
Page 7: Spécifications Techniques
Elle permet de connecter le détecteur à tout type de centrale. Elle utilise les cavaliers 3 et 4. Voir fig. 8. Introduzione L'VE1012PI è un rivelatore ad infrarorri passivi con l'ottica Explication des témoins immune ai piccoli animali domestici. -
Page 8: Specifiche Tecniche
NL: Installatie-instructies LED rosso Relè di allarme Reset Avviamento Chiuso Automatico dopo Inleiding 25 s De VE1012PI bestaat uit een PIR bewegingssensor met Bassa Aperto (allarme) Applicazione della tensione tensione corretta huisdiervriendelijke spiegel optiek. Allarme anti Aperto (allarme) Automatico dopo 3 s... -
Page 9: Pl: Instrukcja Instalacji
Gebruik de PL: Instrukcja instalacji jumpers 3 en 4. Zie fig. 8. LED-indicatie Wprowadzenie Rode LED Alarmrelais Opnieuw instellen VE1012PI jest pasywną czujką podczerwieni z układem Opstarten Gesloten Automatisch na 25 sec optycznym, odpornym na zwierzęta. Lage Open Correcte spanning Instalacja - wskazówki... - Page 10 PT: Instruções de instalação Czerwona Przekaźnik Zerowanie alarmu Introdução Uruchomienie Zwarty Automatycznie po 25 s. O VE1012PI é construido com base num sensor de movimento Niskie napięcie Rozwarty Zastosuj prawidłowe PIR, com óptica 'amiga' de pequenos animais. (alarm) napięcie Alarm intruza Rozwarty Automatycznie po 3 s.
- Page 11 Para repor vermelho alarme Introduktion Arranque Fechado Automaticamente após 25 s VE1012PI är en IR-detektor som är husdjurimmun. Den har en Baixa tensão Aberto Aplicar tensão correcta patenterad spegel, pyro och signalbehandling teknik. (Alarme) Alarme contra Aberto Automaticamente após 3 s Riktlinjer för installation...
- Page 12 ,3 m och 3,0 m från Signalprocess golvet. För plan montering använd minst två skruvar (DIN Täckningsområde 12 m 7998), minst en skruv i position A och en i läge B. För Optik 9 spegelridåer, husdjursimmuna hörnmontering använd skruvar i positionerna B eller C Minne (bild 3).


