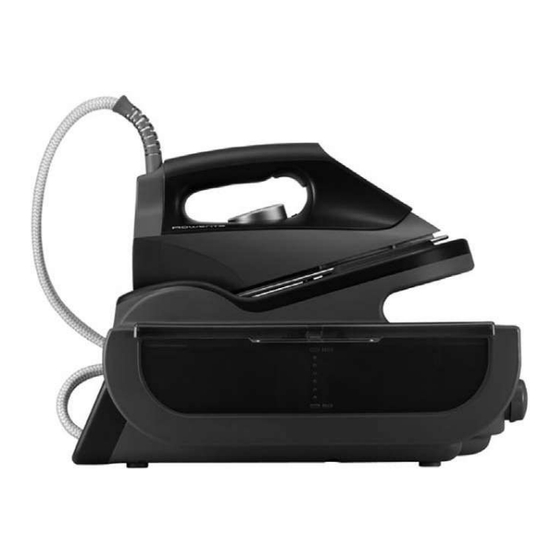
Sommaire des Matières pour Rowenta EXPERT PRESSURE IRON & STEAMER
- Page 1 Groupe SEB Canada Inc, 345 Passmore Avenue M1V 3N8, Scarborough, Ontario, Canada Groupe SEB USA, 2121 Eden Road Millville, NJ 08332 - USA www.rowenta.com...
- Page 3 PREPARATION fig.1 fig.2 fig.3 fig.4 fig.6 fig.7 fig.8 fig.5 fig.9 fig.10 fig.11 MAINTENANCE fig.12 fig.13 fig.14 fig.15 fig.16 fig.17 fig.18 fig.19...
-
Page 4: Important Safety Instructions
- Do not operate appliance with a damaged - The use of accessory attachments is not cord or if appliance has been dropped or recommended by Rowenta and may result in fire, damaged. electric shock or personal injury. - To avoid the risk of electric shock, do not - Always put the iron with the soleplate down on disassemble the appliance. -
Page 5: For Your Safety
FOR YOUR SAFETY Please read these instructions carefully before persons (including children) with reduced first use. This product has been designed for physical, sensory or mental capabilities, or domestic use only. lack of experience and knowledge, unless they Any commercial use, inappropriate use or have been given supervision or instruction failure to comply with the instructions, the concerning use of the appliance by a person... - Page 6 Always remember : Tap water Battery water and water containing additives Rowenta irons are designed to be used with (such as starch, perfume or fabric conditioner) REGULAR TAP WATER (up to 12 grains of may not be used. Such additives can affect the hardness).
-
Page 7: Turning On And Off
pressed (fig.8). The steam will stop when you release the trigger. 3 • Turning on and off Plug the expert pressure iron & steamer into a Recommendations: To prime the steam 120 volt electric outlet (Fig. 3). circuit, either before using the iron for the Press on/off switch (Fig. -
Page 8: Vertical Steam Ironing
6 • Vertical steam ironing Set the iron temperature control and the steam output control dial (located on the control panel) to the maximum position. Hang the garment on a coat hanger and hold the fabric slightly taut with one hand. Press repeatedly on the steam (fig.8) trigger (beneath the iron handle) moving the iron from top to bottom (fig.9). -
Page 9: Maintenance And Cleaning
This can be easily iron & steamer will need less handling. The removed by using the Rowenta Soleplate rinsing accessory has been designed to work on Cleaning Kit or a quality hot iron soleplate a wide range of faucets. -
Page 10: Possible Causes
1-800-769-3682. Canada : If you are unable to trace the cause of the fault, contact an official Rowenta Customer Service Centre. The addresses are shown in the enclosed service centre address list. Further hints and tips are obtainable from our homepage: www.rowenta.ca. -
Page 11: Pour Votre Sécurité
POUR VOTRE SÉCURITÉ Lisez attentivement le mode d’emploi avant la d’expérience ou de connaissance, sauf si elles première utilisation de votre appareil : une ont pu bénéficier, par l’intermédiaire d’une utilisation non conforme au mode d’emploi personne responsable de leur sécurité, d’une dégagerait la marque de toute responsabilité. -
Page 12: Utilisation
DESCRIPTION Poignée du fer Cordon vapeur Commande vapeur Rangement cordon vapeur Bouton de réglage de température de la Tableau de bord semelle Interrupteur lumineux Marche/Arrêt Plaque repose-fer Voyant vapeur prête Trappe d’ouverture du réservoir Bouton de réglage du débit de vapeur Réservoir Touche “Restart”... -
Page 13: Repassez À La Vapeur
5 • Repassez à la vapeur Pendant les pauses de repassage, ne posez jamais le fer sur un repose-fer métallique, ce Placez le thermostat (fig.5) sur le type de tissu à qui pourrait l’abîmer mais plutôt sur la plaque repasser et réglez le débit de vapeur (fig.6) - voir repose-fer du boîtier : elle est équipée de tableau ci-dessous. -
Page 14: Rangez Le Générateur
9 • Rangez le générateur Laissez refroidir le générateur au moins une heure avant de le ranger si vous devez le stocker dans un Eteignez l’interrupteur marche/arrêt et débranchez placard ou un espace étroit. Vous pouvez ranger la prise. Posez le fer sur la plaque repose-fer du votre générateur de vapeur en toute sécurité. -
Page 15: Un Probleme Avec Votre Generateur
Agréé ROWENTA. Les adresses sont indiquées dans la liste de centres services agréés jointe. ROWENTA assure une garantie contractuelle de 1 an sur l’appareil et de 2 ans sur la cuve à partir de la date d’achat, sauf législation spécifique à votre pays. - Page 16 If in warranty, Rowenta will repair or replace the product at their discretion. If the product is out of warranty, you will be advised of the cost of repair before any work begins.


