Publicité
Les langues disponibles
Les langues disponibles
Liens rapides
Fitting
instructions
MATERIALS
A
1
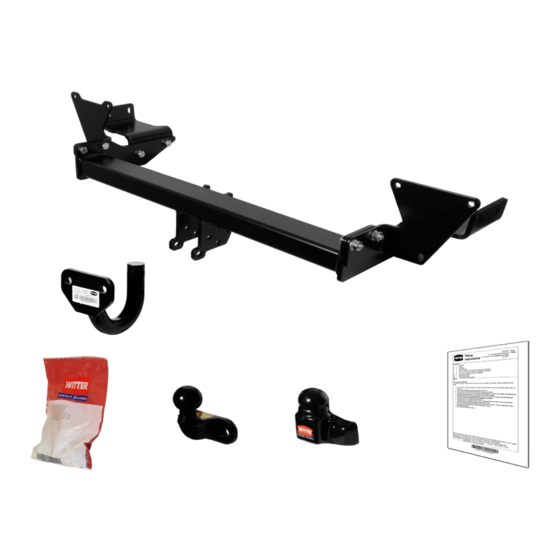
Cross Bar with European facing to 94/20/EC A50-1 Traverse principale
C
1
L.H. Side Arm
D
1
R.H. Side Arm
E
1
Captive Bolt Strap
F
1
Bracket
G
1
Captive Bolt Strap
H
1
Bracket
J
4
M12 x 40 x 1.75pitch Bolts, Nuts, Lock Washers
K
1
M12 x 40 x 1.75pitch Bolt, Nut, Lock Washer, 2 Flat Washers (1 flat washer under bolt head)
L
3
M12 x 40 x 1.75pitch Bolts, Lock Washers, Flat Washers
M
4
M12 x 1.75pitch Nuts, Lock Washers, Flat Washers
CB
2
M16 x 50mm Coupling Bolts, Nuts, Lock Washers
Z
1
ZEP35 Electrical plate (not shown)
FITTING
1. Remove bumper (There are 5 screws under each rear wheel arch one of which is a tip screw hidden under the wheel
arch liner, there are also, 2 plastic clips bottom edge and 4 screws along boot opening). Removal or loosening of the
light clusters may be required to allow the bumper to be pulled from behind the cluster edge.
2. Remove plastic trim from bottom edge of the vehicle rear panel. (4 plastic clips)
3. Remove metal pressings, located on the rear panel, which cover the opening to the chassis rails. (2 bolts each) Retirer
les ........ en fer situee sur le panneau arriere, ce qui couvre les ouvertures des longerons ( 2 boulons sur chaque cotee).
4. Lower exhaust silencer to improve access to towbar mounting points.
5. Insert Bolt Straps (G) and (E) into chassis rails and through holes in the side of each rail. Place Brackets (F) and (H) onto
outside faces of chassis rails and located over the Captive Bolts (G) and (E). Loosely secure with fasteners (M).
6. Insert Side arms (C) and (D) into chassis rails and secure by inserting fasteners (L) through Brackets (F) and (H) and into
Side arms.
7. Insert fastener (K) through Side arm (C) and Bracket (H).
8. Assemble Cross Bar (A) to Side Arms (C) and (D) using fasteners (J).
9. Fully tighten all fasteners.
10. Cut bumper and plastic rear panel trim as shown and re-assemble to vehicle, taking car not to scratch the bumper
surface on the Cross Bar (A).
Note: This towbar must be used with either a Witter Towball (part number Z11) or Class A50-1 or A50-X towball dimensionally
Conforming to A50-1 with a 'D' and 'S' value greater than or equal to that of the towbar.
Please refer to the vehicle specification for the trailer weight and nose limits, which must be observed.
Recommended torque settings: Grade 8.8 bolts: M8 - 24Nm, M10 - 52 Nm, M12 - 80 Nm, M14 - 130 Nm, M16 - 200
Nm Grade 10.9: M12 – 120Nm, M10 – 70Nm M8- 35Nm
G
M
L
H
C
WITTER TOWBARS
Deeside Ind. Park, Deeside, CH5 2NY
C L
M
K
J
J
witter-towbars.co.uk
E
F
L
M
L
C B
C B
A
TOWBAR
DT130A
For Nissan Note
D
J
J
Issue 1
Publicité

Sommaire des Matières pour Witter DT130A
- Page 1 Cross Bar (A). Note: This towbar must be used with either a Witter Towball (part number Z11) or Class A50-1 or A50-X towball dimensionally Conforming to A50-1 with a ‘D’ and 'S' value greater than or equal to that of the towbar.
- Page 2 érafler le pare-chocs sur la traverse principale (A). Remarque : Cet attelage doit être utilisé avec une boule de remorquage Witter (référence produit Z11) ou une boule de remorquage Classe A50-1 ou A50-X se conformant dimensionnellement à A50-1 avec une valeur ‘D’ et 'S' supérieure ou égale à...

