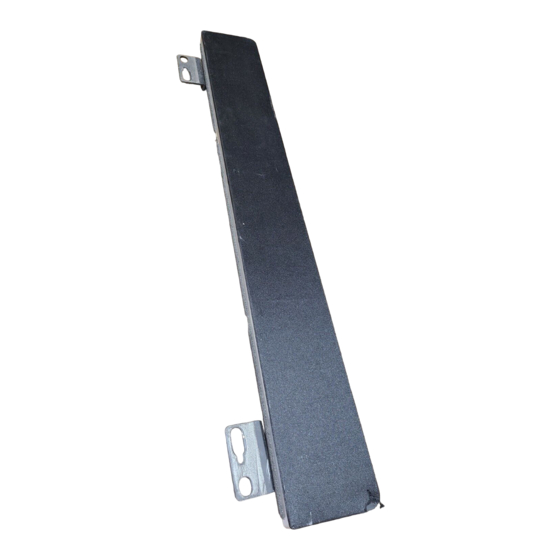
Sommaire des Matières pour Pioneer PDP-S34-LR
- Page 1 Speaker System Enceintes acoustiques Sistema de altavoces PDP-S34-LR PDP-S33-LR Operating Instructions Mode d’emploi Manual de instrucciones...
-
Page 2: Before Use
Installation Flush ÷ Consult your dealer if you encounter any difficulties with this installation. ÷ Pioneer is not liable for any damage resulting from improper installation, improper use, modification, or natural disasters. Set back See the description below for details of the installation. -
Page 3: Flush Mount
English INSTALLATION ON THE PLASMA Set back mount DISPLAY Perform installation according to the following steps 1 to 2. Flush mount 1 Attach the mounting fittings to the speakers. Perform installation according to the following steps 1 to 2. The illustration below shows the right speaker. Attach the left 1 Attach the mounting fittings to the side mounting fitting in the same way. -
Page 4: Connecting The Speaker Cables
English CONNECTION TO A PLASMA DISPLAY CAUTION 1 Connecting the speaker cables When the display is to be moved after speaker installation, do not hold the display by the speakers. Before connecting the speaker cables, unplug the Plasma Do not hold the speakers and raise the display. This Display from the power outlet. -
Page 5: How To Route Cables
English 2 How to route cables Speed clamps and bead bands are supplied for bunching cables. Once properly bunched, follow the steps below to route the cables. When the speakers are installed on the sides flush The below rear view shows mounting, however cable routing for set back mounting will be the same. - Page 6 PDP-S33-LR (for 43 in. (110 cm)) ........95 (W) x 652 (H) x 62 (D) mm Weight PDP-S34-LR (for 50 in. (127 cm)) ......1.7 kg PDP-S33-LR (for 43 in. (110 cm)) ......1.6 kg Accessory parts (for 2 speakers) ..............
- Page 7 English...
-
Page 8: Avant Usage
Français Merci pour votre achat de cet appareil Pioneer. VÉRIFICATION DES ACCESSOIRES Veuillez lire attentivement toutes ces instructions de 7 Câbles de haut-parleur x 2 fonctionnement avant d’utiliser votre enceinte acoustique de façon à pouvoir en tirer le meilleur profit. Après lecture complète du livret d’instructions de fonctionnement, le... -
Page 9: Installation Sur L'écran Plasma
Français INSTALLATION SUR L’ÉCRAN Montage en retrait PLASMA Effectuez l’installation avant de passer aux étapes 1 et 2 ci- après. Montage à ras 1 Fixez les attaches de montage sur les Effectuez l’installation avant de passer aux étapes 1 et 2 ci- haut-parleurs. - Page 10 Français BRANCHEMENT A L’ECRAN PLASMA ATTENTION 1 Branchez les câbles de haut-parleur. Si l’écran doit être déplacé après l’installation des haut-parleurs, ne le tenez pas par les enceintes. Ne Avant de connecter les cordons de haut-parleur, pas soulever l’écran en le tenant par les haut- débranchez l’écran à...
-
Page 11: Comment Cheminer Les Câbles
Français 2 Comment cheminer les câbles Des colliers rapides et des colliers à oeil sont fournis avec le système pour permettre la mise en faisceau des câbles. Après avoir constitué les faisceaux de câbles, procédez comme il est dit ci-dessous pour les faire cheminer. Si les enceintes sont montées de chaque côté... -
Page 12: Entretien Du Coffret
PDP-S33-LR (pour 43 pouces (110 cm)) .......... 95 (L) x 652 (H) x 62 (P) mm Poids : PDP-S34-LR (pour 50 pouces (127 cm)) ....1,7 kg PDP-S33-LR (pour 43 pouces (110 cm)) ....1,6 kg Pièces accessoires (pour 2 haut-parleurs) ............. - Page 13 Français...
-
Page 14: Antes De Usar
÷ Si experimentara alguna dificultad con la instalación, Ligeramente hacia atrás consulte a su distribuidor. ÷ Pioneer no se responsabiliza de ningún daño que Vea la siguiente descripción para los detalles de la instalación. pudiera derivarse de una instalación incorrecta, un uso inadecuado, la realización de modificaciones o... - Page 15 Español INSTALACIÓN EN LA PANTALLA Montaje hacia atrás DE PLASMA Efectúe la instalación de acuerdo con los pasos 1 y 2 siguientes. Montaje empotrado 1 Monte los accesorios de montaje en Efectúe la instalación de acuerdo con los pasos 1 y 2 los altavoces.
- Page 16 Español CONEXIÓN A UNA PANTALLA DE PLASMA PRECAUCIÓN 1 Cómo conectar los cables de los En caso de que desee mover la pantalla después de altavoces haber instalado los altavoces, no sujete la pantalla por los altavoces. No sujete los altavoces para Antes de conectar los cables de altavoz, desenchufe la levantar la pantalla, dado que esto puede causar pantalla de plasma de la toma de corriente.
- Page 17 Español 2 Cómo direccionar los cables Este sistema viene con abrazaderas rápidas y bandas de bola para agrupar los cables. Una vez que los cables estén agrupados correctamente, siga los pasos a continuación para encaminarlos. Cuando los altavoces están instalados en los lados En la vista posterior de abajo se muestra el montaje empotrado;...
- Page 18 PDP-S33-LR (para 43 pulgadas (110 cm)) ........95 (An) x 652 (Al) x 62 (Pr) mm Peso: PDP-S34-LR (para 50 pulgadas (127 cm)) ..... 1,7 kg PDP-S33-LR (para 43 pulgadas (110 cm)) ..... 1,6 kg Partes accesorias (para los dos altavoces) ............
- Page 19 (including warranty conditions) or any other information. In case the necessary information is not available, please contact the Pioneer's subsidiaries (regional service headquarters) listed below: PLEASE DO NOT SHIP YOUR PRODUCT TO THE COMPANIES at the addresses listed below for repair without advance contact, for these companies are not repair locations.


