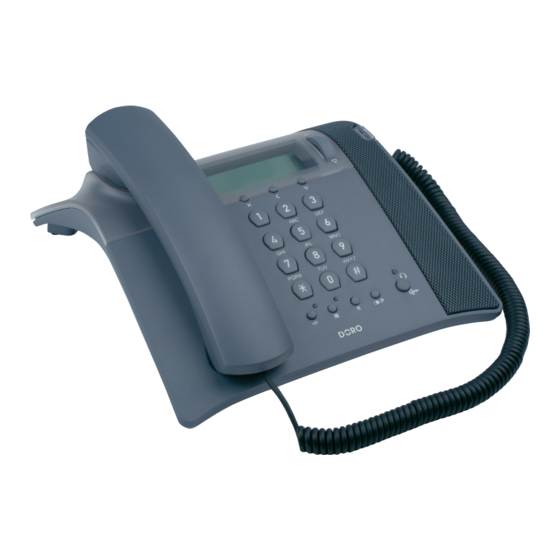
Sommaire des Matières pour Doro CONGRESS 305
- Page 1 English CONGRESS 305 French Business Telephone Téléphone professionnel de bureau Manual Manuel d'utilisation...
- Page 2 3 4 5...
-
Page 22: Connexion D'autres Appareils
Remarque! Le casque DORO d’origine est testé et adapté au modèle Congress 305 de DORO. Vous pouvez utiliser d’autres types ou marques de casque. Dans ce cas Doro ne peut pas garantir son fonctionnement correct. -
Page 23: Utilisation
En cours de communication, vous pouvez couper le micro en appuyant sur la touche . Appuyez à nouveau sur la touche Secret pour réactiver le micro. Quand le micro est coupé, le témoin lumineux au dessus de la touche s’allume et MICRO COUPE est affiché. www.doro.com... -
Page 24: Réglage Du Volume
également vous donner accès à des services additionnels proposés par les opérateurs. Les touches *, # et R vous permettront d’accéder à ces fonctions ou services complémentaires. Pour toute information, adressez-vous directement au fabricant du PABX ou à votre opérateur. www.doro.com... -
Page 25: Appel En Mains Libres
1. Appuyez sur . La tonalité est audible dans le casque. 2. Composez le numéro désiré. 3. Appuyez à nouveau sur pour mettre fin à la communication. En cours de conversation vous pouvez alterner entre les modes combiné et casque. www.doro.com... - Page 26 MENU REGLAGE Régler l’heure, la date, la langue, le LCR le coût de la communication, la touche R, la pause, DC/FV, prise de ligne automatique, l’appel en mémoire abrégée. SONNERIE Régler le volume et la mélodie de la sonnerie. CASQUE / AMPLI Pour sélectionner haut-parleur ou casque. www.doro.com...
-
Page 27: Répertoire
6.......... M N O 6 Ñ Ö Ò Ó Ô Ø 7.......... P Q R S 7 ß $ 8.......... T U V 8 Ü Ù Ú Û 9.......... W X Y Z 9 0.......... 0 + - @ & / % $ £ www.doro.com... - Page 28 Appeler les numéros en mémoire abrégée 1. Appuyez sur 2. Atteignez MEMOIRE ABREGEE. Appuyez sur 3. Atteignez le numéro/nom désiré. 4 . Appuyez deux fois sur pour appeler le numéro. Voir la page suivante pour appel direct/mémoire abrégée. www.doro.com...
- Page 29 6. Atteignez la ou les lettres désirée(s). Pressez la touche pour corriger le nom avec les touches numérotées. Voir le tableau de la page 27. Appuyez sur 7. Si vous choisissez mémoire abrégée, sélectionnez une plage . Appuyez . Enregistrez d’autres entrées ou quittez en sélectionnant www.doro.com...
-
Page 30: Présentation Du Numéro/Nom
Si le numéro ne peut être fourni par le réseau, l’afficheur indique les messages suivants: PAS DISPONIBLE Il s’agit d’un appel international ou d’un appel provenant d’un PABX (aucune information reçue) SECRET L’appel provient d’un numéro verrouillé ou hors annuaire ou d’un PABX. Indication de message envoyé par l’opérateur de votre réseau. www.doro.com... - Page 31 7. Appuyez sur 8. Choisissez d’enregistrer votre entrée dans le répertoire ou comme numéro en mémoire abrégée. Appuyez sur 9. Si vous choisissez mémoire abrégée, sélectionnez une plage . Appuyez . Enregistrez d’autres entrées ou quittez en sélectionnant www.doro.com...
-
Page 32: Réglage De L'heure Et De La Date
2. Atteignez MENU REGLAGES. Appuyez sur 3. Atteignez P. DE LIGNE AUTO Appuyez sur 4. Atteignez le réglage désiré. Appuyez sur Remarque! Quand la fonction NUM DIRECT est activée, vous ne pouvez pas utiliser la fonction de correction (voir page 23). www.doro.com... -
Page 33: Réglage De La Sonnerie
4. Atteignez le type de mélodie désiré . 5. Appuyez sur pour enregistrer. Sélectionner casque ou haut-parleur Sélectionnez cette fonction avec la touche 1. Appuyez sur 2. Atteignez CASQUE / AMPLI. Appuyez sur 3. Atteignez le réglage désiré. 4. Appuyez sur pour enregistrer. www.doro.com... - Page 34 6. Atteignez la partie droite de l’afficheur pour y entrer le numéro de remplacement (6 chiffres max., par exemple 930100). Appuyez sur Préxe de réseau automatique avec le LCR Si vous voulez utiliser la fonction LCR pour ajouter un préfixe à tous vos numéros de téléphone, laissez l’espace gauche vide. www.doro.com...
-
Page 35: Réglages Système
4. Atteignez le réglage désiré (DC / FV). Appuyez sur Pause des mémoires Certains services téléphoniques demandent une pause plus longue. 1. Appuyez sur 2. Atteignez REGLAGES. Appuyez sur 3. Atteignez MENU PAUSE. Appuyez sur 4. Atteignez le réglage désiré ( ). Appuyez sur www.doro.com... - Page 36 Choisissez une des quatre options suivantes: LED+, LED-, témoin lumineux ( ) et haute tension CC (HV). Quand le téléphone est utilisé sur une ligne analogique,, le témoin lumineux de sonnerie ( ) doit être sélectionné. www.doro.com...
-
Page 37: Dépannage
En tout état de cause, la garantie légale pour vices cachés s’appliquera conformément aux articles 1641 et suivants du Code Civil. Si vous avez des soucis d’utilisation, contactez notre Service d ‘Assistance Téléphonique au 08 92 68 90 18 ( N° Audiotel - 0,34 Euros/mn )). www.doro.com... - Page 40 www.doro.com...


