
Manuels Connexes pour Alt CIRCO 40742


Sommaire des Matières pour Alt CIRCO 40742
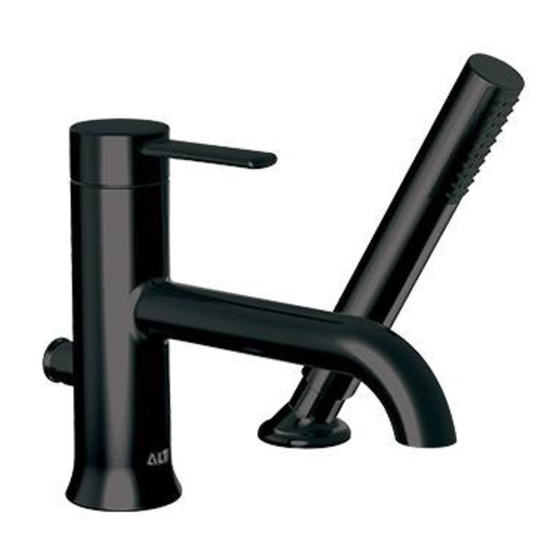
- Page 1 C IRCO 4 0 7 4 2 2-PIECE DECKMOUNT TUB FILLER WITH HANDSHOWER ROBINET DE BAIN 2 MCX AVEC DOUCHETTE Installation & Care Guide Guide d’installation et d’entretien last revision: 15/03/2021...
-
Page 2: Félicitations Pour L'achat De Votre Produit Alt
Félicitations pour l’achat de purchase of your Alt product votre produit Alt By purchasing an Alt product, you are taking part in En achetant un produit Alt, vous prenez part au the global movement for better living. We take pride in mouvement global pour le mieux-vivre. - Page 3 FAUCET COMPONENTS COMPOSANTES DU ROBINET SPECS AT LARGE / SCHÉMA DES PIÈCES ALT75084501 : handle / poignée ALT75084601 : decorative dome / dôme decoratif ALT75084700 : large nut / écrou large ALT76069900 : cartridge / cartouche ALT75084801 : body faucet / corps du robinet ALT75084900 : aerator / aérateur ALT75085001 :diverter / déviateur ABFH14591...
-
Page 4: Before You Start Avant De Commencer
BEFORE YOU START AVANT DE COMMENCER MISE EN GARDE: POUR OBTENIR UN RÉSULTAT CAUTION: FOR BEST RESULTS, WE STRONGLY OPTIMAL, NOUS RECOMMANDONS FORTEMENT QUE RECOMMEND THE INSTALLATION OF THIS FAUCET BE L’INSTALLATION DE CE ROBINET SOIT FAITE PAR UN DONE BY A LICENSED PLUMBER. PLOMBIER ACCRÉDITÉ. - Page 5 INSTALLATION Installing the Spout Prior to installation, pierce the required 2 holes onto your deckmount. Refer to general dimensions p. 4 for hole size. To facilitate future maintenance, ensure access to rough-in. WE RECOMMEND DRILLING A 1-1/2” DIAMETER HOLE FOR THE INSERTION OF THE FAUCET. Screw the water supply hoses to the faucet (1).
- Page 6 INSTALLATION Installing the handshower Insert the one piece base (decorative flange, threaded rod) into the deckmount hole. Secure with supplied tie-down kit (4 and 5) (see Fig. 3). Insert the chrome hose (2) into the base hole (smaller 3/8 hex nut end).
-
Page 7: Cartridge Replacement
INSTALLATION Cartridge replacement Remplacement de la cartouche Start by shutting off water supply lines and then turn on to drain the faucet. To replace the cartridge (5), pull out the handle (1) by removing the set screw (2). Pull out the dome cap (3) and the nut (4). - Page 8 INSTALLATION Aerator cleaning Nettoyage de l’aérateur To clean the aerator, using the special aerator key (provided) remove the aerator (1) from the spout. Then soak it in a vinagar and water solu- tion to remove lime build-up. Once parts have been cleaned, reinsert the aerator.
- Page 9 CARE SOIN To clean your ALT faucet or accessory, wash with a Pour nettoyer et conserver l’apparence de vos robinets ou accesoires ALT, lavez-les avec un linge wet nonabrasive soapy cloth. Then wipe dry with a soft towel or cloth. We recommend this be done on mouillé...
-
Page 10: Warranty Garantie
Nous sommes fiers our brand and certify that ALT products carry a limited lifetime warranty de notre marque et certifions que les produits ALT offrent une garantie à vie against defects in materials and workmanship.