Table des Matières
Publicité
Les langues disponibles
Les langues disponibles
Liens rapides
Publicité
Table des Matières

Manuels Connexes pour Kraus Oletto KPF-2631


Sommaire des Matières pour Kraus Oletto KPF-2631
- Page 1 INSTALLATION MANUAL/ MANUEL D'INSTALLATION Oletto Single Handle Commercial Style Kitchen Faucet / Robinet de cuisine de style commercial à poignée simple Oletto KPF-2631 www.kraususa.com I Toll Free/Numéro sans frais: 1.800.775.0703 I © 2021 Kraus USA Inc. I REV. March 4, 2021...
- Page 2 Congratulations on the purchase of your new Kraus plumbing fixture! Félicitations pour l’achat de votre nouvel accessoire de plomberie Kraus! Please keep the box and packaging materials until your product is completely installed. If you have any questions, require technical assistance or have any problems with your product / Veuillez conserver la boîte et le matériau d’emballage jusqu'à...
-
Page 3: Prior To Installation
Prior to Installation: · Make sure you have all necessary parts by checking the diagram and parts list. If any part is missing or damaged, please contact Kraus Customer Service at 800-775-0703 for a replacement. · Turn off the hot and cold water supply at the angle stops and turn on the old faucet to release any built up pressure. -
Page 4: Avant L'installation
Il convient de vérifier que toutes les pièces nécessaires sont présentes en consultant le schéma et la liste des pièces. Si une pièce est manquante ou endommagée, veuillez communiquer avec le service à la clientèle de Kraus au 1 800 775-0703 pour obtenir une pièce de rechange. -
Page 5: Diagram And Parts List / Schéma Et Liste Des Pièces
Diagram and Parts List / Schéma et liste des pièces A. Spray Head B. Faucet Body C. Escutcheon D. Gasket Easy Install Assembly Weight G. Weight Clip H. Quick Connector 2.5mm Hex Wrench 6mm Hex Wrench A. Tête de pulvérisation B. -
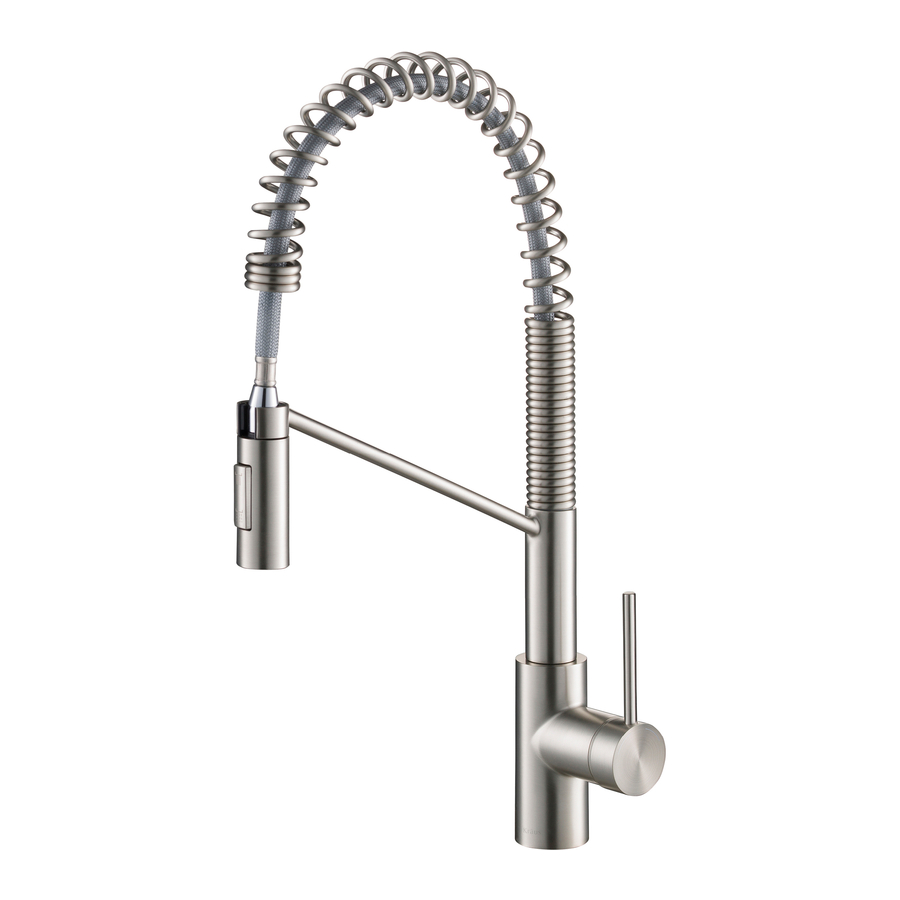
Page 6: Faucet Dimensions / Dimensions Du Robinet
Faucet Dimensions / Dimensions du robinet 10 3/4" [274.6mm] 11" 10 1/4" [279.6mm] [259mm] 9 1/8" [233.2mm] 2" [52mm] 2 1/2" [62mm] 3/8”-compression Installer Tip: Shut off main water supply before installing new faucet. / Conseil à l'intention de l'installateur: Couper l'approvisionnement en eau principale avant d'installer le nouveau robinet. - Page 7 Step 1A: Installing the easy install assembly (without escutcheon) Étape 1A : Installation de l'ensemble de montage facile (sans écusson) Shut off the water supply. Remove the old faucet. Clean the mounting surface. Check for the proper thickness of the sink. Insert the base (a) into sink. If your model does have a escutcheon, skip to step 1B.
- Page 8 Step 2. Installing the easy install assembly Étape 2. Installation de l'ensemble de montage facile Press the base (a) and escutcheon (C) so that they can not move, then turn the screws with the provided hex wrench (J, HEX: 6.0mm) clockwise, as shown Fig 1. When the mounting plates (b) make contact with the sink (1), continue to turn the screw with the provided hex wrench (J, HEX: 6.0mm) clockwise, as shown Fig 2, until the base (a) is completely tightened and secured, as shown Fig.4.
- Page 9 Step 3. Installing the faucet / Étape 3. Installation du robinet Insert the hose (1), supply lines (2) and quick connect hose (3) one by one through the hole of the base (a). Carefully insert the hoses into the base. Place the faucet assembly onto the base (a) as shown in the above figure.
-
Page 10: Remarques
Step 4. Securing the faucet assembly Étape 4. Fixer l'assemblage du robinet Install the weight clip (G) at the point of the hose marking "weight here". Insert the weight (F) onto the weight clip (G) by sliding it down onto the weight clip (G). Installez l'attache du poids (G) à... - Page 11 Step 6. Flush faucet / Étape 6. Robinet à chasse d'eau Pull the hose assembly out of the spout and remove the sprayer (A) by unscrewing it from the hose in a counterclockwise direction. Be sure to hold the end of the hose down into the sink and turn the faucet on to the warm position where it mixes hot and cold water.
-
Page 12: Replacement Parts
Replacement Parts Replacement Parts List Finish / Color Part # CH, MB, SFS, 1. Sprayer KP27250 SFACB, BB* 2. Washer KP27251 BLBB,GRSFS,GRCH, 3. Sprayer Hose KP27252 BLMB,BLSFACB* CH, MB, SFS, 4. Spring Assembly KP27253 SFACB, BB* 5. Inverter KP27254 GR, BL* 6. -
Page 13: Pièces De Rechange
Pièces de rechange Liste des pièces de rechange Fini/couleur Pièce no CH, MB, SFS, KP27250 1. Pulvérisateur SFACB, BB* 2. Rondelle KP27251 CH, MB, SFS, 3. Tuyau de pulvérisateur KP27252 SFACB, BB* CH, MB, SFS, 4. Assemblage de ressort KP27253 SFACB, BB* 5. -
Page 14: Care & Maintenance
Troubleshooting If you have followed the instructions carefully and your faucet still does not work properly, take the following corrective steps: PROBLEM CAUSE ACTION Leakage under the Bonnet nut (9) has Remove the index (13). Loosen screw (12) handle come loose with hex wrench (20). -
Page 15: Dépannage
Dépannage Si vous avez suivi attentivement les instructions et que votre robinet ne fonctionne toujours pas correctement, prenez les mesures correctives suivantes : PROBLÈME CAUSE ACTION Fuite sous la poignée L'écrou de chapeau (9) s'est Retirer l'index (13).Desserrer la vis (12) avec la desserré... - Page 16 Any product reported to the authorized dealer or to Kraus as being defective within the warranty period will be repaired or replaced with a product of equal value at the option of Kraus. This warranty extends to the original owner or end-user, and is not transferable to a subsequent owner.
-
Page 17: Commercial Warranty
This warranty gives you specific legal rights, and you may also have other rights which vary from state to state. KRAUS USA has the right to change, modify, and/or update the warranty policy at any time. For the latest, most up to date comprehensive warranty, go to www.kraususa.com/warranty... -
Page 18: Garantie Du Robinet
Kraus garantit que la structure et le fini du produit sont exempts de tout défaut de matériau et de fabrication dans le cadre d'une utilisation normale pendant toute la durée de vie du produit. La garantie commence à la date d'achat initiale par le propriétaire ou le professionnel, auprès d'un distributeur agréé... -
Page 19: Garantie Commerciale
La présente garantie vous accorde des droits spécifiques reconnus par la loi, et vous pouvez également avoir d'autres droits qui varient d'un État à l'autre. KRAUS USA a le droit de changer, de modifier ou de mettre à jour la politique de garantie en tout temps. Pour obtenir la garantie complète la plus récente, consultez le site www.kraususa.com/warranty. -
Page 20: Important
IMPORTANT Register Your Kraus Product / Enregistrez votre produit Kraus Activate Your Warranty / Activez v otre garantie Access Premium Customer Support / Accédez au soutien à la clientèle supérieur Get Product Information / Obtenez des informations sur les produits...