Table des Matières
Publicité
Liens rapides
Publicité
Table des Matières

Manuels Connexes pour Kraus KGD-410B


Sommaire des Matières pour Kraus KGD-410B
- Page 1 INSTALLATION MANUAL / MANUEL D'INSTALLATION Granite Kitchen Sinks / Éviers de cuisine en granit KGD-410B / KGD-412B / KGD-433B / KGU-413B / KGU-434B www.kraususa.com I Toll Free/Numéro sans frais: 1.800.775.0703 I © 2018 Kraus USA Inc. I REV. August 20, 2020...
- Page 2 Congratulations on the purchase of your new Kraus plumbing fixture! Félicitations pour l’achat de votre nouvel accessoire de plomberie Kraus! Please keep the box and packaging materials until your product is completely installed. If you have any questions, require technical assistance or have any problems with your product / Veuillez conserver la boîte et le matériau d’emballage jusqu'à...
- Page 3 Toll-Free: 800-775-0703 or customerservice@kraususa.com Pour obtenir un soutien technique ou des pièces de rechange, veuillez communiquer avec le service à la clientèle de Kraus et l'un de nos représentants se fera un plaisir de vous aider : Numéro sans frais : 1 800 775-0703 ou customerservice@kraususa.com The step-by-step guidelines in the installation instructions are a general reference for installing a Kraus sink.
-
Page 4: Tools You Will Need / Outils Nécessaires
REMARQUE: Des outils spécialisés peuvent être nécessaires pour installer les éviers de cuisine en granit Kraus avec des matériaux de comptoir autres que le bois, le marbre ou le granit. Parts List / Liste des pièces ·... - Page 5 Hardware (Included) / Matériel (inclus) Kit for Drop-In Kit for Undermount Installation Installation / Trousse d’installation / Trousse d'installation encastrée en surface Important · Instructions may vary depending on countertop material. Read all instructions carefully, and ensure that counters are compatible with sink installation before proceeding.
-
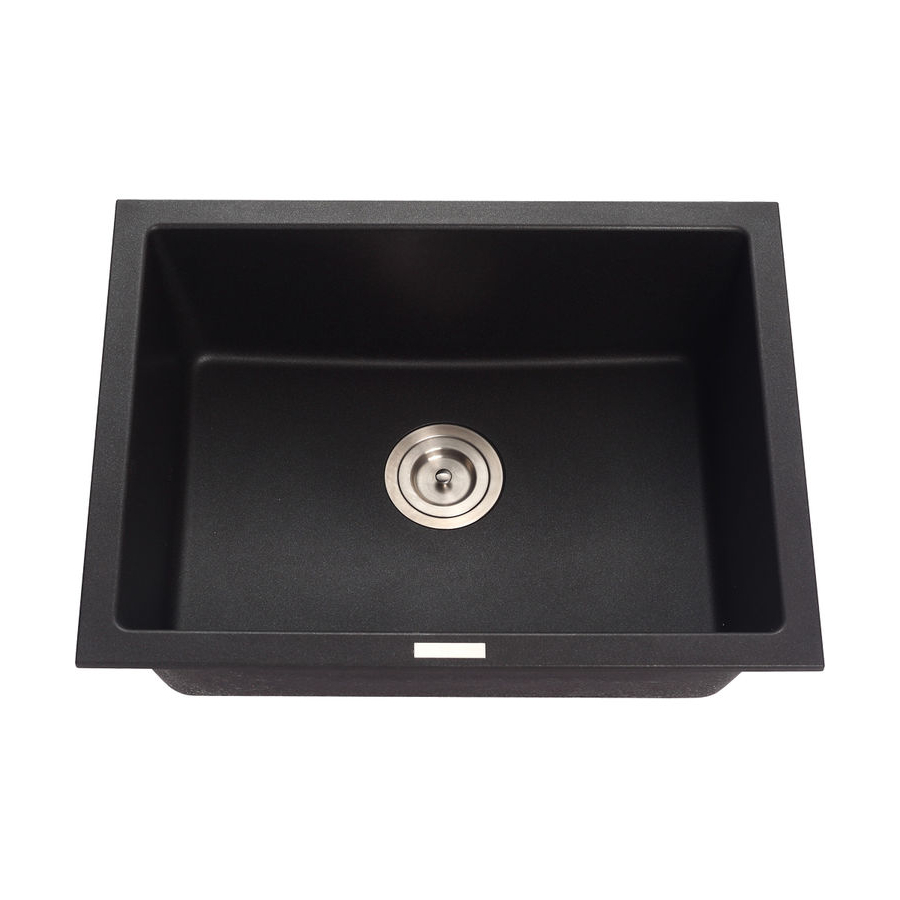
Page 6: Dimensions
R 3/4" (20mm) (20mm) Model # / No de modèle: KGD-410B Model # / No de modèle: KGD-412B Sink Dimensions / Dimensions de l'évier: 33” x 22” x 9 1/2” Sink Dimensions / Dimensions de l'évier: 33” x 22” x 9 3/4”... - Page 7 Dimensions 30 1/2" R 3/8" (774mm) (10mm) 1/4" (5mm) R 3/8" (10mm) 3 1/2" (92mm) Ø 4 5/8" (118mm) 1/4" (5mm) 28 3/8" (720mm) 1 1/8" 1 1/8" (27mm) (27mm) R 1/8" 3/8" (3mm) (9mm) R 1/4" (6mm) R1/2" (12mm) R 3/4"...
-
Page 8: Trace Opening / Tracer L'ouverture
Option A: DROP-IN INSTALLATION / INSTALLATION EN SURFACE 1. Trace Opening / Tracer l’ouverture · Locate the drop-in template in the box. · Trouver le gabarit d’installation en surface dans la boîte. Cut carefully along the dotted lines. Keep the inside portion of the template. It contains important ·... -
Page 9: Cut Opening / Couper L'ouverture
2. Cut Opening / Couper l’ouverture · Using the drill, make a small starting hole of about 1/2” on the inside of the cutting line. À l’aide d’une perceuse, faire un petit trou de première mèche d'environ 1,5 cm (1/2”) à l'intérieur ·... - Page 10 3. Add Additional Faucet Hole (Optional) / Ajouter un trou de robinet supplémentaire (facultatif) · Determine the location of the faucet. · Déterminer l'emplacement du robinet. · Place the sink upside down on a suitable flat surface. Placer l'évier à l'envers sur une surface plane appropriée. ·...
-
Page 11: Install Sink / Installation De L'évier
4. Install Sink / Installation de l'évier · Clean and dry the surface around the opening of the sink. · Nettoyer et sécher la surface autour de l'ouverture de l'évier. Verify that the sink fits correctly in the opening. The edge of the sink must sit on the counter. ·... -
Page 12: Install Drain / Installation De La Goulotte De Vidange
5. Install Drain / Installation de la goulotte de vidange Insert the metal strainer into the rubber seal, and then into the drain hole. · · Insérer la crépine métallique dans le joint en caoutchouc, puis dans l’orifice de vidange. ·... - Page 13 Option B: UNDERMOUNT INSTALLATION / INSTALLATION ENCASTRÉE 1. Trace Opening / Tracer l’ouverture · Locate the undermount template in the box. · Trouver le gabarit d’installation encastrée dans la boîte. Cut carefully along the dotted lines. Keep the inside portion of the template. It contains important ·...
- Page 14 2. Cut Opening / Couper l’ouverture · Using the drill, make a small starting hole of about 1/2” on the inside of the cutting line. · À l’aide d’une perceuse, faire un petit trou de première mèche d'environ 1,5 cm (1/2”) à l'intérieur de la ligne de coupe.
- Page 15 3. Add Additional Faucet Hole (Optional) / Ajouter un trou de robinet supplémentaire (facultatif) · Determine the location of the faucet. Déterminer l'emplacement du robinet. · · Place the sink upside down on a suitable flat surface. · Placer l'évier à l'envers sur une surface plane appropriée. Using the 32mm (1 1/4”) diamond hole saw at high power (1500tr.
- Page 16 4. Install Sink / Installation de l'évier · Turn the sink upside down. Align the sink with the cutting line on the counter. · Retourner l'évier. Aligner l'évier avec la ligne de découpe du comptoir. Using a pencil, mark 10 spots around the frame at a distance of about 1/4” (6.4mm) from the edge ·...
-
Page 17: Install Sink (Continued) / Installation De L'évier (Suite)
4. Install Sink (Continued) / Installation de l’évier (suite) Apply a small quantity of silicone-based sealant (not included) around the cutting line, 1/8” · away from the edge of the counter. · Appliquer une petite quantité d’agent d'étanchéité à base de silicone (non inclus) autour de la ligne de coupe, à... - Page 18 4. Install Sink (Continued) / Installation de l’évier (suite) 15/64 po Diameter / Diamètre de 15/64 po Depth Stop Underneath / Butée de the Counter / profondeur Sous le comptoir 3/8" SEALANT / COUNTER / AGENT D’ÉTANCHÉITÉ COMPTOIR BRASS INSERT / GARNITURE EN LAITON SINK / ÉVIER SUPPORT / SOUTIEN RING / BAGUE...
- Page 19 5. Install Drain / Installation de la goulotte de vidange · Insert the metal strainer into the rubber seal, and then into the drain hole. · Insérer la crépine métallique dans le joint en caoutchouc, puis dans l’orifice de vidange. ·...
-
Page 20: Maintenance, Entretien
Ne pas utiliser de produits de nettoyage abrasifs, d'outils de ponçage, de laine d'acier ou de produits de blanchiment. Download the Kraus Care & Maintenance Guide at / Téléchargez le guide d'entretien de Kraus à l'adresse : http://www.kraususa.com/maintenance... -
Page 21: Commercial Warranty
Any product reported to the authorized dealer or to Kraus as being defective within the warranty period will be repaired or replaced with a product of equal value at the option of Kraus. This warranty extends to the original owner or end-user, and is not transferable to a subsequent owner. - Page 22 Kraus USA, Inc. 12 Harbor Park Drive Port Washington, NY 11050 Toll-free 800-775-0703 Customerservice@kraususa.com If you are a plumbing contractor or trade professional please contact a Kraus Pro Representative at: Kraus USA, Inc. 12 Harbor Park Drive Port Washington, NY 11050 516-801-8955 Proservice@kraususa.com...
-
Page 23: Garantie Commerciale
La garantie n'est pas transférable. Kraus garantit que la structure et le fini du produit sont exempts de tout défaut de matériau et de fabrication dans le cadre d'une utilisation normale pendant toute la durée de vie du produit. La garantie commence à la date d'achat initiale par le propriétaire ou le professionnel, auprès d'un distributeur agréé... - Page 24 La présente garantie vous accorde des droits spécifiques reconnus par la loi, et vous pouvez également avoir d'autres droits qui varient d'un État à l'autre. KRAUS USA a le droit de changer, de modifier ou de mettre à jour la politique de garantie en tout temps. Pour obtenir la garantie complète la plus récente, consultez le site www.kraususa.com/warranty .
-
Page 25: Important
IMPORTANT Register Your Kraus Product / Enregistrez votre produit Kraus Activate Your Warranty / Activez v otre garantie Access Premium Customer Support / Accédez au soutien à la clientèle supérieur Get Product Information / Obtenez des informations sur les produits...