Table des Matières
Publicité
Les langues disponibles
Les langues disponibles
Liens rapides
tekmarNet
1. Location
2. Remove Mounting Base
3. Install Mounting Base
Thermostat
Base
A Watts Water Technologies Company
®
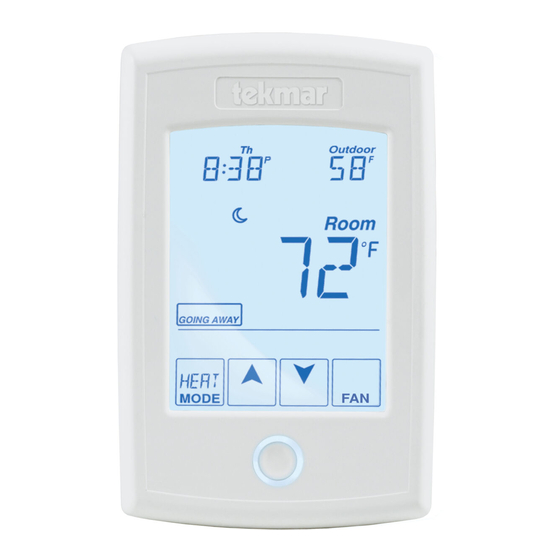
Thermostat 552
Quick Setup Guide
Exterior
Wall
Stud
1
3
/
"
4
Switch
(83 mm)
Box
Behind
Door
Thermostat
Base
1
552 _ Q
Zoning
Replaces: 12/13
Interior
Wall
5 feet
1.5 m
Stud
Wall
© 2014
552_Q - 02/14
02/14
Publicité
Table des Matières

Manuels Connexes pour Watts Tekmar tekmarNet Thermostat 552


Sommaire des Matières pour Watts Tekmar tekmarNet Thermostat 552
- Page 1 1. Location Interior Wall Behind Door 5 feet 1.5 m Exterior Wall 2. Remove Mounting Base 3. Install Mounting Base Stud Thermostat Thermostat Base Stud Base ” Switch (83 mm) Wall A Watts Water Technologies Company © 2014 552_Q - 02/14...
-
Page 2: Switch Settings
To tN2 device To tN4 device Thermostat Thermostat Standalone - Switching Relay 24 V Rh W1 Switching Relay Zone 1 Zone 2 Zone 3 Thermostat H N H N Pump A Watts Water Technologies Company © 2014 552_Q - 02/14... -
Page 3: User Interface
Adjust the Temperature Turn the Home Button. Heat on Return to the ‘Home’ or Off Screen from any menu. Home Press and hold for 3 Button seconds to access the programming menus A Watts Water Technologies Company © 2014 552_Q - 02/14... - Page 4 Product design, software and literature are Copyright ©2014 by tekmar Control Systems Ltd., A Watts Water Technologies Company. Head Offi ce: 5100 Silver Star Road, Vernon, B.C. Canada V1B 3K4, 250-545-7749, Fax. 250-545-0650 Web Site: www.tekmarControls.com All specifications are subject 552_Q - 02/14.
-
Page 5: Emplacement
2. Retirez la base de montage 3. Installez la base de montage Base de Goujon Base de Stud Thermostat Thermostat thermostat Goujon thermostat Base Stud Base Commutateur ” Switch (83 mm) boîte Wall Une Entreprise de Watts Water Technologies © 2014 552_Q - 02/14... -
Page 6: Réglages Des Commutateurs
Thermostat Thermostat Relais de commutation - Autonome 24 V Rh W1 Relais de commutation Switching Relay Zone 1 Zone 2 Zone 3 Thermostat H N H N Pompe Pump Une Entreprise de Watts Water Technologies © 2014 552_Q - 02/14... -
Page 7: Installer Le Thermostat
Activer ou Bouton daccueil. Revenir à déactiver la l’écran «Home» (Accueil) depuis n’importe quel menu. chaleur Appuyez et maintenez Home enfoncé pendant 3 secondes pour accéder aux menus de programmation Une Entreprise de Watts Water Technologies © 2014 552_Q - 02/14... -
Page 8: Paramètres Critiques
Conception de produit, logiciel et littérature sont des droits réservés ©2014 par tekmar Control Systems Ltd., Une Entreprise de Watts Water Technologies. Bureau Principal: 5100 Silver Star Road, Vernon, B.C. Canada V1B 3K4, 250-545-7749, Téléc: 250-545-0650 Site Web: www.tekmarControls.com Toutes spécifications sont sujettes à... - Page 9 2. Quite la base de montaje 3. Instalación de la base de montaje Base del Stud Base del Thermostat Thermostat termostato termostato Base Base Stud Caja de ” Switch (83 mm) interruptor Pared Wall Una Compañía de Watts Water Technologies © 2014 552_Q - 02/14...
-
Page 10: Ajustes Del Interruptor
Termostato Termostato Relé de acoplado – Independiente 24 V Rh W1 Switching Relay Relé de acoplado Zone 1 Zone 2 Zone 3 Termostato H N H N Bomba Pump Una Compañía de Watts Water Technologies © 2014 552_Q - 02/14... -
Page 11: Instalación Del Termostato
Botón Inicio. Vuelva a Prender o la pantalla inicial desde apagar la cualquier otro menú. calefacción Mantenga presionado por Home 3 segundos para acceder al menú del programa Una Compañía de Watts Water Technologies © 2014 552_Q - 02/14... - Page 12 El diseño del producto, software y la literatura poseen derechos reservados ©2014 a nombre de tekmar Control Systems Ltd., Una Compañía de Watts Water Technologies Ofi cina Principal: 5100 Silver Star Road, Vernon, B.C. Canadá V1B 3K4, 250-545-7749, Fax. 250-545-0650 Sitio web: www.tekmarControls.com Todas las especificaciones pueden cambiar 552_Q - 02/14.