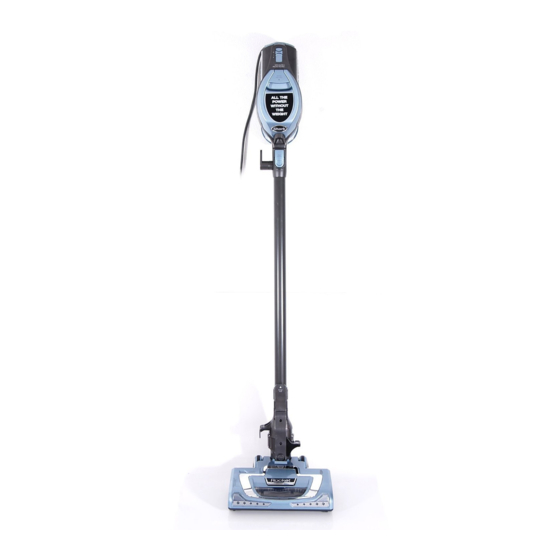
Sommaire des Matières pour shark Rocket UV450 Série
- Page 1 OWNER’S GUIDE MANUEL DU PROPRIÉTAIRE MANUAL DEL USUARIO UV450 series 8 0 0 . 7 9 8 . 7 3 9 8 w w w . s h a r k r o c k e t . c o m...
-
Page 2: Technical Specifications
Filter Kit (Foam & Felt): Every month XFFV300 ���������������������������������������������������������� Merci d’avoir fait l’achat de l’aspirateur sans aucune perte de succion Shark Pour une liste de ce qui est inclus avec ce modèle, reportez-vous au rabat Rocket intérieur de la boîte. -
Page 3: Important Safeguards
READ ALL INSTRUCTIONS BEFORE USE IMPORTANT SAFEGUARDS When using an electrical appliance, basic safety precautions should WAND ATTACHMENTS always be observed, including the following: 21 DO NOT use if air flow is restricted; if the air paths, the wand, or the WARNING accessories become blocked, turn the vacuum cleaner off. -
Page 4: Consignes De Sécurité Importantes
LISEZ TOUTES LES INSTRUCTIONS AVANT L’UTILISATION CONSIGNES DE SÉCURITÉ IMPORTANTES Lorsque vous utilisez un appareil électrique, des précautions de sécurité de 20 N’UTILISEZ PAS si le récipient à poussière et/ou les filtres ne sont pas en place. base devraient toujours être suivies, incluant celles qui suivent : ACCESSOIRES POUR BOYAU AVERTISSEMENT 21 N’UTILISEZ PAS si le débit d’air est restreint;... -
Page 5: Medidas Importantes De Seguridad
LEA COMPLETAMENTE LAS INSTRUCCIONES ANTES DE UTILIZARLO MEDIDAS IMPORTANTES DE SEGURIDAD Al usar aparatos eléctricos, siempre debe seguir precauciones básicas de 20 NO la utilice sin el recipiente de la tierra y/o los filtros instalados en su lugar. seguridad, incluyendo las siguientes: ACCESORIOS PARA LA MANGUERA ADVERTENCIA 21 NO los use si el flujo de aire está... - Page 6 Insert the tube into the floor nozzle connector. Insert the handheld portion into the top of the tube. ASSEMBLY CLICK CLICK Insérez le tube dans le raccord de la brosse à planchers. Insérez la section portative à l’extrémité du tube. ASSEMBLAGE Inserte el tubo dentro del conector del cabezal para pisos.
- Page 7 This vacuum has a 2-speed POWER slider Plug the unit into an outlet. Slide the POWER Slide the POWER switch to the second position FLOOR switch, optimized for bare floor, delicate area switch to the first position to clean bare floor to clean carpets.
- Page 8 This vacuum has the reach to clean up above Stand the vacuum upright. Step on the colored NOTE: Select cleaning accessories are included floors or in tight spaces by using the tube. It foot pedal on the floor nozzle and pull the tube with this model.
-
Page 9: Almacenamiento
There are 2 recommended ways to store this OPTION 2: Use the wall mount that was Note: For added strength screw the plastic vacuum. included in the vacuum box. Drill two 5/16” anchors directly into studs. holes and insert plastic anchors provided into OPTION 1: Press the colored button on the wall. - Page 10 12” Crevice tool On-board upholstery tool Dusting brush Hard Floor Genie™ Washable microfiber pads ACCESSORIES 30,5 cm Suceur plat Outil intégré pour mobilier Brosse à épousseter Hard Floor Genie Linge en microfibre lavable INCLUDED rembourré 12” Cabezal esquinero Cepillo limpiador Hard Floor Genie™...
- Page 11 à l’avant de la base. Ensuite, N’utilisez pas de javellisant ou de produits N’utilisez que les linges fournis par Shark tirez fermement les deux autres onglets autour assouplissants puisqu’ils pourraient POUR puisqu’ils sont conçus pour fonctionner avec les...
- Page 12 EMPTY THE DUST CUP Clean the dust screen inside the dust cup as Tap loose dirt off filters between washes as needed. required. Insert the felt filter first and then place the foam filter Detach the handheld portion from the rest of on top of it.
- Page 13 CHECK FOR BLOCKAGES BOTTOM OF FLOOR NOZZLE Remove any string, carpet fibers or hair that may be wrapped around the brush roll. There is REMOVE AND INSPECT: Use a coin to unlock the 3 locks on the bottom MAINTENANCE a groove on the brush bar that allows a pair of of the floor nozzle.
-
Page 14: Diagnóstico De Problemas
Vacuum is not picking up dirt. Brush roll does not spin Vacuum turns off on its own No suction or light suction. • If brush roll indicator light on the floor nozzle • This vacuum cleaner is equipped with a motor •... -
Page 15: Garantie Limitée De Cinq (5) Ans
FIVE-YEAR (5) LIMITED WARRANTY GARANTIE LIMITÉE DE CINQ (5) ANS GARANTÍA LIMITADA DE CINCO (5) AÑOS EURO-PRO Operating LLC warrants this product to be free EURO-PRO Operating LLC garantit ce produit contre toute EURO-PRO Operating LLC garantiza este producto contra from material defects and workmanship for a period of five défectuosité... - Page 16 EURO-PRO Operating LLC Newton, MA USA 02459 Ville St. Laurent, Québec Canada H4S 1A7 UV450.26.E.F.S.141017.1 Printed in China Illustrations may differ from actual product. Imprimé en Chine Les illustrations peuvent différées du produit réel. © 2014 Euro-Pro Operating LLC Impreso en China El dibujo puede no ser igual al producto real.


