Publicité
PWM / ATS – Adjusting and Testing Software
Mounting wizard for LIC 41xx
Anbauassistent für LIC 41xx
Assistant au montage pour l'LIC 41xx
Assistente al montaggio per LIC 41xx
Asistente para el montaje para LIC 41xx
Mounting Instructions
Montageanleitung
Instructions de montage
Istruzioni di montaggio
Instrucciones de montaje
LIC 4113/LIC 4193
LIC 4115/LIC 4195
LIC 4117/LIC 4197
LIC 4119/LIC 4199
03/2019
Publicité
Table des Matières

Sommaire des Matières pour HEIDENHAIN LIC 41 Série
- Page 1 PWM / ATS – Adjusting and Testing Software Mounting Instructions Montageanleitung Instructions de montage Istruzioni di montaggio Instrucciones de montaje LIC 4113/LIC 4193 LIC 4115/LIC 4195 Mounting wizard for LIC 41xx Anbauassistent für LIC 41xx LIC 4117/LIC 4197 Assistant au montage pour l‘LIC 41xx Assistente al montaggio per LIC 41xx LIC 4119/LIC 4199 Asistente para el montaje para LIC 41xx...
-
Page 2: Avertissements
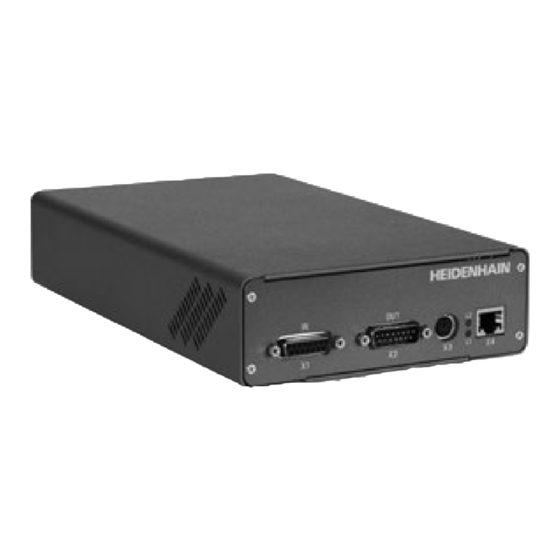
Warnings Warnhinweise Avertissements Avvertenze Advertencias Note: Mounting and commissioning is to be conducted by a qualified specialist under compliance with local safety regulations. The system must be disconnected from power! Achtung: Die Montage und Inbetriebnahme ist von einer qualifizierten Fachkraft unter Beachtung der örtlichen Sicherheitsvorschriften vorzunehmen. Die Anlage muss spannungsfrei geschaltet sein! Attention : Le montage et la mise en service doivent être assurés par un personnel qualifié... - Page 3 È disponibile anche per il download gratuito nella homepage HEIDENHAIN nella sezione Software-Downloads. El sistema de medida de ángulo de fase PWM 2x junto con el software ATS sirve para el ajuste y diagnóstico de los sistemas de medida HEIDENHAIN. Está...
-
Page 4: Adjustment And Diagnosis
Adjustment and Diagnosis Justage und Diagnose Réglage et diagnostic Taratura e diagnostica Ajuste y diagnóstico PWM 20/ PWM 21 Connect the encoder. Messgerät anschließen. Raccorder le système de mesure. Collegare il sistema di misura. Conectar el aparato de medida. Establish a connection to the encoder. Verbindung zum Messgerät herstellen. - Page 5 Enter the encoder ID number. If the ID number is accepted, continue with Step 8. Eingabe der Geräte-ID-Nummer. Bei Annahme der ID-Nummer weiter mit Punkt 8. Introduction du numéro ID de l’appareil. Après la validation du numéro ID, suite avec le point 8. Immissione del numero ID dello strumento.
- Page 6 If the ID number is not accepted, continue with “Manual settings” of the device parameters. Bei Nichtannahme der ID-Nummer weiter mit Manuelle Einstellung der Geräteparameter. Click Si le numéro ID n’est pas accepté, poursuivre avec le réglage manuel des paramètres de l’appareil. In caso di mancata accettazione del numero ID proseguire con l’impostazione manuale dei parametri dello strumento.
- Page 7 Check the 5 V and EnDat settings. Do not adjust the voltage over the sensor line. Auf Einstellung 5 V und z.B. EnDat achten. Spannung über Sensorleitung nicht nachregeln. Attention au réglage 5 V et EnDat. Ne pas réguler la tension via la liaison sensor. Verificare l’impostazione 5 V e EnDat.
- Page 8 Before attaching the encoder, check the encoder data. • Encoder interface: EnDat • Supply voltage [V]: • Adjust voltage: Caution: The entry of incorrect data may damage the encoder, the interface card or the PC. Vor Anschluss des Messgerätes, Messgerätedaten überprüfen. •...
- Page 9 Click...
- Page 10 Click “LIC Mounting” . Auf LIC-Anbau klicken. Cliquer sur montage LIC. Cliccare su installazione LIC. Hacer click en Montar LIC. Click Adjust the scanning head in the area of the midpoint of measuring length. Die Justage des Abtastkopfes im Bereich der Mitte der Messlänge durchführen. Procéder à...
- Page 11 Continue to turn the scanning head slightly (if required, gently tap it) to adjust the incremental track to the max. attainable bar length. Durch weiteres leichtes Drehen (evtl. leichtes Klopfen) des Abtastkopfes, Inkrementalspur auf max. erreichbare Balkenlänge einstellen. Continuer à tourner légèrement la tête captrice (éventuellement en tapotant légèrement dessus) de manière à...
- Page 12 Tighten the screws. Schrauben festziehen. Serrer les vis. Serrare le viti. Apretar los tornillos. = 1.15 Nm = 27 1.5 Ncm If there is an error message, the max. incremental signal was not attained. The moiré angle of the scanning head has to be adjusted better as described in step 11.
- Page 13 Traverse the scanning unit over the entire measuring length (pay attention to the minimum values). Abtasteinheit über die ganze Messlänge verfahren (Minimumwerte beachten). Déplacer la tête captrice sur toute la longueur de la course (attention à la course minimum). Traslare l’unità di scansione sull’intera corsa utile (rispettare i valori minimi). Desplazar el cabezal a lo largo de todo el curso de medida (tener en cuenta los valores mínimos).
- Page 14 AK LIC 411, AK LIC 419 AK LIC 411 Upon successful completion of mounting, exit the mounting wizard. When the mounting wizard is exited, a further dialog appears for the Beenden des Anbauassistenten nach erfolgreichem Anbau. obligatory functional safety encoder check. Quitter l’assistant de montage une fois le montage effectué.
- Page 15 AK LIC 411, AK LIC 419 AK LIC 411 Separate the connection to the encoder. (With the LIC 4005, first tension The additional description can be found under Help the scale tape before you separate the connection). User’s Manual (Chapter 5.6). Verbindung zum Messgerät trennen.
- Page 16 DR. JOHANNES HEIDENHAIN GmbH Dr.-Johannes-Heidenhain-Straße 5 83301 Traunreut, Germany { +49 8669 31-0 | +49 8669 32-5061 E-mail: info@heidenhain.de Technical support | +49 8669 32-1000 Measuring systems { +49 8669 31-3104 E-mail: service.ms-support@heidenhain.de NC support { +49 8669 31-3101 E-mail: service.nc-support@heidenhain.de...


