Table des Matières
Publicité
Les langues disponibles
Les langues disponibles
Liens rapides
Publicité
Table des Matières

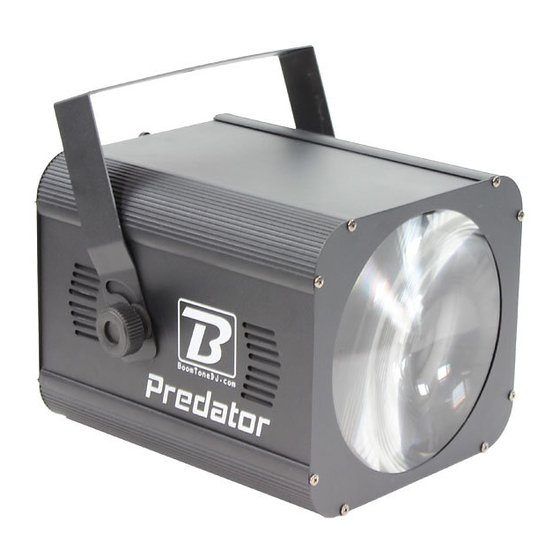
Sommaire des Matières pour BoomToneDJ Predator RGBW
- Page 1 -Predator- - RGBW- MODE D’EMPLOI – USER MANUAL...
-
Page 2: Instructions De Sécurité
Français 1- Instructions de sécurité Avant d’utiliser votre matériel, nous vous recommandons de lire l’ensemble des instructions de ce manuel. WARNING Conservez ce manuel pour une future consultation. Si vous revendez cet appareil, veillez à transmettre également ce manuel d’utilisation au nouvel acquéreur. ... -
Page 3: Présentation Du Predator
2-Présentation du Predator Bouton : 1 MENU Sélection des fonctions 2 UP Navigation vers le haut 3 DOWN Navigation vers le bas 4 ENTER Validation de la sélection 5 DMX output:Pour la connexion du câble DMX de sortie ( vers un autre appareil DMX). -
Page 4: Caractéristiques Techniques
3- Caractéristiques techniques 2 canaux DMX MODES : DMX, maître/Esclave, automatique et automatique avec détection Audio 256 x LED 5mm Très haute luminosité (R:64, G:64, B: 64;W:64) Affichage 4 Digits Faisceau très large Alimentation : AC 100V-240V~50/60Hz ... -
Page 5: Canaux Dmx
A. Utilisation en mode AUTO ou SON avec fonction Maître/Esclave. En MODE Maître /Esclave, le 1er Predator commande les suivants. Ce mode est très pratique lorsqu’il vous faut faire une installation rapide avec un résultat immédiat. Predator est automatiquement configuré en Maître si un programme AUTO est Le 1 sélectionné. -
Page 6: Mode Dmx (Connexion Dmx)
Mode DMX (Connexion DMX) Si vous utilisez un contrôleur équipé d’une sortie DMX en XLR 5 points, vous devez vous procurer un adaptateur XLR 5 points/3 points. Sur le dernier appareil de la chaine DMX, il est conseillé d’utiliser un « bouchon DMX ». -
Page 7: Dépannage
5- Dépannage Voici quelques suggestions si vous rencontrez des problèmes avec votre appareil Predator. L’appareil ne fonctionne pas du tout. o Vérifiez le cordon d’alimentation et le fusible. o Assurez-vous que votre prise soit bien alimentée. L’appareil ne répond pas ou pas correctement aux commandes DMX. o Vérifiez vos câbles DMX o Vérifiez votre adressage DMX o Essayez un autre contrôleur DMX... -
Page 8: Safety Instructions
English 1- Safety Instructions Please read the instructions carefully which includes important information about the installation, operation and maintenance. WARNING Please keep this User Manual for future consultation. If you sell the fixture to another user, be sure that they also receive this instruction booklet. ... -
Page 9: Unit Description
2- Unit Description Display Button: 1 MENU To select the programming functions 2 UP To go forward in the selected functions 3 DOWN To go backward in the selected functions 4 ENTER To confirm the selected functions 5 DMX output:For DMX512 link, use 3/5-pin XLR plug cable to link the next unit. 6 Microphone:Receive music for the sound active. -
Page 10: Technical Specifications
3- Technical Specifications DMX channels: 2 channels DMX, master/slave and sound active modes 256 high powered 5mm LEDs (R:64, G:64, B: 64;W:64) Produces unique and exciting LED criss-cross patterns that may be projected on a wall, ceiling or dance floor ... -
Page 11: Function Mode
4- Function MODE Function Features and Value A001 Press"UP"or"DOWN"set DMX address Sound mode 1 Sound mode 2 RUNx Slow running mode FAS t Fast running mode 4 digital LED full all times leon/loff LoFF LED display off no any operation in 1 min. By Master/Slave built-in program function. - Page 12 DMX Value Channel Value Function 001-002 No function 003-063 Slow running mode 064-127 Fast running mode 128-191 Sound mode 1 192-255 Sound mode 2 0-255 Stand alone and customer program speed...
- Page 13 DMX 512 Connection The DMX 512 is widely used in intelligent lightings and with a maximum of 512 channels. If you using a controller with 5 pins DMX output, you need to use a 5 to 3 pin adapter-cable. At last unit, the DMX cable has to be terminated with a terminator. Solder a 120 ohm 1/4W resistor between pin 2(DMX-) and pin 3(DMX+) into a 3-pin XLR-plug and plug it in the DMX-output of the last unit.
-
Page 14: Fixture Cleaning
5. Troubleshooting Following are a few common problems that may occur during operation. Here are some suggestions for easy troubleshooting: The fixture does not work, no light o Check the connection of power and main fuse. o Measure the mains voltage on the main connector. ...


