Publicité
Les langues disponibles
Les langues disponibles
Liens rapides
Publicité
Chapitres

Manuels Connexes pour Casselin CLV35


Sommaire des Matières pour Casselin CLV35
- Page 1 Lave-verres et lave-vaisselles Casselin CLV35 - CLV35AD - CLV35PV CLV40 - CLV40PV- CLV40PVAD CLVA50-CLVA50PV-CLVA50PVAD CASSELIN SAS Tél : +33 (0) 4 82 92 60 00 185A rue Louise Labbé Fax : +33 (0) 4 83 07 51 01 69970 Chaponnay Mail : contact@casselin.com...
-
Page 2: Table Des Matières
F/B/CH SOMMAIRE A. Installation 1 Introduction 2 Mise en place de l’appareil 3 Raccordement hydraulique et branchement électrique B. Utilisation 1. Introduction 2 Préparation de la machine 3 Réglages et contrôles Fonctionnement Entretien Version 270114... -
Page 3: Installation
A.INSTALLATION Version 270114... -
Page 4: Introduction
1. Introduction Version 270114... -
Page 5: Mise En Place De L'appareil
Les lave verres ont été projetées et réalisés en conformité aux normes suivantes : Directive basse tension 73/23/CEE EN 60335-1 sécurité des appareils électriques EN 60335-52 normes spécifiques pour lave-vaisselles de collectivité. Les instructions contenues dans cette notice donnent des indications précieuses et importantes en ce qui concerne la sécurité... - Page 6 inférieure au minimum requis, il faudra envisager d'installer d'une pompe supplémentaire (disponible en option). Si la pression statique est supérieure à 400 kPa (4 bar), l'installation d'un réducteur de pression en amont de la tuyauterie d'alimentation devient nécessaire. Vérifier que la température de l'eau d'alimentation soit au moins égale à...
-
Page 7: Utilisation
en le branchant au bornier réservé à cet effet et en le bloquant à l'aide du serre-câble. Eviter de tirer sur le câble d'alimentation. Vérifier les thermostats de sécurité du réservoir de chauffe F-B3 (si prévu) en poussant le bouton de réenclenchement manuel. La machine est réglée de série avec une température du chauffe-eau de 85°C. - Page 8 La température de l’eau d’alimentation doit être comprise entre 55°C et 60°C. La température de la cuve de lavage est en effet réglée par un thermostat programmé sur 55°C environ. C’est à cette température de 55°C que les caractéristiques chimiques des détergents pour le lavage industriel donnent des meilleurs résultats.
-
Page 9: Fonctionnement
Contrôles Un certain nombre de contrôles doivent être effectués avant d’utiliser la machine. Contrôler le niveau de l’eau et de sa température Contrôler le niveau du liquide de rinçage Contrôler la température de l’alimentation d’eau Additifs de lavage (ne pas oublier de remplir les tuyaux d’alimentation et de nettoyer les trous de la cuve). -
Page 10: Entretien
vaisselle. Afin de limiter au maximum l’entretien de la machine, il est recommandé de nettoyer la vaisselle de papier, aliments auparavant, si nécessaire, tremper la vaisselle dans l’eau savonneuse. Pompe de vidange (si installée) Laisser l’interrupteur de ligne A-1 appuyer sur la position « I ». Extraire le trop plein (C2) à... - Page 11 fonctionnement de la machine et de ses dispositifs de sécurité, et au risque de perdre la garantie. Vidanger complètement la machine en suivant la procédure décrite ci-dessus. Arrêter l'appareil en appuyant sur le bouton de ligne (A-1) (position "0"). ...
- Page 12 Il est impératif de rendre l’appareil inutilisable avant son élimination en retirant le câble d’alimentation électrique. CASSELIN SAS Tél : +33 (0) 4 82 92 60 00 185A rue Louise Labbé Fax : +33 (0) 4 83 07 51 01 69970 Chaponnay Mail : contact@casselin.com France Version 270114...
- Page 13 Dishwasher Casselin CLV35 - CLV35AD - CLV35PV CLV40 - CLV40PV- CLV40PVAD CLVA50-CLVA50PV-CLVA50PVAD Version 270114...
- Page 14 F/B/CH SOMMAIRE A. Installation 1 Introduction 2 Installation 3 Plumbing and electric connexion B. Using 1. Introduction 2 Preparing the appliance 3 Checking and controls Operating Cleaning and care Version 270114...
-
Page 15: Installation
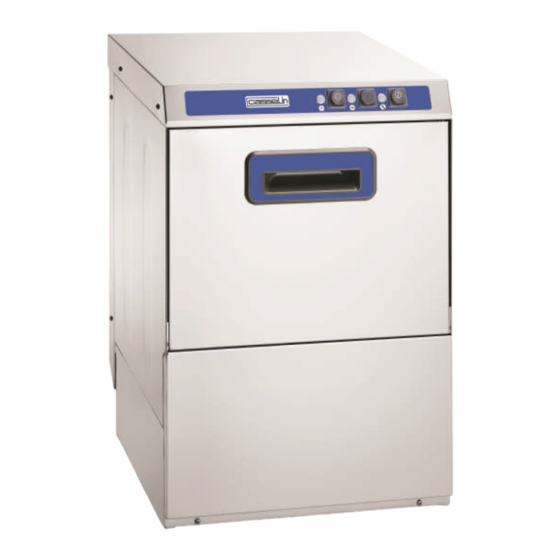
A.INSTALLATION 1- Line activation button 2- Regenerating cycle starting button 3- Draining pump button 5- Connecting light control 6- Cycle light control 7- Heating element control light Version 270114... -
Page 16: Introduction
1. Introduction The dishwasher has been conceived in conformity with the following norms: Low voltage directive 73/23/CEE EN 60335-1 Electric Appliances Security EN 60335-52 Particular norms regarding dishwasher for catering Please take note of this user’s manual before installing and using your appliance. Keep this operating manual for reference with your appliance: it has been drawn up for your Version 270114... -
Page 17: Installation
own and other people’s safety and to ensure a perfect use of the appliance. If the appliance is sold or transferred to someone else, ensure that the manual is with it. Read this operating manual completely before installing and working with the appliance. We do no accept any reponsibility for damages due to non observance of these operating instructions. - Page 18 Minimum water supply pressure, measured at the machine water intake during final rinsing (flow pressure) must not be less than 150kPa (1.5bar) or more than 400Kpa (4bar) even when other taps are opened on the same line. To prevent pressure or load drops, we recommend that each appliance should have its own supply pipeline, that is sufficiently short and of adequate size.
-
Page 19: Using
manual reset button. The appliance is set with a heating temperature of 85°C. You can change it by turning the screw of thermostat. The installation must be conformed to the normative CEI64.8 (IEC 364). Safety instructions The skilled personnel performing the installation and the electric connections are requested to instruct the user about the functions of the appliance and the safety indications to respect. -
Page 20: Preparing The Appliance
Following the technical sheet install adapted electrical, water and drain lines in the area where the appliance will be placed. A few basic rules must be observed when using the appliance: Never remove it from its original installation site. Make sure the water supply gate valve is opened before starting the appliance. Never wash the appliance with direct or high pressure water jets. -
Page 21: Operating
spaced out of 10sec during the washing cycle until the tube is full. Contact an qualified technician to calibrate. Bluish marks on the dishes and foam in the wash tank are due to excessive quantity of rinsing agent. If the dishes are covered with droplets of water and dry rather slowly, the amount of rinsing agent is insufficient. - Page 22 Instruction for use Place the basket in the tank, close the door. The cycle length can be noticed on the data sheet. For the model without automatic detergent dosing device, pour the recommended dose of industrial no-foam detergent into the tank. If using powdered detergent we recommend pouring regularly into the tank not in the same place.
-
Page 23: Cleaning And Care
5. CLEANING AND CARE Routine maintenance The appliance must be cleaned inside at least twice a day or whenever there are solid particles in the wash pump filter C4. Drain the water by un plugin the over flow C2. For appliance equipped with drain pump, remove the overflow, press A3 until the tank is completely empty, push main button A1 on O position. - Page 24 CASSELIN SAS Tél : +33 (0) 4 82 92 60 00 185A rue Louise Labbé Fax : +33 (0) 4 83 07 51 01 69970 Chaponnay Mail : contact@casselin.com France Version 270114...