Publicité
Liens rapides
Setup Guide
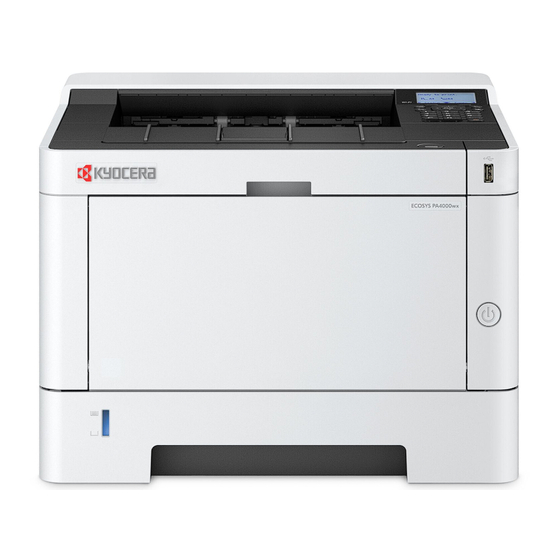
ECOSYS PA4000wx
Refer to the following URL.
Please scan the code on the right.
Or please check the following URL.
Printer Driver & Utility Install
Manual Download
https:/ /kyocera.info/
https:/ /kyocera.inst-guide.com/te11f/
kyoceradocumentsolutions.com
2024.04
3VC1F5603101
Publicité

Manuels Connexes pour Kyocera ECOSYS PA4000wx


Sommaire des Matières pour Kyocera ECOSYS PA4000wx
- Page 1 Setup Guide ECOSYS PA4000wx 2024.04 3VC1F5603101 Printer Driver & Utility Install Manual Download Refer to the following URL. https:/ /kyocera.info/ Please scan the code on the right. Or please check the following URL. https:/ /kyocera.inst-guide.com/te11f/...
- Page 3 Installation Environment Recommended Installation Space Kyocera Recommends selecting the Location for the machine as follows: 200 mm (7.88") 1 Room Temperature range: 50 to 90.5 °F (10 to 32.5 °C) 2 Humidity Level: 10 to 80% 3 Power: A dedicated 120VAC 60Hz 8.2 A outlet Avoid the following locations when selecting a site for the machine.
- Page 4 Setup toner container. ① ② ③ ④ Step 2 Loading Paper Pull the cassette completely out of the Fan the paper, then tap it on a level surface. machine. Load paper. Adjust the paper length and width guide to the paper size required. + Set print side face-down.
- Page 5 Step 3 Powering on the Machine Connect the power cord to the rear of Turn the power switch ON at the front the machine and the other end to the of the machine. power outlet. Connect network cables as needed. Step 4 Default Settings of the Machine Press [ ] [ ] key to select default The settings can be configured in a...
- Page 6 Report Print Job Log History Exit Step 6 Installing Software Access the following URL and select your model and OS. Download Center: https://kyocera.info/ For Windows For Mac Download and run the Web Installer and Download and run the printer driver and follow the on-screen instructions to install the follow the on-screen instructions to install.
- Page 7 Environnement d’installation Espace recommandé pour l’installation Concernant le choix de l’emplacement d’installation de la machine, Kyocera 200 mm (7.88") recommande ce qui suit : 1 Plage de température de la pièce : 10 à 32,5 °C (50 à 90,5 °F) 2 Niveau d’humidité...
- Page 8 Ouvrez le capot supérieur, retirez l’élément de fixation, puis refermez le capot supérieur. ① ② ③ ④ Étape 2 Chargement du papier Retirez complètement la cassette de la ma Aérez le papier, puis égalisez-le sur une chine. surface plane. Ajustez les guides de longueur et de Chargez le papier.
- Page 9 Étape 3 Mise sous tension de la machine Branchez le cordon d’alimentation à Allumez l’interrupteur d’alimentation à l’arrière de la machine et l’autre l’avant de la machine. extrémité à la prise de courant. Connectez les câbles réseau selon vos besoins. Étape 4 Paramètres par défaut de la machine Appuyez sur la touche [ ] [ ] pour Les paramètres peuvent être...
- Page 10 Hist. jrnl trav Quitter Étape 6 Installation du logiciel Accédez à l’URL suivante et sélectionnez votre modèle et votre système d’exploitation. Centre de téléchargement : https://kyocera.info/ Pour Windows Pour Mac Téléchargez et exécutez le programme Téléchargez et exécutez le pilote de d’installation Web et suivez les instructions à...
- Page 11 Entorno de instalación Espacio de instalación recomendado Kyocera le recomienda seleccionar la ubicación de la máquina del siguiente modo: 200 mm (7.88") 1 Intervalo de temperatura ambiente: De 10 a 32,5 °C (de 50 a 90,5 °F) 2 Nivel de humedad: Del 10 al 80 %...
- Page 12 Configurez le conteneur de toner. ① ② ③ ④ Paso 2 Carga del papel Tire del cassette completamente para Sople el papel y después dele unos sacarlo de la máquina. golpecitos sobre una superficie plana. Cargue el papel. Ajuste las guías de longitud y ancho del papel al tamaño del papel necesario.
- Page 13 Paso 3 Encendido de la máquina Conecte el cable de alimentación a la Encienda el interruptor de alimentación parte posterior de la máquina y el otro en la parte delantera de la máquina. extremo a la toma de corriente. Conecte los cables de red según sea necesario.
- Page 14 Hist. reg. tbjs Salir Paso 6 Instalación del software Acceda a la siguiente URL y seleccione su modelo y su SO. Centro de descargas: https://kyocera.info/ Para Windows Para Mac Descargue y ejecute el instalador web y siga Descargue y ejecute el controlador de las instrucciones de la pantalla para instalar el impresión y siga las instrucciones de la...
- Page 15 Ambiente de instalação Espaço de instalação recomendado A Kyocera recomenda selecionar o local da máquina da seguinte forma: 200 mm (7.88") 1 Faixa de temperatura ambiente: 10 a 32,5°C (50 a 90,5°F) 2 Nível de umidade: 10 a 80% 3 Potência: Uma tomada dedicada de 120VAC...
- Page 16 Configurar contêiner de toner. ① ② ③ ④ Etapa 2 Colocando papel Puxe o cassete completamente para Deixe o papel ventilar e depois bata em fora da máquina. uma superfície nivelada. Ajuste a guia de comprimento e a largura do Coloque o papel.
- Page 17 Etapa 3 Ligando a máquina Conecte o cabo de alimentação à parte Ligue o interruptor de alimentação na traseira da máquina e a outra parte frontal da máquina. extremidade à tomada elétrica. BR-PT Conecte os cabos de rede conforme necessário. Etapa 4 Configurações padrão da máquina Pressione a tecla [ ] [ ] para As configurações podem ser definidas...
- Page 18 Histór arq trab Sair Etapa 6 Instalando o software Acesse o URL a seguir e selecione seu modelo e sistema operacional. Centro de download: https://kyocera.info/ Para Windows Para Mac Baixe e execute o Instalador da Web e siga as Baixe e execute o driver da impressora e siga instruções na tela para instalar o driver e o...
- Page 20 © 2024 KYOCERA Document Solutions Inc. The Kyocera logo is a trademark of Kyocera Corporation. 3VC1F5603101...