Publicité
Liens rapides
Histoires d'eau
MD
Once upon a time... water
Conserver ce guide après l'installation car il contient des informations utiles pour le service et la garantie.
Keep these instructions after you have finished the installation, it contains useful information regarding service and warranty.
®
Instructions d'installation - Garantie
Installation Instructions - Warranty
Numéro de série / Serial number
102686
102691
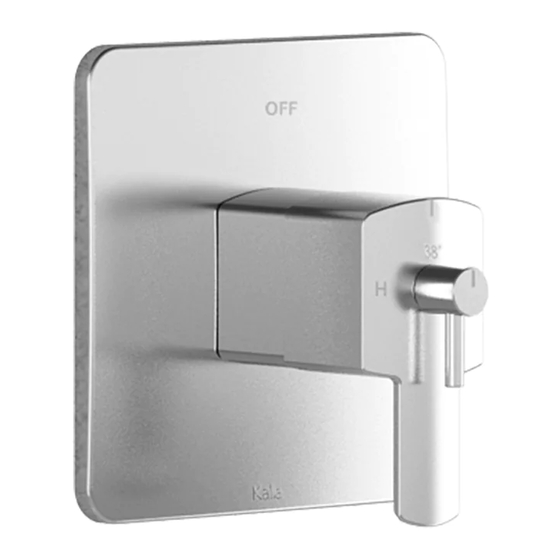
Ensemble de finition pour valve ther-
mostatique coaxiale avec sélecteur
Thermostatic Coaxial Valve with
Selector Decorative Trim
09/14
www.KaliaStyle.com
102790
Publicité

Sommaire des Matières pour Kalia 102686
- Page 1 102686 102691 Ensemble de finition pour valve ther- mostatique coaxiale avec sélecteur Thermostatic Coaxial Valve with Histoires d’eau Selector Decorative Trim Once upon a time... water ® www.KaliaStyle.com Instructions d’installation - Garantie Installation Instructions - Warranty Numéro de série / Serial number Conserver ce guide après l’installation car il contient des informations utiles pour le service et la garantie.
- Page 2 Merci d’avoir choisi Kalia! Thank you for choosing Kalia! Thank you for choosing a Kalia product and for Merci d’avoir choisi un produit Kalia et de faire placing your trust in our company. confiance à notre entreprise. Kalia business philosophy based Kalia a une philosophie d’affaires basée sur...
- Page 3 102686 Schéma des pièces Parts Diagram Outil / Provided tools Instruction Part list_Shower Faucets.xlsx Grafik Coaxial 102686 * Liste des pièces Parts List Grafik Coaxial Trim kit 102686 Assemblage Numéro de pièce Qté totale Description Assembly Part Number Total qty...
- Page 4 KONTOUR 102691 Schéma des pièces Parts Diagram Outil / Provided tools Instruction Part list_Shower Faucets.xlsx Kontour Coaxial 102691 * Liste des pièces Parts List Kontour Coaxial Trim kit 102691 Assemblage Numéro de pièce Qté totale Description Assembly Part Number Total qty Ensemble manette / Handle assembly 101181-XXX * Capuchon décoratif / Handle cap...
- Page 5 Outils et matériaux nécessaires Necessary Tools and Materials Perceuse électrique Electric drill Tournevis Phillips et plat Flat and Phillips screwdriver Thermomètre Thermometer Etape 1 - Installation de Fig. 1.1 la plaque de montage Important : S’assurer que les deux pignons de la valve soient alignés verticalement au C identifié...
- Page 6 Insert the decorative plate on the Fig. 2.5 mounting connector and make sure the logo Kalia is at the bottom (fig. 2.1). Slide the handle base on the connector and screw M5 x 8mm screws (fig. 2.2) until the mounting plate is well sealed against the wall (fig.
- Page 7 Etape 3 - Apposer les autocollants Valider ce que chaque position de la valve met en fonction. Apposer les autocollants appropriés sur les points de la plaque Fig. 3.1 décorative selon les configurations (fig. 3.1). Step 4 - Apply stickers Validate which function is activated by each position.
- Page 8 Kalia. Les dommages par un your Kalia product. Damages resulting from inappropriate handling are not traitement inapproprié ne sont pas couverts par la garantie Kalia.
- Page 9 Notes 102790...
- Page 10 Notes 102790...
- Page 11 (1) year from the initial date of purchase propriétaire/utilisateur, l’entrepreneur ou le constructeur. by the owner/end-user, contractor or builder from an authorized dealer. If the product is sold by Kalia Inc. as a display item, a one RESTRICTIONS COMMERCIALES (1) year warranty applies.
- Page 12 Kalia inc. 1355, 2 Sainte-Marie (Québec) Canada G6E 1G9 t. 1-418-387-9090 1 877 GO KALIA (1-877-465-2542) f. 1-418-387-9089 www.KaliaStyle.com Imprimé au Canada / Printed in Canada 102790...


