Table des Matières
Publicité
Les langues disponibles
Les langues disponibles
Liens rapides
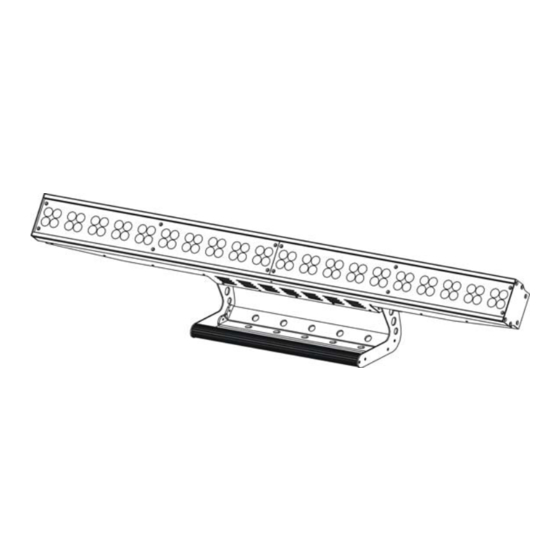
LED BAR 1241 RGBW
MANUEL D'UTILISATION
Nous vous recommandons de lire attentivement le manuel avant toute
utilisation
TABLES DES MATIERES
1.
2.
3.
4.
4.2 Contrôleur CA8
4.3 Contrôleur DMX universel
5.
6.
7.
8.
1-
Publicité
Chapitres
Table des Matières
Dépannage

Manuels Connexes pour Nicols LED BAR 1241 RGBW


Sommaire des Matières pour Nicols LED BAR 1241 RGBW
-
Page 1: Table Des Matières
TABLES DES MATIERES Instructions de sécurité LED BAR 1241 RGBW Caractéristiques techniques Réglages de l’appareil 3.1 Panneaux de commandes 3.2 Fonctions principales Fonctionnement de l’appareil 4.1 Master/Slave 4.2 Contrôleur CA8 4.3 Contrôleur DMX universel Configuration DMX 512 Connexion DMX 512 Dépannage de l’appareil... -
Page 2: Instructions De Sécurité
1. Instructions de sécurité Le boitier et les lentilles ne doivent être remplacés s’ils sont endommagés. Lire attentivement les consignes ci-après. Elles contiennent des informations Il n’y a pas de pièces détachées à l’intérieur de l’appareil. Ne tentez pas de réparer ou importantes sur la sécurité... -
Page 3: Fonctions Principales
Affichage : Pour montrer les divers modes et les fonctions choisies sélectionnée ou au rythme de la musique. Les fonctions principales sont détaillées ci-dessous Entrée DMX MASTER Mode Master SLAVE Mode Slave SOUND Clignotant Mode musical Bouton MENU Pour choisir les différentes fonctions DOWN Pour revenir en arrière dans les fonctions Pour avancer dans les fonctions... - Page 4 Adresse DMX Le mode couleur Appuyez sur le bouton MENU jusqu'a ce que DMX Address s’affiche. Appuyez ensuite sur Appuyez sur le bouton MENU jusqu’à ce que Color Mode s’affiche. Appuyez ensuite sur le le bouton ENTER. L'affichage clignote. Utilisez les boutons DOWN et UP pour changer bouton ENTER.
- Page 5 pour valider. A défaut, vous allez retourner automatiquement sur le menu des fonctions sur le bouton ENTER, puis sur UP et DOWN pour ajuster la valeur et enfin, appuyez de principales sans aucun changement enregistré si vous attendez plus de 8 secondes avant nouveau sur ENTER pour choisir d’autres choix.
-
Page 6: Fonctionnement De L'appareil
Firmware Version Stand By Blackout de l’appareil Appuyez sur le bouton MENU jusqu’à ce que Firmware Version clignote. Appuyez sur le Fonctions 1. Strobe synchro Sélection de la Select ion des Sélection de la bouton ENTER. L’affichage indique la version du logiciel de l’appareil. Appuyez sur le 2. -
Page 7: Configuration Dmx 512
5. Configuration DMX 512 Face avant... -
Page 8: Connexion Dmx 512
6. Connexion DMX 512 1. Si vous utilisez une télécommande avec une sortie DMX 5 points, vous avez besoin d'utiliser un adaptateur afin d'avoir une sortie DMX 3 points. 2. Sur le dernier appareil, le câble DMX doit avoir un bouchon de terminaison afin de réduire les défauts du signal. -
Page 9: Dépannage De L'appareil
7. Dépannage de l’appareil 8. Entretien de l'appareil Vous trouverez ci-dessous une liste de problèmes qui pourraient survenir lors de Le nettoyage de l'appareil (système d’optique interne et externe) doit être fait régulièrement l'utilisation de votre appareil. Nous vous apportons quelques suggestions pour pour que le rendu lumineux soit optimum. -
Page 10: Safety Instruction
TABLE OF CONTENTS 1. Safety Instruction Please read carefully the instruction, which includes important information about the installation, usage and maintenance. WARNING 1. Safety Instruction Please keep this User Guide for future consultation. If you sell the unit to another user, be sure that they also receive this instruction booklet. -
Page 11: Technical Specification
The housing, the lenses must be replaced if they are visibly damaged. Caution 3. How To Set The Unit There are no user serviceable parts inside the unit. Do not open the housing or attempt 3.1 Control Panel any repairs yourself. In the unlikely event your unit may require service, please contact your nearest dealer. -
Page 12: Main Function
Keep the installation safe. 3.2 Main Function To select any of the given functions, press the MENU button up to when the required one is showing on the display. Select the function by ENTER button and the display will blink. Use DOWN and UP button to change the mode. - Page 13 DMX Address slave 2 mode. Once selected, press the ENTER button to store. Back to the main functions without any change press the MENU button (or wait for 8 seconds to exit menu mode). Press the MENU button up to when the DMX Address is showing on the display. Press ENTER button and the display will blink.
-
Page 14: How To Control The Unit
Manual Test Firmware Version Press the MENU button up to when the Manual Test is showing on the display. Press Press the MENU button up to when the Firmware Version is blinking on the display. Pressing ENTER button and the display will show the version of software of the unit. To go ENTER button and Red 1 will blink, use UP and DOWN button to choose Green 1 or Blue 1 back to the functions press the MENU button. -
Page 15: Dmx 512 Configuration
512 channel so that the units can receive DMX signal. Press the MENU button up to when the DMX Address is showing on the display. Press ENTER button and the display will blink. Use DOWN and UP button to change the DMX512 address. -
Page 16: Dmx512 Connection
4.5 DMX512 Connection... -
Page 17: Troubleshooting
1. If you using a controller with 5 pins DMX output, you need to use a 5 to 3 pin 9. Try to use another DMX controller. adapter-cable. 10. Check if the DMX cables run near or run alongside to high voltage cables that may 2.