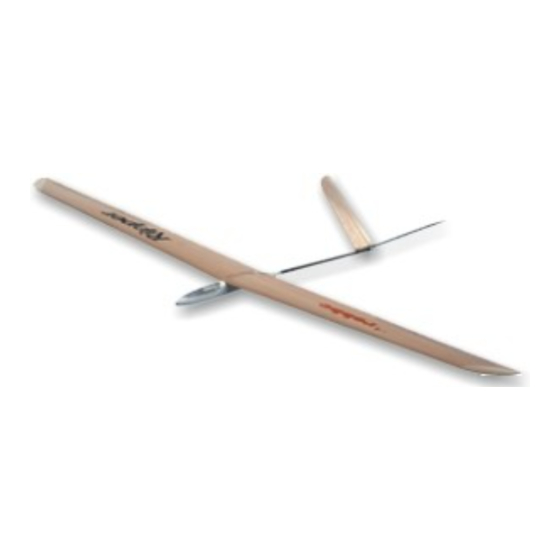
Sommaire des Matières pour ROBBE Ripper
- Page 1 Ripper 3031 Montage- und Bedienungsanleitung Assembly and operating instructions Notice de montage et d´utilisation Ripper No. 3031...
- Page 2 Étaler la bande de tissu de verre jointe de telle sorte que le joint à renforcer l’aile et les empennages réunis soit couvert en haut et en bas par la bande et de la colle époxy. robbe Modellsport GmbH & Co. KG robbe Form 40-46341 BBAA...
- Page 3 - Die Scharniere der Höhenruder sind bereits eingeklebt. Technische Änderungen vorbehalten Notes Continued development of the Ripper hand-launch glider has resulted in two modifications compared with the building instructions - The wing attachment pin now consists of a 2 mm steel rod instead of the 3 x 8 mm spruce dowel - The elevator hinges are now factory-fitted and glued.
- Page 4 Leitwerkshälften bis zur Trocknung des Klebstoffs unterlegen. Accessoires non contenus mais indispensables à la mise en œuvre pour les pions des guignols, mettre les guignols en place et les fixer avec - Oberfläche versiegeln: Wir empfehlen die farblose Gestaltung mit robbe du modèle les contreplaques.
- Page 5 35° templates from card and support the tail panels on them while the glue is drying. Essential items not included in the kit - Sealing the surfaces: we recommend applying robbe wood wax for an 3 Micro-servos, e.g. S 3103 Nano, Order No. F 1273 attractive „polished wood“ finish.
- Page 6 Ripper Ripper 3031 Ripper 3031 Maße in mm, dimensions in mm, cotes en millimètres Scharnierband (Dekor) Adhesive tape (decals) Adhésif (autocollants) ø 4 ° "B" C.G. 18 mm "D"...
- Page 7 Ripper 3031 robbe Modellsport GmbH & Co. KG Metzloserstr. 36 Telefon: 06644 / 87-0 36355 Grebenhain...


