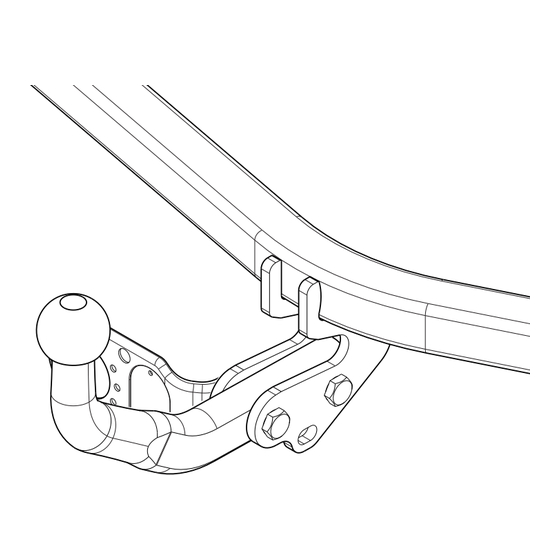
Publicité
Les langues disponibles
Les langues disponibles
Max. mass trailer :
Max. vertical load :
50
kg
200
kg
Montagehandleiding
Fitting instructions
Montageanleitung
Instructions de montage
Monteringsanvisningar
Montagevejledning
Instrucciones de montaje
Istruzioni per il montaggio
Instrukcja montażu
Asennusohjeet
Pokyny k montáži
Szerelési útmutató
Руководство для монтажа
Your perfect fit
brink.eu
Publicité
Table des Matières

Sommaire des Matières pour Brink 4989
- Page 1 Max. mass trailer : Max. vertical load : Montagehandleiding Fitting instructions Montageanleitung Instructions de montage Monteringsanvisningar Montagevejledning Instrucciones de montaje Istruzioni per il montaggio Instrukcja montażu Asennusohjeet Pokyny k montáži Szerelési útmutató Руководство для монтажа Your perfect fit brink.eu...
- Page 2 Couplingsclass: A50-X euro Approved tested 94/20/EC e11 00-7042 Max. mass trailer : Max. vertical load : RAYMOND D-Value: 4,2 kN 10.9...
- Page 3 M10x90 (10.9) 65Nm 498980 4989/9 ø25x10,5x4 M10x30 (10.9) 65Nm M10x30 (10.9) ø18x11 L=52mm 65Nm 4989/8 M10x30 (10.9) 65Nm 4989/4 9520064 ø25x10,5x4 M12x65 (10.9) 110Nm 9530909...
- Page 4 M10x90 (10.9) 62Nm 498980 4989/9 ø25x10,5x4 M10x30 (10.9) 65Nm M10x30 (10.9) ø18x11 L=52mm 62Nm 4989/8 M10x30 (10.9) 65Nm 4989/4 9520064 ø25x10,5x4 M12x65 (10.9) 95Nm 9530909...
-
Page 5: Fitting Instructions
MONTAGEHANDLEIDING: Raadpleeg voor demontage en montage van voertuig onderdelen het Let op! werkplaats handboek. Raadpleeg voor montage en bevestigingsmiddelen de schets. Opel Agila / Suzuki Splash BELANGRIJK: Voordat u met de montage begint dient u op het typeplaatje te kijken welke schets, in de handleiding, van toepassing is. - Page 6 * Should this installation process entail the cutting of the bumper – con- formation MUST be obtained by the installation engineer of the custo- mer’s acceptance prior to completion. Brink Towing Systems do not Darauf achten, accept responsibility for any matters arising as a result of this miscom- dass die Brennstoffleitungen nicht beschädigt werden.
- Page 7 Opel Agila / Suzuki Splash Avant de commencer le montage veuillez vérifier la plaque signaléti- que de l’attelage afin de déterminer la figure correspondante dans la notice de montage. Für die Demontage und Montage von Fahrzeugteilen das Werkstatt- Handbuch zu Rate ziehen. Für die Montage und die Befestigungsmittel die Skizze zu Rate zie- hen.
- Page 8 Pour le montage et le démontage des pièces du véhicule, consulter la notice du fabricant. Consulter le croquis pour voir le montage et les moyens de fixation. försiktig så att du inte skadar bränsleledningarna. REMARQUE: Var försiktig så att du inte skadar bränsleled- ningarna.
- Page 9 MONTAGEVEJLEDNING: Rådfør for demontering og montage af dele til køretøjet arbejdsplads- Bemærk! håndbogen. Rådfør for montage og montagemidler skitsen. Opel Agila / Suzuki Splash BEMÆRK: For at vælge rigtigt spændingsmoment, er det vigtigt at aflæse serie- nummeret på typepladen, for at kunne vælge hvilket af de med- sendte diagrammer der skal anvendes.
- Page 10 ¡Tenga cuidado de no dañar los conductos de combustible! ISTRUZIONI PER IL MONTAGGIO: Attenzione! Opel Agila / Suzuki Splash ¡Tenga cuidado de no dañar los conductos de combustible! Prima di iniziare il montaggio verificare la terghetta per determinare ¡Tenga cuidado de no dañar los conductos de combustible! quale disegno, presente nelle istruzioni, è...
-
Page 11: Instrukcja Montażu
nową, żeby ustalić, któr y z szablonów znajdujących się w intrukcji montażowej należy wykorzystać. Per lo smontaggio ed il montaggio dei componenti del veicolo con- sultare il manuale tecnico dell’officina. Consultare il disegno per il montaggio ed i dispositivi di fissaggio. Per il montaggio e lo smontaggio del sistema a sfera rimovibile, con- sultare le istruzioni di montaggio allegate. - Page 12 Varo, että polttoainejohdot eivät vioitu. Wskazówki: - Po przejechaniu 1000 km dokręcić wszystkie elementy skręcane. - Podczas ewentualnych odwiertów upewnić sięczy w pobliżu nie znajdują się przewody instalacji elektrycznej, przewody hydrauliczne lub przewo- dy paliwowe. - Wszystkie ubytki powłoki lakierniczej zabezpieczyć przed korozją. Varo, että...
-
Page 13: Pokyny K Montáži
POKYNY K MONTÁŽI: Před demontáží a montáží částí vozidla konzultujte montážní příruč- Poznámka! Montážní pokyny a metoda připevnění dle náčrtu. Opel Agila / Suzuki Splash DŮLEŽ ITÉ * Pokud je potřeba provést na voze úpravy, obraťte se na svého pro- Před instalací... - Page 14 üzemanyag-vezetékeket. * Amennyiben ponthegesztéssel rögzített anyákkal találkozunk, vegyük le róluk a mıanyag sapkát. Ügyeljen rá, hogy az üzemanyagcső nehogy megrongálódjon! * A felszerelés után az útmutatót Œrizzük a gépjármı papírjaival együtt. РУКОВОДСТВО ДЛЯ МОНТАЖА: Внимание! Всегда предварительно ознакомьтесь с техническими спецификациями транспортного...
- Page 15 13. Установить кронштейн F с левой стороны в точках G. 14. Установить корпус с шаром, вместе со штепсельной платой, шайбами и самоконтрящимися гайками. 15. Установить крюк с шаром, вместе со штепсельной платой. 16. Затянуть все болты и гайки в соответствии со значениями, указанными на рисунке.
- Page 16 ø18mm ø18mm ø18mm Excisting hole Excisting hole...
- Page 17 Cut out...
- Page 19 Per verificare l’idoneità del dispositivo di traino omologato a norma CEE 94/20, all’installazione sulla vettura su cui si intende procedere al mon- taggio, compilare la seguente formula (se necessario declassare la massa rimorchiabile): dove: T= Massa Complessiva Max. della motrice (in kg) Massa Rimorchiabile Max.


