
Manuels Connexes pour Hansgrohe Locarno 04855 0 Série


Sommaire des Matières pour Hansgrohe Locarno 04855 0 Série
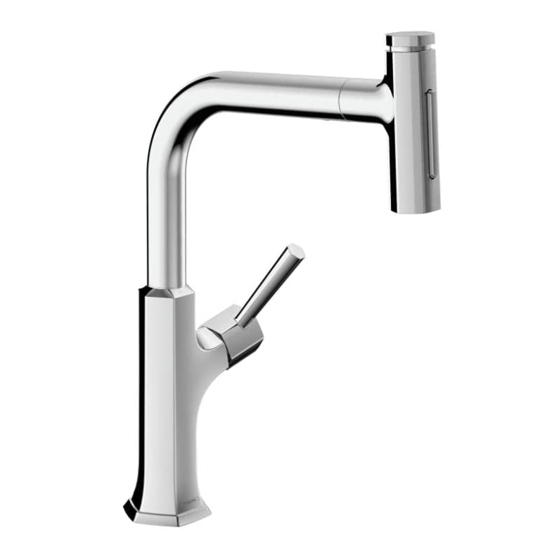
- Page 1 EN Installation / User Instructions / Warranty FR Instructions de montage / Mode d'emploi / Garantie ES Instrucciones de montaje / Manejo / Garantía Locarno 04855xx0...
-
Page 2: Technical Information
Installation Considerations À prendre en considération pour l’installation • For best results, Hansgrohe recommends that this unit be installed by a licensed, professional • Pour meilleurs résultats, Hansgrohe plumber. - Page 3 Español Datos tecnicos Tools Required / Outiles Utiles / Herramientas Útiles Presión en servicio recomendada 20 - 75 PSI (0.14 - 0.5 MPa) max. 125 PSI (0.86 MPa) Temperatura del agua caliente recomendada 120°-140° F (48° - 60° C)* 10 mm max.
- Page 4 Locarno 04855xx0 9⅜" (237 mm) 8⅜" (213 mm) Ø1⅛" (28 mm) 4⅝" 3¾" (117 mm) (95 mm) 3⅜" 2⅝" (86 mm) (66 mm) 2⅜" (60 mm) Ø1⁵⁄₁₆" (34 mm) G⅜ ⅜...
- Page 5 Optional: Install the baseplate 04856xx0 / En Option : Installez l'embasse 04856xx0 / Opcional: Instale la placa de base 04856xx0 English Français Español Position the baseplate and Placez l’embase et le joint sur la Ubique la placa de base y la gasket over the holes in the surface de montage.
- Page 6 Installation / Installation / Instalación 04855xx0 English Français Español Place the faucet and sealing ring Placez l’anneau d’étanchéite Coloque el oro de sellado y on the mounting surface. et le robinet sur la surface de el grifo sobre la superficie de montage.
- Page 7 2.2 ft-lb 3 Nm English Français Español Tighten the mounting nut. Tighten Serrez l’écrou de montage et les Apriete la tuerca de fijación y the screws. vis de serrage. los tornillos. Apriete los tornillos tensores con un destornillador. Install the adapters on the stops. Installez les adaptateurs sur les Instale los adaptadores sobre butées d’arrêt.
- Page 8 Adjust the spout rotation / Ajustez la Rotation du Bec / Ajuste la Rotación del Surtidor 24 x 15°...
- Page 9 19 mm 17 mm English Français Español Install the connection adapter on Installez l'adaptateur sur le Instale el adaptador en la the connection hose. tuyau de raccordement. manguera de conexión. Connect the handspray hose to Raccordez le tuyau de la Conecte la manguera del rocia- the connection adapter using the douchette au l'adaptateur à...
- Page 10 > 2 min English Français Español Remove the clip. Retirez l’étrier. Retire la presilla. Remove the handspray. Retirez la douchette. Retire el rociador de mano. Flush the hot and cold supplies Rincez les conduites Lave los suministros de agua for at least two minutes. d’alimentation d’eau chaude et caliente y agua fría durante al d’eau froide pendant au moins...
- Page 11 English Français Español Install the handspray. Installez la douchette. Instale el rociador de mano. Install the clip. Installez l’étrier. Instale la presilla.
- Page 12 Set hot water limiter / Positionner le limiteur de température / Ajustar tope 140° F 50° F 44 PSI 60 °C 10 °C 0.3 MPa 3 mm 97°F (36°C) 100°F (38°C) 109°F (43°C) 122°F (50°C) 140°F (60°C) 131°F (55°C) 3 mm 3.6 ft-lb 5 Nm...
- Page 13 Replacement Parts / Pièces détachées / Repuestos Locarno 93884xx0 04855xx0 95962000 93883xx1 (19x1.5) 92567000 98463000 95283xx0 98112000 (8x2) 92961XX0 98885xx0 95973001 95704000 98863xx0 93886000 92582000 98422000 (7x1.5) 97206000 97523000 95372000 96456000 96099000 95291000 88802000 xx = Colors / Couleurs / Acabados 00 = Chrome 92500000 67 = Matte Black...
- Page 14 User Instructions / Instructions de service / Manejo paused resumed ouvert mise en pause a repris abierto en pausa reasumido fermé cerrar Use the lever to open and À l’aide du levier, ouvrez et Use la palanca para abrir y close the faucet and to set fermez le robinet et réglez la cerrar el grifo y para configurar...
- Page 15 Cleaning / Nettoyage / Limpieza 19 mm 5.9 ft-lb 8 Nm...
- Page 16 Check valve maintenance / Entretien de les clapets anti-retour/ Mantenimiento de las válvulas antirretornos...
-
Page 17: Dépannage
Troubleshooting Problem Possible Cause Solution Handle stiff – Cartridge dirty or worn – Replace cartridge Mixer dripping – Cartridge dirty or worn – Replace cartridge Low flow with Select valve after valve – Improper Select valve installed – Replace Select valve replacement (#98463000) Water escaping in area of swivel... -
Page 18: Localización De Fallas
Localización de fallas Problema Causa Solución Manecilla va dura – Cartucho dañado – Cambiar el cartucho Grifo pierde agua – Cartucho dañado – Cambiar el cartucho Reducido flujo con la válvula Select – Válvula Select errónea – Cambiar la válvula Select abierta después de cambiar la (#98463000) válvula... -
Page 19: Important
• Residue from basin/tub/tile cleaner can cause damage to faucets and fittings. Immediately rinse any overspray from the Hansgrohe product. • Do not store any cleaning agents under your Hansgrohe product, such as in a vanity unit, as the fumes may damage the product. - Page 20 Cuando use limpiadores en spray, rocíe el limpiador sobre un paño suave o esponja. • Siempre enjuague su producto Hansgrohe con agua limpia y séquelo y lústrelo con un paño suave después de la limpieza. Importante •...
- Page 23 For commercial purchasers, the warranty Hansgrohe, Inc. period is (a) one (1) year for hansgrohe products and (b) five (5) 1492 Bluegrass Lakes Parkway years for AXOR products, in each case from the date of purchase.
- Page 24 State of New Jersey. This warranty gives you specific legal rights, and you may also have other rights which vary from state to state. Hansgrohe, Inc. 1490 Bluegrass Lakes Parkway Alpharetta, GA 30004 Tel. 800-334-0455 Fax 770-889-1783 www.hansgrohe-usa.com...