Sommaire des Matières pour Costway NP10696
- Page 1 USER'S MANUAL/MANUEL DE L'UTILISATEUR Lounge Chair / Chaise Longue THIS INSTRUCTION BOOKLET CONTAINS IMPORTANT SAFETY INFORMATION. PLEASE READ AND KEEP FOR FUTURE REFERENCE.
- Page 2 NOTICE Do not over-tighten screws. (Insert all screws before tightening screws.) Please do not exceed the weight limitations of this item. Do not stand on or use any part of this item as a step ladder. Firmly secure all bolts, screws and nuts before use. Reconfirm that all bolts, screws, and nuts are secure every 90 days.
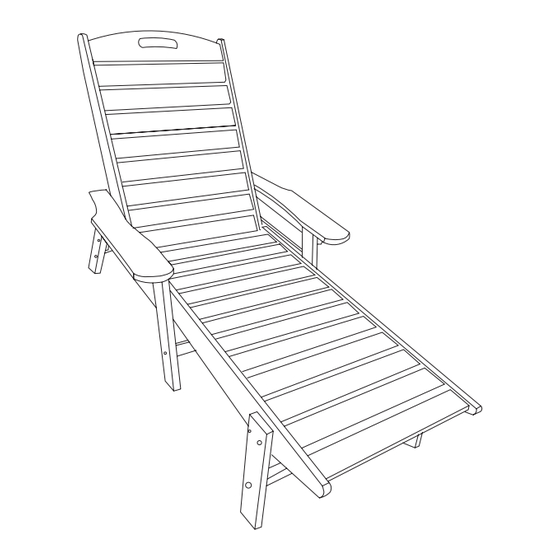
- Page 3 PARTS CHAIR SEAT RIGHT CHAIR LEG LEFT CHAIR LEG A x1 B x1 C x1 RIGHT CHAIR ARM LEFT CHAIR ARM CHAIR BACKREST D x1 E x1 F x1 BACK HOLDER FRONT RAIL CONNECTING RAIL G x1 H x1 I x4 PRODUCT ASSEMBLY - OVERALL VIEW Look at following overall view of this chair and learn the exact position of each part to be assembled.
- Page 4 REMARQUER Ne serrez pas trop les vis. (Insérez toutes les vis avant de serrer les vis.) Veuillez ne pas dépasser les limites de poids de cet article. Ne montez pas sur ou n'utilisez aucune pièce de cet article comme escabeau. Fixez fermement tous les boulons, vis et écrous avant utilisation.
- Page 5 PIÈCES PIED DE SIÈGE DE CHAISE PIED DE CHAISE DROIT CHAISE GAUCHE A x1 B x1 C x1 BRAS DE BRAS DE CHAISE DROIT CHAISE GAUCHE DOSSIER DE CHAISE D x1 E x1 F x1 SUPPORT ARRIÈRE RAIL AVANT RAIL DE CONNEXION G x1 H x1 I x4...
- Page 6 PRODUCT ASSEMBLY/ASSEMBLAGE DU PRODUIT Step 1: Attach the Right Chair Arm (D) to the Right Chair Leg (B) with 2 bolts ②. Attach the Left Chair Arm (E) to the Left Chair Leg (C) with 2 bolts ②, 4 Washers ⑤ and Nuts ④. Étape 1: Fixez le bras droit de la chaisel (D) au pied droit (B) avec 2 boulons ②.
- Page 7 Step2-1: Attach the Front Rails (H) to the Connecting Rails (I) with 2 screws ③. Step2-2: Attach finished parts in Step 1 to the Connecting Rails (I) with 6 screws ③. Étape 2-1 : Fixez les rails avant (H) aux rails de connexion (I) avec 2 vis ③.
- Page 8 Step 3: Attach the finished part in step2-1 to the Chair Seat (A) with 4 bolts ①. Attach the finished part in step2-2 to the Chair Backrest (F) with 4 bolts ①. Attach the Back Holder (G) to the Chair Backrest (F) with 2 bolts ①, 10 Washers ⑤ and Nuts ④. Étape 3: Fixez la pièce finie à...
- Page 9 Finished./Terminé.


