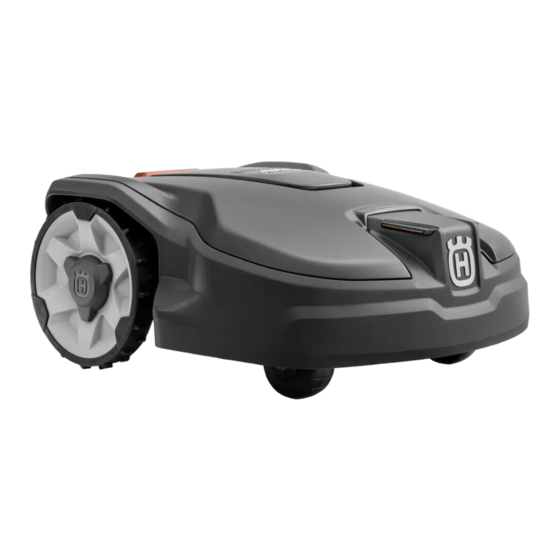
Husqvarna AUTOMOWER 310 MARK II Guide Rapide
Masquer les pouces
Voir aussi pour AUTOMOWER 310 MARK II:
- Manuel d'utilisation (56 pages) ,
- Guide rapide (8 pages) ,
- Guide rapide (8 pages)
Sommaire des Matières pour Husqvarna AUTOMOWER 310 MARK II
- Page 1 KURZANLEITUNG GUIDE RAPIDE GUIDA RAPIDA QUICK GUIDE HUSQVARNA AUTOMOWER ® 305 / 310 MARK II / 315 MARK II QG_P12_1142733.indd 1 QG_P12_1142733.indd 1 2021-06-21 10:00:31 2021-06-21 10:00:31...
- Page 2 3 m / 10 ft 75 cm / 2 0 cm / 0” 10 cm / 4” 10 cm / 4” 35 cm / 14” 30 cm / 12” min 2 m / 7 ft QG_P12_1142733.indd 2 QG_P12_1142733.indd 2 2021-06-21 10:00:53 2021-06-21 10:00:53...
- Page 3 Gewitterrisiko besteht. Kontaktstift an der Ladestation setzen. • Laden Se die Batterie am Ende der Saison vor der Wintereinlagerung vollständig auf. Weitere Informationen und Anweisungen finden Sie in der vollständigen Bedienungsanleitung auf www.husqvarna.com. QG_P12_1142733.indd 3 QG_P12_1142733.indd 3 2021-06-21 10:00:54 2021-06-21 10:00:54...
- Page 4 Pour plus d'informations et d'instructions, lisez le 1. Coupez le câble périphérique à l’aide d’une pince manuel d'utilisation complet disponible sur coupante au centre de l’oeillet que vous avez fait à www.husqvarna.com. l’étape B.2. QG_P12_1142733.indd 4 QG_P12_1142733.indd 4 2021-06-21 10:00:54...
- Page 5 G1 presente sulla stazione di carico. • Caricare completamente la batteria alla fine della stagione prima del rimessaggio invernale. Per ulteriori informazioni e istruzioni, consultare il manuale dell'operatore completo sul sito Web www.husqvarna.com. QG_P12_1142733.indd 5 QG_P12_1142733.indd 5 2021-06-21 10:00:54 2021-06-21 10:00:54...
- Page 6 7. Fasten the connector to the contact pin marked G1 on the charging station. complete Operator’s manual on www.husqvarna.com. Connecting the guide wire to the boundary wire 1. Cut the boundary wire with a wire cutters at the centre of the eyelet that was made in step B.2...
- Page 7 Lampe leuchtet dauerhaft grün Lumière verte fixe Luce verde fissa Green solid light Gutes Signal der Begren- Bon signal du câble périphé- Segnale cavo perimetrale buono Good boundary loop signal. zungsschleife. rique. Lampe blinkt grün Lumière verte clignotante Luce verde lampeggiante Green flashing light ECO-Modus ist aktiviert.
- Page 8 Kennwort ein, um ein Husqvarna Konto zu erstellen. C. Accedere al proprio account Husqvarna nell’app. C. Melden Sie sich in der App bei Ihrem Husqvarna Konto an. D. Selezionare I miei rasaerba nell’app Automower® Connect, D. Wählen Sie in der Automower® Connect App Meine Mäher quindi selezionare il segno più...


