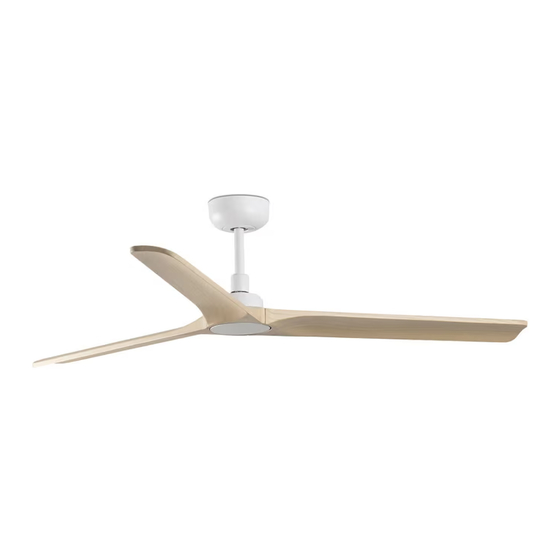
Sommaire des Matières pour Faro Barcelona Heywood
- Page 1 Installation Guide Heywood W H E R E A R E W E C A L L U S D O W N L O A D F O L L O W U S Calle Dinámica Nº1, Pol. Ind. Santa Rita Ph +34 918 315 425 faro@lorefar.com...
- Page 2 > FRANÇAIS Félicitations pour Deckenventilatoren zu liefern. Es sign, kvalitu a komfort po mnoho let. l’achat de votre nouveau ventilateur ist an der Zeit, Ihren Faro Barcelona Faro Barcelona qui vous apportera Deckenventilator zu genießen! design, qualité et confort pendant de nombreuses années.
- Page 3 Insieme proteggiamo il pianeta. Questo è il motivo per il quale abbiamo ridotto il consumo di carta. Per favore, leggi le istruzioni sulla sicurezza, manutenzione Together we take care of the planet. garanzia sul sito www.faro.es www.faro.es. This is why we reduce paper consump- Se non puoi accedere, chiamaci al +34 +34 937 723 965 tion.
- Page 4 > ITALIANO: Il manuale operativo contiene le istruzioni complete per installare ed utilizzare il suo venti- latore in totale sicurezza. Ricordi di avvitare bene tutti I bullo- > ESPAÑOL: El manual de contiene ni e realizzare tutte le connessioni las instrucciones completas para nella maniera corretta.
- Page 6 Technical Specifications Heywood 900 Heywood 900 Speeds 0.054 1341 0.072 1846 0.107 12.2 2420 0.144 17.4 2702 Heywood 1320 0.187 23.2 3111 0.241 31.6 3900 Heywood 1320 Speeds 0.054 2232 0.071 2976 0.104 11.7 3720 Finishes 0.142 17.4 4416 0.184 22.9...
- Page 7 fixing pin, push the Hangin ③ 9.Light cover ③ up, and fix it with screws. no incl Canopy Blades AAA 1.5V (Heywood 900) Installation kit Instructions manual 4.Yoke cover Decorative ring 7.Blades Blades Remote control unit Blade balancing kit...
- Page 8 Pass the cable through the down rod and Assembly Instructions ompose Drown rod ② lock the down rod. Pass the cable through the down rod and Step 1(Basic assembly of the fan) ② lock the down rod. Pass the cable through the down rod and Decompose Drown rod ①...
- Page 9 Step 3 (Receiver installation and wiring) Connect the wires according to the polarity (the color of the Put the receiver into the ② ① House power cord may be different if the color is the same). Bracket and arrange the wires Snap the basically assembled fan into the (Blue) AC IN N...
- Page 10 Model LED:Remove the pre-installe :Loosen the screw of the light screws.Connect the light kit cable, ③ d buckle from the bottom of the then lock the light kit. se the light source cord Finally install the light cover. Insert...
- Page 11 Remote control << 2 x AAA 1.5V no incl...


