Publicité
Liens rapides
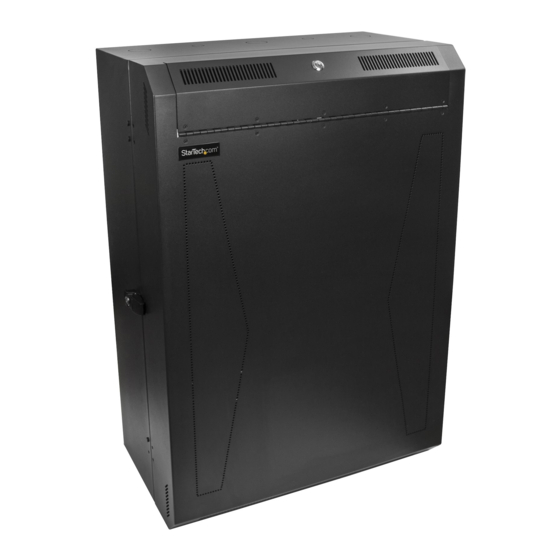
8U Vertical Wall-Mount Rack
Enclosure
RK830WALVS
FR: Guide de l'utilisateur - fr.startech.com
DE: Bedienungsanleitung - de.startech.com
ES: Guía del usuario - es.startech.com
NL: Gebruiksaanwijzing - nl.startech.com
PT: Guia do usuário - pt.startech.com
IT: Guida per l'uso - it.startech.com
For the latest information, technical specifications, and support for
this product, please visit www.StarTech.com/RK830WALVS
Manual Revision: 07/24/2017
*actual product may vary from photos
Publicité

Manuels Connexes pour StarTech RK830WALVS

Sommaire des Matières pour StarTech RK830WALVS
- Page 1 8U Vertical Wall-Mount Rack Enclosure RK830WALVS *actual product may vary from photos FR: Guide de l’utilisateur - fr.startech.com DE: Bedienungsanleitung - de.startech.com ES: Guía del usuario - es.startech.com NL: Gebruiksaanwijzing - nl.startech.com PT: Guia do usuário - pt.startech.com IT: Guida per l’uso - it.startech.com For the latest information, technical specifications, and support for this product, please visit www.StarTech.com/RK830WALVS...
- Page 2 StarTech.com. Where they occur these references are for illustrative purposes only and do not represent an endorsement of a product or service by StarTech.com, or an endorsement of the product(s) to which this manual applies by the third-party company in question. Regardless of any direct acknowledgement elsewhere in the body of this document, StarTech.com hereby...
- Page 3 注意 Warning statements 必ず取扱説明書に従って本製品の組み立てを行って下さい。 Make sure that you assemble this product according to the instructions. 最初に取扱説明書を最後まで読み、 本製品の組み立て方をすべて理解してから組み立て作業を Read the entire manual and make sure that you understand the instructions before you start to assemble and use this product. 始めて下さい。 Wall structures vary, and it is important to make sure that the type of wall structure and mounting 壁面の構造は建物によって異なります。...
- Page 4 Mensagens de aviso Certifique-se de que monta este produto de acordo com as instruções. Leia todo o manual e certifique-se de que entende as instruções antes de começar a montar e a utilizar este produto. As estruturas de parede variam e é importante certificar-se de que o tipo de estrutura de parede e hardware de montagem que está...
- Page 5 Table of Contents Product overview ....................1 Front view ..............................1 Open view ..............................1 Rear view ..............................2 Diagrams ..............................3 Package contents ............................4 Requirements ............................. 4 Ground the enclosure ..................5 Lock or unlock the door and access panel ..........5 Adjust the depth of the vertical mounting rails ........
- Page 6 Product overview Front view Main door Access panel Access panel lock Main door lock and latch Open view Vertical mounting rails Horizontal mounting rails Height adjusting rails Optional fan mounting points Instruction manual...
- Page 7 Rear view Wall mounting points Instruction manual...
- Page 8 Diagrams Top view Bottom view Side view Back view Instruction Manual...
- Page 9 • 32 x plastic washers • 1 x instruction manual Requirements • A Phillips type screwdriver. • The appropriate tools and mounting hardware for the type of wall you’re using Requirements are subject to change. For the latest requirements, please visit www.StarTech.com/RK830WALVS Instruction manual...
- Page 10 Ground the enclosure Warning! This product must be grounded. Do not use this product without an earth ground connection. 1. Use a 12-24 screw to attach a grounding wire to an open screw hole on the enclosure. 2. Route the wire under the frame of the enclosure and connect the wire to your facility’s earth ground connection.
- Page 11 Warning! Remove all equipment from the enclosure before you attempt to mount the enclosure to the wall. Warning! Wall structures vary and it is important to make sure that the type of wall structure and mounting hardware that you are using will properly support the mounted equipment.
- Page 12 Install equipment in the enclosure Warning! Do not add equipment to the enclosure until the enclosure is securely attached to the wall. Note: This enclosure comes with screws but the equipment you’re installing may come with it’s own mounting hardware as well. Consult the documentation that came with the equipment to determine which mounting hardware is best for this installation.
- Page 13 Limitation of liability In no event shall the liability of StarTech.com Ltd. and StarTech.com USA LLP (or their officers, directors, employees or agents) for any damages (whether direct or indirect, special, punitive, incidental, consequential, or otherwise), loss of profits, loss of business, or any pecuniary loss, arising out of or related to the use of the product exceed the actual price paid for the product.
- Page 14 StarTech.com is an ISO 9001 Registered manufacturer of connectivity and technology parts. StarTech.com was founded in 1985 and has operations in the United States, Canada, the United Kingdom and Taiwan servicing a worldwide market.