Table des Matières
Publicité
Liens rapides
Publicité
Table des Matières

Sommaire des Matières pour ITW Food Equipment Group HOBART VC4ED
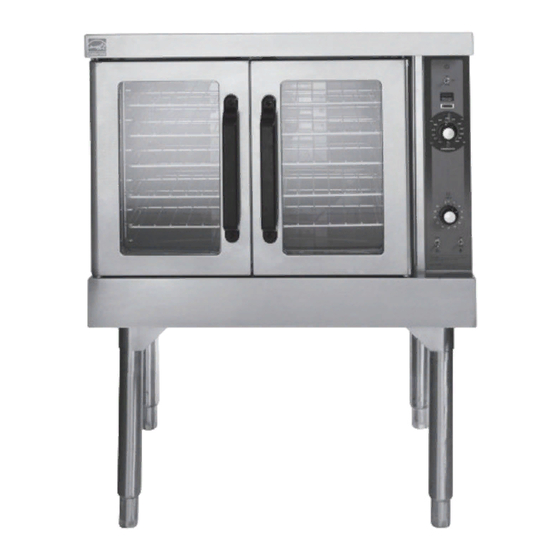
- Page 1 INSTALLATION & OPERATION MANUAL ELECTRIC CONVECTION OVENS MODELS VC4ED VC4EC VC6ED VC6EC HEC5 HEC5D HEC5X HEC5DX WKED WKEC ITW FOOD EQUIPMENT GROUP, LLC P.O. BOX 696, LOUISVILLE, KY 40201-0696 TEL: 502-778-2791 FORM 31159 Rev. /201 ) www.hobartcorp.com www.vulcanhart.com...
-
Page 2: Table Des Matières
Table of Content GENERAL..............3 INSTALLATION. -
Page 3: General
Installation, Operation and Care of ELECTRIC CONVECTION OVENS KEEP THESE INSTRUCTIONS FOR FUTURE USE Your Electric Convection Oven is produced with quality workmanship and material. Proper installation, usage and maintenance of your oven will result in many years of satisfactory performance. The manufacturer suggests that you thoroughly read this entire manual and carefully follow all of the instructions provided. -
Page 4: Installation
INSTALLATION UNPACKING Immediately after unpacking the oven, check for possible shipping damage. If the oven is found to be damaged, save the packaging material and contact the carrier within 15 days of delivery. Prior to installation, verify that the electrical service agrees with the speciflcations on the oven data plate, located on the inside of the top front cover. -
Page 5: Assembling The Stand To The Oven
ASSEMBLING THE STAND TO THE OVEN BACK Attach each of the four leg assemblies to the bottom of the oven with the 24 bolts and lockwashers (six per leg). Carefully raise the oven to the normal position. Attach the undershelf to the legs with eight bolts and lockwashers (two per leg). -
Page 6: Assembling Stacked Ovens
ASSEMBLING STACKED OVENS Unpack the ovens and the stack kit . Position the oven to be used as the bottom oven on its left side for access to the oven bottom, taking care not to scratch or damage it. Attach the four leg assemblies with the 24 bolts and lockwashers (six per leg). -
Page 7: Electrical Connections (Stacked Ovens)
ELECTRICAL CONNECTIONS (Stacked Ovens) ELECTRICAL AND GROUNDING CONNECTIONS MUST COMPLY WITH THE APPLI CABLE PORTIONS OF THE NATIONAL ELECTRICAL CODE AND/OR OTHER LOCAL ELECTRICAL CODES. DISCONNECT ELECTRICAL POWER SUPPLY AND PLACE A TAG AT THE DISCONNECT SWITCH TO INDICATE THAT YOU ARE WORKING ON THE CIRCUIT. Make sure that the electrical power supply agrees with the speci ications on the oven data plate, the wiring diagram on the oven and Electrical Data, page 5. -
Page 8: Operation
OPERATION THE OVEN AND ITS PARTS ARE HOT. USE CARE WHEN OPERATING, CLEANING OR PERFORMING ANY MAINTENANCE. CONTROLS MOVE TO VENT MASTER SWITCH OVEN COOL HEAT 100 C TEMPERATURE TIMER FAN SPEED LIGHTS PL-53491 MOISTURE VENT DAMPER – Open the damper to exhaust excess moisture. Close the damper when cooking dry products. -
Page 9: Before First Use (All Models)
BEFORE FIRST USE (All Models) Before using the oven for the flrst time, it must be burned off to release any odors that might result from heating the new surfaces in the chamber. 1. Using a clean damp cloth, wipe the inside of the oven, including the racks. 2. -
Page 10: Controls
CONTROLS Always displays [HR:Min] when setting the Time. Displays [HR:Min] if the countdown Time is more than 1 Hour. Displays [Min:Sec] if the countdown Time is less than 1 Hour. Displays Temperature in °F. R & H Indicates the oven is in the Roast and Hold Mode. MODE R &... -
Page 11: Manually Setting The Temperature And Cook Time
MANUALLY SETTING THE TEMPERATURE AND COOK TIME To Set the Temperature 1. Press the SET button. Press the TEMPERATURE button; StPt displays to indicate Setpoint. 2. Use the Up and Down arrow keys to increase or decrease the displayed Temperature value. 3. - Page 12 Always Set the Temperature Before Setting the Time 1. Press the SET button. Press the TEMPERATURE button; StPt displays. Use the Up and Down Arrow keys to increase or decrease the temperature. To save, press the SET button again. At startup, the display will initially show a GROWING BAR. When the oven temperature reaches the Set Point, the set temperature displays.
-
Page 13: Setting The Oven For Roast & Hold
SETTING THE OVEN FOR ROAST & HOLD 1. Press the ROAST & HOLD button to select Roast & Hold. 2. Set the flrst stage Temperature and the Cook Time as described in: MANUALLY SETTING THE TEMPERATURE AND COOK TIME. Press START/STOP to begin cooking. 3. -
Page 14: Cooking Guidelines
COOKING GUIDELINES The information in the Cooking Guidelines chart is suggested only. Cooking times for various products may be different depending on the brand, consistency and the chef’s preferences for taste and presentation. The times below may require adjustments. Note the times and temperatures of your preferred results for future use. -
Page 15: Standard Cooking Time Chart
STANDARD COOKING TIME CHART Product Amount Temp. Time Frozen Croissant Dough 1.75 oz. 350°F (177°C) 25 Min Cinnamon Croissant 1.75 oz. 350°F (177°C) 35 Min. Small Bread Loaves 1 Tray 350°F (177°C) 30 Min. Large Bread Loaves 1.5 lbs. 350°F (177°C) 60 Min. -
Page 16: Maintenance
MAINTENANCE The oven and its parts are hot. Use care when operating, cleaning or servicing the oven. Disconnect the electrical power to the machine and follow lockout / tagout procedures. LUBRICATION The fan motor comes with sealed bearings and requires no lubrication. VENT Periodically check the flue, when the oven is cool, to be sure it is free of obstructions.