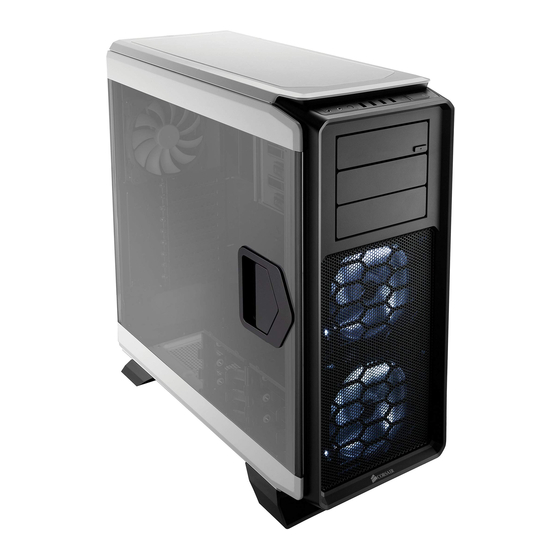
Corsair GRAPHITE Série Guide D'installation
Masquer les pouces
Voir aussi pour GRAPHITE Série:
- Guide d'installation (14 pages) ,
- Guide d'installation (37 pages) ,
- Guide d'installation (10 pages)
Table des Matières
Publicité
Liens rapides
GRAPHITE
S E R I E S
®
GRAPHITE SERIES
INSTALLATION GUIDE
GUIDE D'INSTALLATION
n
GUIDA DI INSTALLAZIONE
Corsair Components Inc
Landing Parkway
Fremont • California •
• USA
corsair com
730T
730T FULL-TOWER PC CASE
®
INSTALLATIONSHANDBUCH
n
GUÍA DE INSTALACIÓN
n
n
安装指南
インストールガイド
n
n
© 2014 Corsair Components, Inc.
All rights reserved. Corsair, the sails logo and Graphit Series are registered trademarks of Corsair
in the United States and/or other countries. All other trademarks are the property of their respective
owners. Product may vary slightly from those pictured. / rev AB
Publicité
Table des Matières

Sommaire des Matières pour Corsair GRAPHITE Série
- Page 1 Corsair Components Inc © 2014 Corsair Components, Inc. Landing Parkway All rights reserved. Corsair, the sails logo and Graphit Series are registered trademarks of Corsair Fremont • California • • USA in the United States and/or other countries. All other trademarks are the property of their respective owners.
- Page 2 CONGRATULATIONS! FÉLICITATIONS! HERZLICHEN GLÜCKWUNSCH! CONGRATULAZIONI! Thank you for purchasing Nous vous remercions Vielen Dank, dass Sie sich Grazie per aver acquistato a Graphite Series 730T d’avoir choisi un boîtier für ein Graphite Series 730T un case full tower Graphite ® ®...
- Page 3 ENHORABUENA! 祝贺 お買い上げいただきありがとうございます Le agradecemos que haya 感谢您购买 Graphite Series Graphite Series ® ® 730Tフルタ adquirido el chasis de torre Graphite Series 730T 全塔式 PC 机箱。 ® ワーPCケースをお買い求めいた completa para PC Graphite 730T Full Tower だき有難うございます。 Series 730T. ® El chasis de PC de torre completa Graph- Корпус...
-
Page 4: Lieferumfang
CONTENTS CONTENU LIEFERUMFANG CONTENUTO CONTENIDO 包装内零组件 パッケージの内容 Graphite Series ® 730T Boîtier pleine tour Graphite Series ® 730T Il case full tower El chasis de torre Корпус Graphite Series ® Graphite Series ® 730T 全 Graphite Series ® 730Tフ full-tower case with two Graphite Series ®... - Page 5 CONTENTS CONTENU LIEFERUMFANG CONTENUTO CONTENIDO 包装内零组件 パッケージの内容 MBD/HDD screws Long fan screws Short fan screws SSD/ODD screws SSD pan HDD tray screws Motherboard Cable ties head screws stando s Vis MBD/Disque dur Vis de ventilateur Vis de ventilateur Vis SSD/Lecteur Vis du plateau Attaches de câble longues...
- Page 6 ® (x3) Corsair AF140L fans included (x2) USB 3.0, (x2) USB 2.0, Headphone/Mic, Power/Reset (x3) Ventilateurs Corsair intégrés, modèle AF140L (x2) USB 3.0, (x2) USB 2.0, Casque/Micro, Bouton Marche/Réinitialiser (x3) Corsair AF140L Lüfter inbegri en (x2) USB 3.0-Anschlüsse, (x2) USB 2.0-Anschlüsse, Kopfhörer/Mikrofon,...
- Page 7 GRAPHITE SERIES 730T FULL-TOWER PC CASE GRAPHITE SERIES 730T FULL-TOWER PC CASE ® ® Built-in cable routing cutouts with grommets Removable bottom low restriction dust filters Panneaux découpés pour le routage des Filtres anti-poussière amovibles à faible restriction inférieur câbles intégré avec œillets Abnehmbare Staubfilter auf der Unterseite mit geringer Eingebaute Kabelö...
-
Page 8: Removing The Side Panel
Removing the side panel Installing the motherboard > Install your motherboard's I/O shield > Pull the handle to open and release the side panel. (see your motherboard’s manual for guidance). > Lift the entire side panel up and out from the hinges to remove the side panel. >... -
Page 9: Installing The Pci-E/Pci Cards
Installing the power supply (PSU) Installing the PCI-E/PCI cards > Remove thumbscrews and corresponding slot cover(s). > Seat the PSU on the bottom of the case. > Install the add-on card and secure with thumbscrews. > Align holes and secure the PSU with screws. Note: PSU can be installed in either fan up or fan down orientations. - Page 10 Installing a 5.25" drive/devices (ODD) > Remove the front panel 5.25" drive bay cover. > Insert the ODD into the drive bay until the tool-free latch clicks, securing the drive. > To remove, push the tool-free tab to release the ODD drive and remove. Installation d'un lecteur/périphérique Installation eines 5,25-Zoll-Laufwerks/Gerätes (ODD) Instalación de una unidad/dispositivos...
- Page 11 Installing a 3.5" HDD/ 2.5" SSD Installing a 2.5" SSD into tool-free expandable SSD cage > Remove the tool-free 3.5" HDD tray. > Pull down the tab and place the SSD into > Insert the HDD into the HDD tray. the tool-free cage until you feel it secure.
- Page 12 Removing the solid top panel cover and bottom dust filter > To remove the magnetic solid top panel cover, locate the top panel cut out and lift the top panel o the case > To remove the bottom dust filter, first locate the pull tab underneath the PSU, then pull the bottom dust filter out.
-
Page 13: Installing The Front I/O Connectors
Attach case fan cables to motherboard headers Installing the front I/O connectors > See your motherboard’s manual for front panel header locations and pin-outs. > See your motherboard’s manual for fan header locations. Branchement des câbles du ventilateur sur les Conecte los cables de ventiladores de la caja a los Installation des connecteurs E/S avant 拆除前Instalación de los conectores de E/S frontales... - Page 14 How to remove the SSD caddy How to remove the HDD cage > Locate and remove the two screws securing the > To remove the SSD caddy, locate the center tab to the right cage to the base on the bottom of the case. of the caddy and then pull the tab in and lift to release the caddy.


