Publicité
Les langues disponibles
Les langues disponibles
Liens rapides
Montageanleitung
Mounting instructions
Instructions de montage
12/2016 · Technische Änderungen vorbehalten · Technical data can be changed without prior notice · Des changements techniques reservés · 104.8034
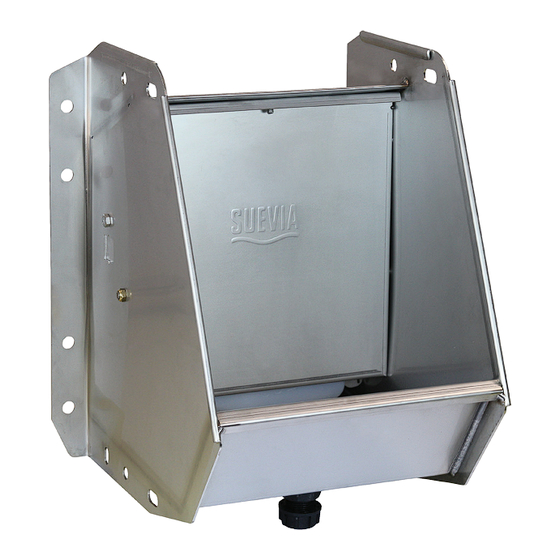
130.0600 Mod. 600
für Milchkühe, Rinder
DE
Wasserdruck von 0,5 - 5 bar
for Dairy Cows, Cattle
EN
Water pressure from 0,5 - 5 bar / 7,25 - 72 psi
pour vaches laitières, bovins
FR
Pression d'eau de 0,5 à 5 bar
1
Publicité

Sommaire des Matières pour Suevia 600
- Page 1 Montageanleitung Mounting instructions Instructions de montage 130.0600 Mod. 600 für Milchkühe, Rinder Wasserdruck von 0,5 - 5 bar for Dairy Cows, Cattle Water pressure from 0,5 - 5 bar / 7,25 - 72 psi pour vaches laitières, bovins Pression d’eau de 0,5 à 5 bar...
- Page 2 Befestigung Rohrmontage 1¼" - 2" Die SUEVIA Ventil-Trogtränke Mod. 600 kann an senkrechten oder waagrechten Rohren 1¼" - 2" sowie an Wandflächen befestigt werden. Befestigung an der Wand auch mit einem 90° Winkel Best.-Nr. 131.1050 1¼" - 2" (Zubehör) möglich. Zur Rohrbefestigung sind 2x SUEVIA Doppelklemmen Best.-Nr. 101.0179 erforderlich.
- Page 3 Tierbereichs anzubringen! Es ist nur notwendig, bei kalter Witterung durchgehend zu heizen. Bei geringer Kälte wird die Stromzufuhr durch Ziehen des Steckers am Transformator unterbrochen. Als Alternative empfehlen wir den Einbau eines SUEVIA Außen-Thermostates Best.-Nr. 101.0389. Elektro-Anschluss Durch die Anwendung von 24 V ist für die Tiere keinerlei Gefahr vorhanden.
- Page 4 Fixation on tubes 1¼" - 2" The SUEVIA Valve Trough Drinker Mod. 600 can be fixed either on vertical or horizontal tubes 1¼" - 2", as well as on the wall. Wall fixation with a Fixation angle 90°, galvanized Ref. 131.1050 possible (see 1¼"...
- Page 5 Use in winter season We recommend to install the trough drinker into a water circuit means of a connection set ¾" Ref. 103.1984. The water circuit is then connected to a SUEVIA Heating Unit. This guarantees a frost-protected use throughout the year. See heating unit instructions.
- Page 6 230 V Arrivée d’eau C ° Transformateur 101.0389 Boite de dérivation 24 V 131.0524 131.0527 * Non fourni avec Mod. 600 ! Longueurs de câble maximales: Section par ex.: Type jusqu’à 100 jusqu’a 200 jusqu’à 300 jusqu’à 400 Watt Watt...
- Page 7 Utilisation en période hivernale Nous vous conseillons d’installer l’abreuvoir sur un circuit en boucle et relié à un réchauffeur d’eau SUEVIA avec un ¾" Kit de montage Réf. 103.1984. Vous avez ainsi la garantie d’une utilisation antigel de l’abreuvoir par tous les temps. Pour plus de détail voir les instructions d’installation du réchauffeur.
- Page 8 131.1050 131.0527 101.0861 103.1984 ¾" 101.1863 101.0322 101.0380 102.0443 101.0390 101.0392 SUEVIA HAIGES GmbH 131.1391 Max-Eyth-Str. 1 131.1394 Made in D-74366 Kirchheim am Neckar · Germany Germany Tel. +49 7143 971-0 · Fax +49 7143 971-80 131.0524 www.suevia.com · info@suevia.com...


