Table des Matières
Publicité
Les langues disponibles
Les langues disponibles
Liens rapides
Publicité
Table des Matières

Sommaire des Matières pour BoomToneDJ Ludipocket
- Page 1 MODE D’EMPLOI – USER MANUAL...
-
Page 2: Instructions De Sécurité
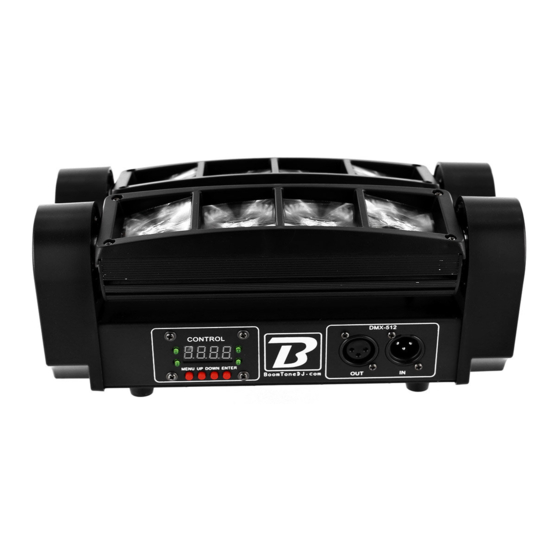
Français 1- Instructions de sécurité Avant d’utiliser votre matériel, nous vous recommandons de lire l’ensemble des instructions de ce manuel. WARNING Conservez ce manuel pour une future consultation. Si vous revendez cet appareil, veillez à transmettre également ce manuel d’utilisation au nouvel acquéreur. ... - Page 3 2-Présentation du Panneau de configuration : Boutons : 1. Menu : Pour accéder aux fonctions. Permet également de revenir en arrière dans la navigation. 2. UP : Navigation dans les menus vers le haut 3. DOWN : Navigation dans les menus vers le bas 4.
-
Page 4: Caractéristiques Techniques
3- Caractéristiques techniques Alimentation :AC100-240V 50/60Hz Fusible:F3A/250V Sources lumineuses:8 LEDs de 10W RGBW 4 en 1 3 modes de fonctionnement : DMX, Maitre/Esclave, Automatique, Détection musicale Angle de couverture très large Canaux DMX:13 ou 43 canaux ... -
Page 5: Sélection Du Mode De Fonctionnement
4-Modes de Fonctionnement Sélection du Mode de fonctionnement Affichage Valeur Description Addr 1-512 Adresse DMX ChNd 43Ch Mode 43 canaux 13Ch Mode 13 canaux SLNd Auto Mode Auto Soun Mode Musical SL 1 Mode esclave 1 SL 2 Mode esclave 2 Shnd Sh 0 Show 0... - Page 6 « adresser » chaque appareil de 1 à 512. Appuyez sur MENU jusqu’à visualiser « Addr » puis A001, appuyez sur ENTER, puis avec les touches DOWN et UP , sélectionnez l’adresse DMX désirée . Appuyez sur ENTER pour valider cette valeur. Protocole DMX 13 canaux: Channel Value...
- Page 7 Protocole DMX 43 canaux : Channel Value Function 0-255 Tilt 1 0-255 Tilt 1 fine 0-255 Tilt 2 0-255 Tilt 2 fine 0-255 Vitesse Tilt 1&Tilt 2 0-255 Dimmer Pas de fonction 1-250 Strob 251-255 Pas de fonction Dimmer mode Fondu de Couleurs 8-140 Chang.
-
Page 8: Mode Dmx (Connexion Dmx)
0-255 Dimmer Vert5 CH28 0-255 Dimmer Bleu5 CH29 CH30 0-255 Dimmer Blanc5 CH31 0-255 Dimmer Rouge6 0-255 Dimmer Vert6 CH32 0-255 Dimmer Bleu6 CH33 CH34 0-255 Dimmer Blanc6 0-255 Dimmer Rouge7 CH35 0-255 Dimmer Vert7 CH36 CH37 0-255 Dimmer Bleu7 0-255 Dimmer Blanc7 CH38... -
Page 9: Dépannage
Si vous utilisez un contrôleur équipé d’une sortie DMX en XLR 5 points, vous devez vous procurer un adaptateur XLR 5 points/3 points. Sur le dernier appareil de la chaine DMX, il est conseillé d’utiliser un « bouchon DMX ». - Page 19 Importé par / Imported by BoomtoneDJ – MSC 7 avenue du 1er Mai 91120 Palaiseau / FRANCE infos@msc-distribution.com Tel : +33 1 69 34 80 62...


