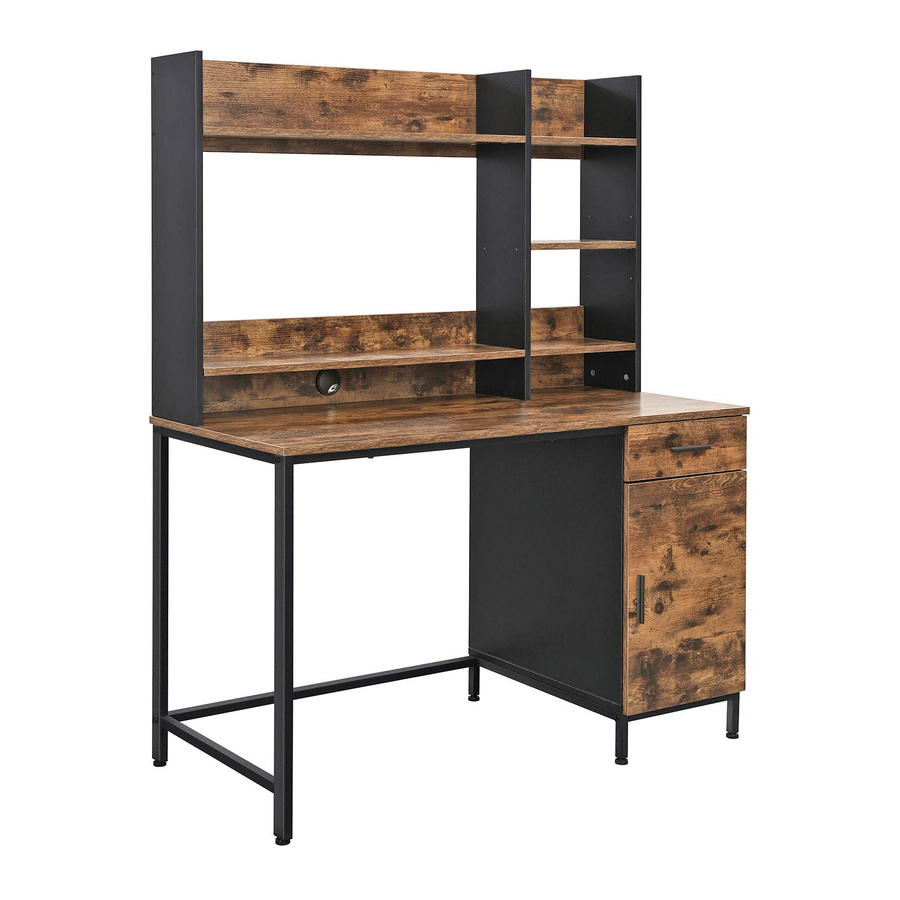
Publicité
Liens rapides
Publicité

Sommaire des Matières pour Songmics VASAGLE LWD65
- Page 1 LWD65...
- Page 2 General Guidelines Please read the following instruction carefully and use the product accordingly. Ÿ Please keep this manual and hand it over when you transfer the product. Ÿ This summary may not include every detail of all variations and considered steps. Please contact us when further information and help are needed. Ÿ...
- Page 3 Introduction Lisez attentivement ces instructions et utilisez votre produit d'après ce mode d'emploi. Ÿ Conservez ces instructions. Si vous souhaitez offrir ce produit à un tiers, joignez obligatoirement ce mode d'emploi. Ÿ Pour des raisons de clarté, les détails concernant chaque variante ou montage envisageable ne peuvent être tous décrits. Si vous souhaitez obtenir plus Ÿ...
- Page 4 Notas El producto está diseñado para uso doméstico o de oficina como una mesa de ordenador. Monte y utilice el producto siguiendo estrictamente paso a paso las Ÿ instrucciones. Hay que seguir las ilustraciones para poner y ajustar las piezas. No apriete completamente los tornillos hasta que complete todas las piezas. Se recomienda Ÿ...
- Page 7 4X16 MM 6X30 MM 4X12 MM 7X48 MM 5X48 MM 4X20 MM 6X30 MM Φ...
- Page 8 Wooden Dowel Installation As Below: Attention This hole is for a bolt and connecting piece. Ensure that the wooden dowel is placed in the correct hole. Wooden Dowel 6×40MM Bolt Installation As Below: Bolt Bolzen Boulon Bullone Perno Adjust connecting piece direction until it is Insert bolt when connecting piece properly lined up with the hole.
- Page 9 Tips/Hinweise/Notes/Suggerimenti/Sugerencias If there is any damage after unpacking or you have any questions during assembly, please feel free to contact us at Ÿ your earliest convenience. Our customer care team provides professional returns or exchanges as well as assembly guidance. Wenn Sie nach dem Auspacken feststellen, dass das Produkt Schäden aufweist, oder wenn bei der Montage Fragen Ÿ...
- Page 10 6X30 MM...
- Page 11 6X30 MM CL and CR are stencil printed on the guide rail. 4X12 MM...
- Page 12 4X12 MM...
- Page 13 7X48 MM 6X30 MM Φ...
- Page 14 6X30 MM 6X30 MM...
- Page 15 6X30 MM Φ...
- Page 16 6X30 MM...
- Page 17 Pay attention to the direction of the holes indicated by the arrow. Ÿ Achten Sie bei der Montage darauf, dass die symbolisch hervorgehobenen Schraubenöffnungen in die richtige Richtung Ÿ zeigen wie auf diesem Bild dargestellt. Faites attention à la direction des trous indiqués par la flèche. Ÿ...
- Page 18 7X48 MM...
- Page 19 This step requires two people participate in assembly. Ÿ Dieser Montageschritt sollte von zwei Erwachsenen durchgeführt werden. Ÿ Cette étape nécessite 2 adultes. Ÿ Questo passo richiede la partecipazione di due persone all'assemblaggio. Ÿ Este paso requiere que dos personas realicen la asamblea. Ÿ...
- Page 20 4X16 MM...
- Page 21 4X20 MM 4X16 MM...
- Page 22 5X48 MM...
- Page 23 DL and DR are stencil printed on the guide rail. 4X12 MM 4X20 MM...
- Page 24 By tightening these two screws, you can adjust the position of the front, back, left, and right of the board so that the board is in a Ÿ proper position. Indem Sie an diesen beiden Schrauben drehen, können Sie die Türplatte nach vorne, hinten, links und rechts verschieben und die Ÿ...
- Page 25 Version QM:3.0 EUZIEL International GmbH Stand:20.11.2020...
- Page 26 Possible issues during assembly: Holes on the boards and poles are not aligned, so screws can't be installed. Ÿ Please slightly loosen all screws and adjust the boards. Because the diameter of the holes on the pipes is 2-3 mm larger than that of Ÿ...


