Publicité
Liens rapides
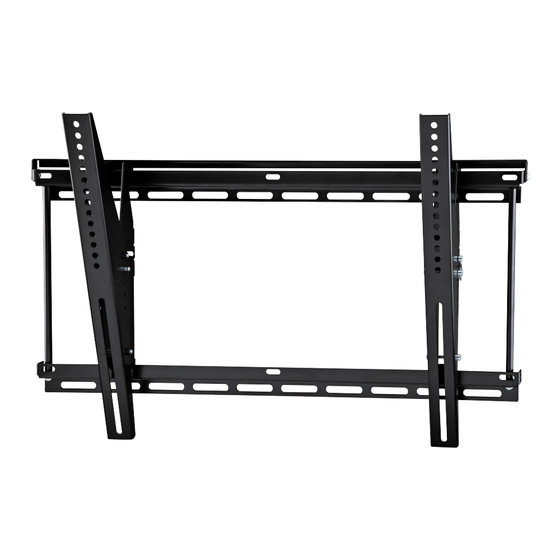
Neo Flex Tilt Wall Mount UHD
User's Guide
Guía del usuario
Manuel de l'utilisateur
Benutzerhandbuch
Gebruikersgids
Guida per l'utente
Användarguide
ユーザーガイド
用户指南
사용자 안내서
CAUTION!
CAUTION!
MAXIMUM WEIGHT CAPACITY
MAXIMUM SCREEN SIZE
80"
175 LBS
79.4 KG
OM#
OM1100595
1
PN: 888-61-036-W-02 revE
Publicité

Sommaire des Matières pour Ergotron Neo Flex OM1100595
- Page 1 Neo Flex Tilt Wall Mount UHD User's Guide Guía del usuario Manuel de l’utilisateur Benutzerhandbuch Gebruikersgids Guida per l’utente Användarguide ユーザーガイド 用户指南 사용자 안내서 CAUTION! CAUTION! MAXIMUM WEIGHT CAPACITY MAXIMUM SCREEN SIZE 80" 175 LBS 79.4 KG OM1100595 PN: 888-61-036-W-02 revE...
- Page 2 WEIGHT CAPACITY CAUTION! CAUTION! MAXIMUM WEIGHT CAPACITY MAXIMUM SCREEN SIZE 80” 175 LBS 79.4 KG USE WITH FLAT PANELS EXCEEDING THE MAXIMUM WEIGHT CAPACITY OF THIS PRODUCT MAY RESULT IN PRODUCT FAILURE CAUSING POSSIBLE INJURY AND OR PROPERTY DAMAGE. EL USO CON TELEVISORES DE PANTALLA PLANA CUYO PESO EXCEDA LA CAPACIDAD MÁXIMA DEL PRODUCTO PUEDE OCASIONAR FALLAS EN ÉSTE Y CAUSAR LESIONES O DAÑOS MATERIALES.
- Page 3 TOOLS NEEDED - NOT INCLUDED Tools Needed Herramientas necesarias Outils requis Benötigte Werkzeuge Benodigde gereedschappen Strumenti necessari Potrzebne narzędzia Potřebné nástroje Szükséges eszközök Απαιτούμενα εργαλεία Ferramentas necessárias Nødvendigt værktøj Tarvittavat työkalut Verktyg som krävs Instrumente necesare Необходими уреди Vajalikud tööriistad Nepieciešamie rīki Reikalingi įrankiai Potrebno orodje...
- Page 4 CONTENTS Screws / Hardware for Flat Panel Part # Qty Description 4 Philips screws M4 x 15mm 4 Philips screws M4 x 30mm 4 Philips screws M5 x 15mm 4 Philips screws M5 x 30mm 4 Philips screws M6 x 15mm 4 Philips screws M6 x 30mm 4 Philips screws M8 x 15mm 4 Philips screws M8 x 30mm...
- Page 5 STEP 1 Attach monitor using monitor hardware, M-A, M-B, etc… Coloque la pantalla utilizando los materiales de instalación de la pantalla, M-A, M-B, etc… Installer le moniteur avec les fixations de moniteur, M-A, M-B, etc… Bringen Sie den Bildschirm mit den Bildschirm-Befestigungsteilen M-A, M-B usw. an. Bevestig monitor via monitor hardware, M-A, M-B, enz…...
- Page 6 STEP 2 - WOOD STUD INSTALLATION NOTE: The Wall Plate must be centered on the studs when mounted. PN: 888-61-036-W-02 revE...
- Page 7 STEP 2 - SOLID WALL INSTALLATION NOTE: When mounting on a concrete surface, you must use the widest mounting configuration on the wall plate (24”). PN: 888-61-036-W-02 revE...
- Page 8 STEP 3 - WOOD STUD INSTALLATION 13mm NOTE: The Wall Plate must be centered on the studs when mounted. STEP 4 - SOLID WALL INSTALLATION NOTE: When mount- 13mm ing on a concrete sur- face, you must use the widest mounting con- figuration on the wall plate (24”).
- Page 9 STEP 4 - HANG TV Hang with monitor attached Cuelgue con el monitor adherido. Accrochez avec le moniteur installé. Mit dem befestigten Monitor aufhängen. Hang op terwijl de monitor is bevestigd. Appendere con lo schermo attaccato. Powieś z przymocowanym monitorem. Zavěste s připevněným monitorem.
- Page 10 Part # Qty Description STEP 5 - INSTALL LOCKING BAR 4 Philips screws M4 x 15mm 4 Philips screws M4 x 30mm Safety Bracket Installation 4 Philips screws M5 x 15mm Instalación del soporte de seguridad 4 Philips screws M5 x 30mm Installation de la bride de sécurité...
- Page 11 STEP 6 - TILT FUNCTION Adjust to Desired Location or Tilt Ajuste a la inclinación o ubicación deseada Ajustez à la position désirée ou inclinez An die gewünschte Position anpassen oder neigen Stel in op de gewenste plaats of kantel Regolare la posizione o l’inclinazione come desiderato Dopasuj do żądanego położenia lub nachylenia Upravte polohu tak, abyste dosáhli požadovaného...
- Page 12 PN: 888-61-036-W-02 revE...


