Publicité
Les langues disponibles
Les langues disponibles
Liens rapides
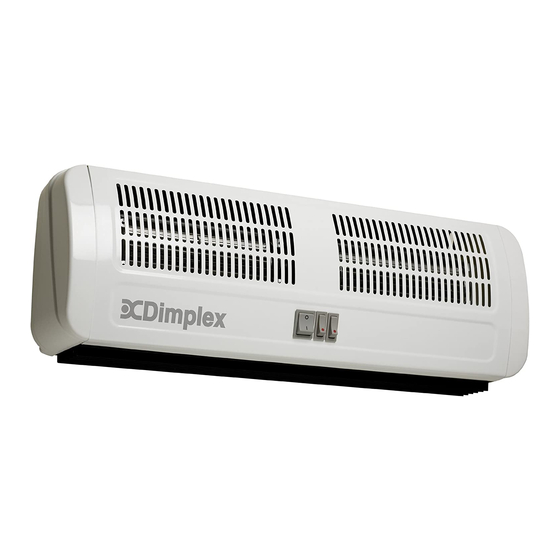
Dimplex AC Air Curtains
Models : AC3N, AC45N, AC6N & AC3RN
Dimplex AC3N & AC45N
Dimplex AC6N
Products comply with the European Safety Standard: EN 60335-2-30 and the European Standards for Electromagetic Compatibility (EMC)
EN55014-1 / A2: 2002 and EN55014-2:2003 which cover the essential requirements of EEC directives 73/23 and 89/336
All manuals and user guides at all-guides.com
08/19062/1 - Issue 1
Publicité

Sommaire des Matières pour Dimplex AC3N
- Page 1 All manuals and user guides at all-guides.com Dimplex AC Air Curtains Models : AC3N, AC45N, AC6N & AC3RN Dimplex AC3N & AC45N Dimplex AC6N 08/19062/1 - Issue 1 Products comply with the European Safety Standard: EN 60335-2-30 and the European Standards for Electromagetic Compatibility (EMC)
- Page 2 All manuals and user guides at all-guides.com Model(s) Watt AC3N 3.0kw AC45N 4.5kw AC6N 6.0kw AC3RN 3.0kw...
- Page 3 All manuals and user guides at all-guides.com AUTO AC45 AC3RN L N E...
- Page 4 All manuals and user guides at all-guides.com ........................................................................................................................................
- Page 5 Fig. 6 see also Fig. 7 for detailed views of cable clamp. Disconnect power supply. Fig. 7a shows the cable clamp detail for AC3N & AC3RN models. Pass flat head screwdriver through air outlet grille to centre panel side of reset button.
- Page 6 Der Anschluss an das Stromnetz sollte über einen in der Nähe des Heizers angebrachten Doppelpol- in den folgenden Schritten 2 bis 4 beschrieben drücken. schalter mit mindestens 20 A für die AC3N, AC3RN & AC45N-Modelle vorgenommen werden. Trennen Sie das Gerät von der Stromversorgung.
- Page 7 (AC3N, AC45N et AC3RN) détail du serre-câble. La fig. 7a montre une vue de détail du serre-câble pour les modèles AC3N et AC3RN. Décelez la cause et remédiez-y. Réinitialisez la ou les coupures d’urgence pour la protection contre la La fig. 7b montre une vue de détail du serre-câble pour les modèles AC45N et AC6N. Remarque : La partie surchauffe en appuyant sur la touche noire sur le côté...
- Page 8 La conexión con la red eléctrica debería efectuarse por medio de un interruptor bipolar, el cual debe estar Modo de proceder para la reposición de la desconexión de dispuesto cerca del calefactor y disponer de una intensidad mínima de 20 A para los modelos AC3N, AC3RN y AC45N.
- Page 9 Drukt u vervolgens met de schroevendraaier de uitgesprongen toets(en) in de in afb. 9 getoonde A zekering voor de types AC3N en AC3RN, een 20 A zekering voor het type AC45 en een 30 A zekering richting om de nooduitschakeling terug te zetten. Het terug zetten wordt door een klikgeluid voor het type AC6N.
- Page 10 Il collegamento alla rete elettrica dovrebbe essere effettuato tramite un interruttore bipolare, collocato al punto 2 fino al 4 seguenti. vicino al riscaldatore e per corrente di almeno 20 A per i modelli AC3N, AC3RN e AC45N. Staccate l’apparecchio dall’alimentazione di corrente.
- Page 11 закрепить кабель большего диаметра, часть “ A” кабельного зажима можно отогнуть. нажав черную кнопку на боковой стороне выключенного прибора, как это описано в нижеследующих Для подключения к электросети моделей AC3N, AC3RN и AC45N вблизи прибора должен быть пунктах от 2 до 4.
- Page 12 (AC3N, AC45N oraz AC3RN) Ponownie za³o¿yæ kratê wylotu powietrza. Ustaliæ i wyeliminowaæ przyczynê. Ponownie nastawiæ wy³¹cznik bezpieczeñstwa, odblokowuj¹c Przed uruchomieniem nale¿y upewniæ siê, ¿e kurtyna powietrzna i przewód sieciowy s¹ prawid³owo czarny przycisk z boku wy³¹cznika zgodnie z poni¿szym opisem.


