Table des Matières
Publicité
Liens rapides
USA office: Fontana
AUS office: Truganina
GBR office: Ipswich
If you're having difficulty, our friendly
customer team is always here to help.
FRA office: Saint Vigor d'Ymonville
USA:cs.us@costway.com
AUS:cs.au@costway.com
GBR:cs.uk@costway.com
FRA:cs.f r @costway.com
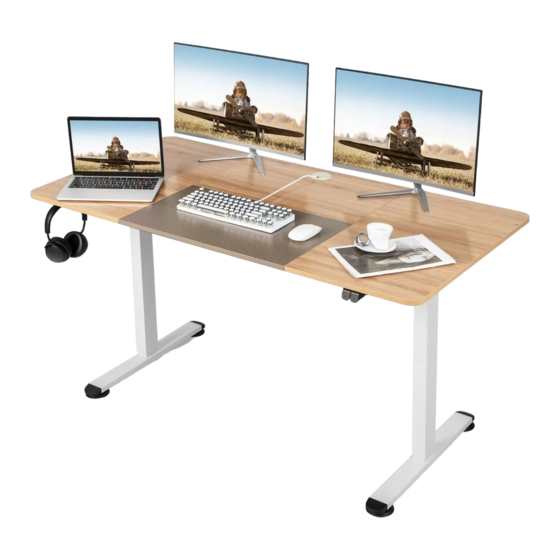
Computer Desk
Bureau d'Ordinateur
JV10677
THIS INSTRUCTION BOOKLET CONTAINS IMPORTANT SAFETY INFORMATION. PLEASE READ AND KEEP FOR FUTURE REFERENCE.
Publicité
Table des Matières

Manuels Connexes pour Costway JV10677


Sommaire des Matières pour Costway JV10677
- Page 1 GBR office: Ipswich FRA office: Saint Vigor d'Ymonville USA:cs.us@costway.com If you're having difficulty, our friendly AUS:cs.au@costway.com customer team is always here to help. GBR:cs.uk@costway.com THIS INSTRUCTION BOOKLET CONTAINS IMPORTANT SAFETY INFORMATION. PLEASE READ AND KEEP FOR FUTURE REFERENCE. FRA:cs.f r @costway.com...
-
Page 2: Before You Start
Before You Start Please read all instructions carefully. Retain instructions for future reference. Separate and count all parts and hardware. Read through each step carefully and follow the proper order. We recommend that, where possible, all items are assembled near to the area in which they will be placed in use, to avoid moving the product unnecessarily once assembled. -
Page 3: Important Safeguards
IMPORTANT SAFEGUARDS Parts List/Liste des Pièces Read these instructions carefully and retain them for future use. When using the product, basic safety precautions should always be followed to reduce the risk of injury including the following: ●Unpack all hardware bags and components to ensure you have all the Lift column Lift column Base... -
Page 4: Assembly Steps/Étapes De L'assemblage
Assembly steps/Étapes de l’Assemblage Turn two of the frames for the (J) M6 screws, using the provided (M) 1.1 Connect the ①board and the ② board with wooden pins. Then spanner. connect ③ and ④ to the ① and ② tables with wooden pins. Notice: Note: 1. - Page 5 Pay attention to side bracket direction /Faites attention prohibited à la direction remove des supports /Interdit latéraux d'enlever Then install the two (E) side brackets with (J) M6 screws, using the Assembling frame tightened with (J) M6 screws, using the (M1) provided (M1) spanner.
- Page 6 Same side /Même côté Put the (J) M6 screws into the middle crossbar, but not to tighten them, using the provided (M1) spanner. Placez les vis (J) M6 dans la traverse centrale, mais sans les serrer, à l'aide de la clé fournie (M1). 5.1 Lay the table board on a flat surface and put the table shelf on it.
- Page 7 The hand controller is fastened to the table with (L) self-tapping screws, using the provided (M2) screwdriver. Tightened La commande manuelle est fixée à la table à l'aide de (L) vis de /Serré taraudage, en utilisant le tournevis (M2) fourni. On the card slot/Sur la fente de la carte 8.1 As shown in Figure 1, insert the hexagonal bar into the table leg B until the buckle is not visible.
- Page 8 Operational instructions/Instructions d’Utilisation Notice: please preload all the screws into the holes first and then fasten them up. /Remarque : veuillez d'abord pré-charger toutes les vis dans les trous, puis les fixer. A. Reset operation Press and hold the “ ”...
-
Page 9: Instructions De Retour / Réclamation De Dommages
A. Opération de réinitialisation Appuyez et maintenez le bouton « » jusqu'à 5 secondes après l'arrêt de la colonne de levage, la réinitialisation commence, ne relâchez pas le bouton « » à ce Return / Damage Claim Instructions moment, la colonne de levage descend lentement jusqu'à l'extrémité la plus basse, et lorsque toute la colonne de levage atteint l'extrémité...