
Sommaire des Matières pour Condair CDC
- Page 1 Condair CDC Kanalfeuchtefühler Duct humidity sensor Sonde d’humidité pour gaine INSTALLATIONSANLEITUNG INSTALLATION INSTRUCTIONS INSTRUCTIONS D’INSTALLATION...
- Page 2 électrique l’appareil des- Strom netz zu trennen. Der Wiederanschluss nected to mains only after all installation work tiné à être raccordé à le CDC. N’effec tuer le an das Stromnetz darf erst nach Fertigstellung has been completed.
-
Page 3: Technische Daten
Installation Installation Installation 1. Am vorgesehenen Ort in den Kanal ein 1. At the place of location drill a hole with a 1. Dans la gaine, percer un trou de 16 mm Loch Durchmesser 16 mm (5/8"), sowie diameter of 16mm (5/8") as well as 4 holes (5/8") à... -
Page 4: Schéma Électrique/Configuration
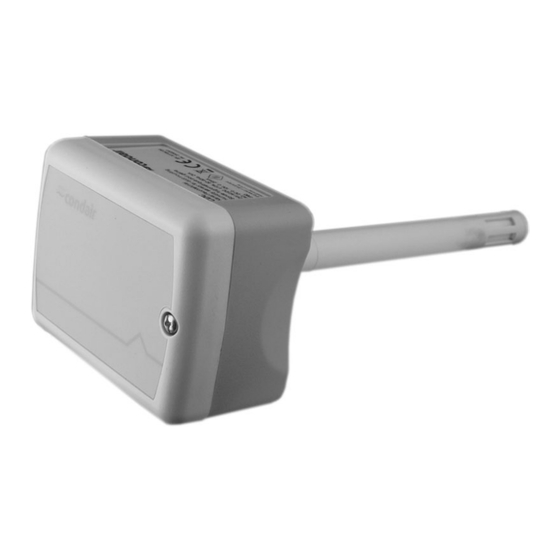
Dimensions boîtier de sonde (HxLxP) Dimensionen Sensor / Dimensions Probe / Dimensions sonde ø 14 mm x 157 mm (ø 0.55 x 6.2”) Gewicht CDC (inkl. Verpackung) / Weight CDC (including package) / 260 g (9.2 oz) Poids CDC (avec emballage) Dimensionen [mm] (") - Page 5 Jumper on JP3-5V (if a jumper is set). A la platine de puissance du Condair CP3: den Jumper auf JP3-5V (falls vorhanden) 3. Set the output signal of the CDC to “0-10V” installer un cavalier sur JP3-24 V et enlever entfernen.
- Page 6 Defensor Mk5. 2. Das Ausgangssignal des CDC mit den 2. Set the output signal of the CDC to “0-10V” 2. Régler le signal de sortie du CDC à “0-10V” Jumpern JP1 und JP3 auf dem Steuerprint using the Jumpers JP1 and JP3 on the utilisant les cavaliers JP1 et JP3 sur la des CDC auf “0-10V”...
- Page 7 Condair CP3- entfernen. 3. Set the output signal of the CDC to “0-10V” mini: installer un cavalier sur JP2 (24 V) et 3. Das Ausgangssignal des CDC mit den using the Jumpers JP1 and JP3 on the enlever le cavalier de JP1 (si présent).
- Page 9 © Condair Ltd., Printed in Switzerland Technische Änderungen vorbehalten Technical data subject to modification Sous réserve de modifications techniques...
- Page 10 CONSULTING, SALES AND SERVICE: Reg.No. 40002-2 Manufacturer: Condair Ltd. Talstrasse 35-37, 8808 Pfäffikon, Switzerland Ph. +41 55 416 61 11, Fax +41 55 416 62 62 info@condair.com, www.condair.com...