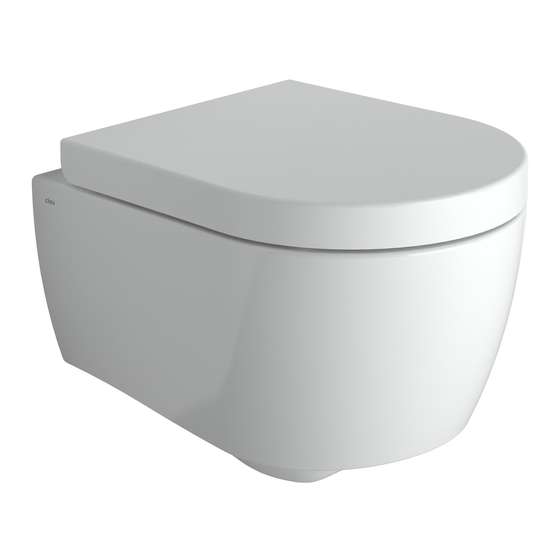
Sommaire des Matières pour clou fisrt CL/04.01040
- Page 1 48 cm b a t h f i n d i n g s CL/04.01040 Montage instructies Installation Instructions Notice de montage Montageanweisungen Dimensions in mm, for reference only / 22.01.2016 / rev_02 www.clou.nl...
- Page 2 All mentioned dimensions in this manual should be verified before executing the action. - Clou b.v. can not be held responsible for the results of improper use, improper trans- portation or any damage caused during interim storage. - The current terms of guarantee are always valid.
- Page 3 Pour d’autres finitions ou murs plus faibles, prévoir d’autres fixations et éventuellement consolider le mur si nécessaire. - Clou se réserve le droit pour tout changement technique ou optique par rapport à la photo représentant le produit. - Des changements de production peuvent faire en sorte que les dimensions affi- chées ne correspondent plus, nous vous prions de vérifier avant de procéder à...
- Page 4 Während der Installation soll verhinderd werden das harte Gegenstände die Oberfläche der Produkten beschädigen. Gebruiksvoorschriften: zie ook de onderhoudsvoorschriften op www.clou.nl User’s instructions: See also the maintenance guides at www.clou.nl Instructions d’utilisation: Voyer aussi les instructions d’entretien sur www.clou.nl Gebrauchsanweisungen: Wartungsanweisungen finden Sie auf unsere Homepage...
- Page 6 Draai de montage bussen over de draadstangen van het inbouwreservoir. Zorg ervoor dat de uitsparing aan de bovenzijde zit en dat ze 14 mm uitste- ken t.o.v. de muur. Rotate the mounting bushes onto the threaded rods of the built-in cistern. Ensure that the recess is on the upper side and that there’s a distance of 14 mm between the bushes and the wall.
- Page 7 Plaats de fixatie geleiding op de metalen montage buis. Zorg ervoor dat het plastic pinnetje van de fixatie geleiding in het gat zit van de montage buis. Plaats vervolgens de bout in de fixatie geleiding. Rotate the fixing guide onto the metal as- sembly pipe.
- Page 8 Plaats het toilet over de montage bussen. Klem de toe- en afvoerbuizen van het inbouwreservoir vast. Place the toilet over the mounting bushes. Securely clamp the supply pipe and the drain pipe of the in- built cistern. Placez la cuvette sur les douilles de montage.
- Page 9 Monteer de toiletzitting en deksel. Install the toilet seat and cover. Montez la lunette et le cou- vercle. Montieren Sie WC-Sitz und Deckel. Duw beide plastic bescher- mingsschijven tegen de schar- nierpinnen. Push both plastic protection discs against the hinge pens. Poussez les deux disques de protection en plastique contre les chevilles de charnière.
- Page 10 Draai de scharnierpinnen vast d.m.v. de schroef en de montage manchet. Zorg ervoor dat je de scharnierpinnen handmatig nog kunt verdraaien. Turn the hinge pens until secure using the screw and the assembly closure ring. Ensure that you can still turn the hinge pens manually.
- Page 11 Controleer of het geheel goed uitlijnt met het toilet. Check whether this lines up with the contours of the toilet. Contrôlez que le tout est bien aligné par rapport à la cuvette. Kontrollieren Sie, dass WC- Sitz und Deckel korrekt auf das Toilettenbecken ausge- richtet sind.
- Page 12 Draai de scharnierpinnen stevig vast. Turn the hinge pens until se- cure. Vissez fermement les chevilles de charnière. Drehen Sie die Scharnierstifte gut fest. Plaats de afdekkapjes over de scharnierpinnen en plaats ver- volgens de toiletzitting en dek- sel over de scharnierpinnen. Place the covering caps over the hinge pens and then install the toilet seat and the cover...
- Page 16 Clou bv Thermiekstraat 1 NL-6361 HB Nuth T +31 (0)45 524 56 56 F +31 (0)45 524 60 00 info@clou.nl www.clou.nl...


