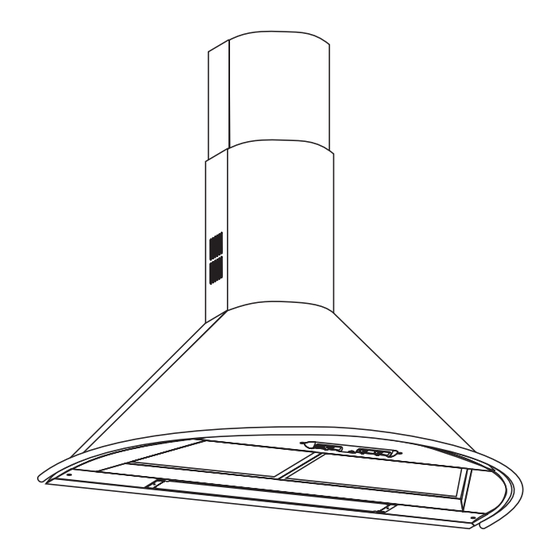
Sommaire des Matières pour ROBLIN Dune Murale 900
- Page 1 Istruzioni per l'uso Operating Instructions Mode d'emploi Bedienungsanleitung Gebruiksaanwijzing Manual de instrucciones Manual de instruçòes Dune Murale 900...
- Page 2 Italiano ............ pag. 3 English ............ pag. 7 Français ............ pag. 11 Deutsch ............ pag. 15 Nederlands ............ pag. 19 Español ............ pag. 23 Portuguêz ............ pag. 27...
-
Page 3: Installation Instructions
INSTALLATION INSTRUCTIONS Part 1 1 - GENERAL INFORMATION This canopy hood is designed to be fixed to any rigid vertical surface, over a gas or electric hotplate and can be used either in the extraction mode (ducted to the outside) or in the recircu-lation mode (internal recycling). - Page 4 4.1 - Fixing the wall brackets (fig. 2a-b): 1 - Draw a vertical line on the wall, from the centre of the cooking appliance up to the ceiling, using a marking pen. This is to ensure the correct vertical alignment of the wall fixing brackets. 2 - Fixing the wall brackets item 1 a - put the bracket I to the wall, aligning its marked centre across the vertical line, ensuring that the distance between the centres of the holes and the cooking area ia as follows:...
- Page 5 2 - Recirculation fitting a - The filtered air is returned to the room through the two side grilles on the U-shaped lower section I, which are either formed in the metal itself (bottom position fig. 5). b - Fit the recirculation spigot item R into the round outlet on top of the canopy while pressing down on the spigot until it snaps into position.
-
Page 6: Metal Grease Filters
3.1 - Metal grease filters 1 - Cleaning The metal grease filter should be cleaned every two months with normal usage and can be cleaned in a dishwasher or by hand using a mild detergent or liquid soap. 2 - Replacement Remove the filters one at a time, pushing the handle towards the rear of the hood (fig. -
Page 7: Generalites
INSTRUCTIONS POUR L’INSTALLATION 1ère Partie 1 - GENERALITES Cette hotte est destinée à être installée au mur, au dessus d’un plan de cuisson. Elle peut être utilisée en version évacuation (raccordement extérieur) ou recyclage (recyclage interne). A cause de la complexité... -
Page 8: Connexion Évacuation Ou Recyclage
2 - Positionnement des brides 1: a - Placez la bride 1 sur le mur, en alignant son centre sur la ligne verticale, à une distance entre l’axe de ses trous et le plan de cuisson de: 1 - avec pannea d = 287 mm + H, où H = hauteur en mm de la partie visible du pan-neau. Cette cote, à cause des différents types de panneaux disponibles, doit être mesurée directement sur le panneau en dotation. -
Page 9: Utilisation
d - Ajoutez les éventuels filtres à charbon actif à l’intérieur du corps de hotte (voir paragraphe 3.3 2 partie 2 4.5 - Montage de la cheminée téléscopique (fig. 6) a - Pour appliquer la demi-cheminée supérieure S, élargissez légèrement les deux pans latéraux, accrochez-les derrière les brides 2 et refermez-les jusq’à... -
Page 10: Filtres À Charbon Actif
3.2 - Filtres à charbon actif 1 - Fonctionnement Les filtres à charbon actif ont la capacité de retenir les odeurs jusqu’à saturation. Ils ne sont pas lavables et ne peuvent être régénérés; par conséquence, ils doivent être changés tous les quatre mois ou plus souvent, selon la fréquence d’utilisation. - Page 15 Slide Switches 1 2 3 3.15 µF 400V Br / P...
- Page 16 Dir. 89/336/CEE 73/23/CEE 4329139 02 - 1198...


