Publicité
Liens rapides
Publicité

Manuels Connexes pour Songmics VASAGLE BBK163


Sommaire des Matières pour Songmics VASAGLE BBK163
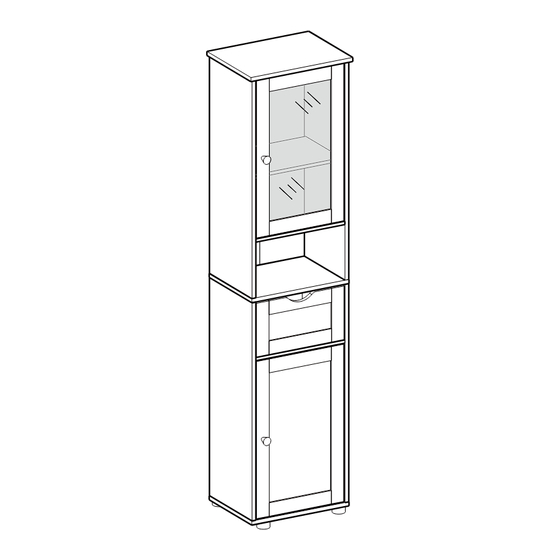
- Page 1 BBK163 104688S...
- Page 2 General Guidelines Please read the following instruction carefully and use the product accordingly. Ÿ Please keep this manual and hand it over when you transfer the product. Ÿ This summary may not include every detail of all variations and considered steps. Please contact us when further information and help are needed. Ÿ...
- Page 3 Prüfen Sie regelmäßig den festen Sitz der Schrauben. Falls notwendig, sollten Sie die Schrauben nachziehen. Ÿ Wischen Sie verschüttetes Wasser oder andere Flüssigkeiten auf dem Produkt sofort mit einem trockenen Tuch ab. Ÿ Das Produkt darf nicht mit scharfen Gegenständen oder aggressiven chemischen Substanzen in Kontakt kommen, da es ansonsten zu Beschädigungen der Ÿ...
- Page 4 Note Il prodotto è inteso solo per uso domestico. Il prodotto deve essere assemblato o utilizzato in stretta conformità con le istruzioni. Infortuni personali e/o danni al Ÿ prodotto potrebbero verificarsi nel caso in cui il prodotto venisse utilizzato al di fuori degli scopi indicati e/o ne venga modificato il design originale. Il venditore non si assume alcuna responsabilità...
- Page 5 Algemene Richtlijnen Gelieve de handleiding na te lezen en het product zo te gebruiken. Ÿ Gelieve de handleiding bi jte houden, en bij verkoop mee te geven. Ÿ Deze samenvatting bevat mogelijks niet alle variaties en stappen. Gelieve contact op te nemen indien u meer informatie of hulp nodig hebt. Ÿ...
- Page 6 Varning Barn får inte montera produkten. Håll alla små delar utom räckhåll för barn under montering eftersom de kan vara livsfarliga om de sväljs eller inandas. Ÿ Det är förbjudet för barn att klättra eller leka på produkten för att undvika allvarlig kroppsskada orsakad av vältning. Ÿ...
- Page 7 × 1 × 2 × 1 × 1 × 1 × 1 × 1 × 1...
- Page 8 × 1 × 1 × 2 × 1 × 1 × 1 × 1 × 1...
- Page 9 × 1 × 1...
- Page 10 × 12 × 12 × 8 × 16 × 8 × 2 × 2 × 2 × 2 × 4...
- Page 11 × 2 × 16 × 4 × 1 × 2 × 1 × 1 × 1...
- Page 13 Tools Required: Perno Bolt Bolzen Bout Bult Boulon Boulon Wkręt Connecting piece Adjust connecting piece direction until it is properly lined up Insert bolt when connecting piece direction is properly lined Verbindungsbeschlag with the hole. Pièce de raccord Stellen Sie den Verbindungsbeschlag so ein, dass er wie im Setzen Sie erst dann den Bolzen ein.
- Page 14 Tips / Hinweise / Notes / Suggerimenti / Sugerencias / Tips / Tips / Porady If there is any damage after unpacking or you have any questions during assembly, please feel free to contact us at Ÿ your earliest convenience. Our customer care team provides professional returns or exchanges as well as assembly guidance.
- Page 15 × 4...
- Page 16 × 4 × 4...
- Page 17 × 4 × 4...
- Page 18 × 4 × 4...
- Page 19 × 4 × 4...
- Page 21 × 4 × 4 × 4...
- Page 22 × 4...
- Page 23 × 4...
- Page 24 × 4...
- Page 25 Mount the hinge (No. 118) on the door (L) with the corresponding screws. Ÿ Montieren Sie das Scharnier (Teil 118) mit den zugehörigen Schrauben an der Tür L. Ÿ Montez la charnière (pièce 118) sur la porte L avec les vis correspondantes. Ÿ...
- Page 26 Mount the hinge (No. 118) on the door (M) with the corresponding screws. Ÿ Montieren Sie das Scharnier (Teil 118) mit den zugehörigen Schrauben an der Tür M. Ÿ Montez la charnière (pièce 118) sur la porte M avec les vis correspondantes. Ÿ...
- Page 27 Insert the plastic pivots (No. 119) into the holes at the front corners of the top and bottom panels. Ÿ Stecken Sie die Verbindungstücke (Teil 119) in die Löcher an den vorderen Ecken der Ober- und Unterplatte. Ÿ Insérez les raccords (pièce 119) dans les trous indiqués sur l’image. Ÿ...
- Page 28 Insert the top hinges (No. 118) into the plastic pivots (No. 119) on the top panel. Then insert the bottom hinges into the corresponding pivots (No. Ÿ 119) on the bottom panel. Stecken Sie die Tür mit dem Scharnier oben (Teil 118) in das passende Verbindungsstück (Teil 119) an der Unterseite der Oberplatte. Stecken Sie Ÿ...
- Page 29 Then fix the hinges to the doors with the corresponding screws. Ÿ Befestigen Sie dann das Scharnier mit den Schrauben an der Tür. Ÿ Fixez ensuite les charnières aux portes à l'aide des vis. Ÿ Poi fissare le cerniere alle ante con le viti corrispondenti. Ÿ...
- Page 30 × 8...
- Page 31 × 4...
- Page 32 × 4...
- Page 33 × 4...
- Page 34 × 16...
- Page 35 × 2 Version QM:1.0 EUZIEL International GmbH Stand:25.10.2021...