
Manuels Connexes pour peerless-AV ACC120

Sommaire des Matières pour peerless-AV ACC120
- Page 1 ACC120 300 lb (136 kg) ČEŠ TÜR 2018-02-01 #:092-9003-2 (2019-03-27)
- Page 2 WARNING ENG - This product is designed to be installed on wood joist/beam ceilings. Hardware is included for wood joist/ beam installation. Before installing make sure the supporting surface will support the combined load of the equipment and hardware. Screws must be tightly secured. Do not overtighten screws or damage can occur and product may fail.
- Page 3 VÝSTRAHA ČEŠ - Tento výrobek je určen pro montáž na stropy s dřevěnými nosníky/trámy. Je dodán společně s upevňovacím materiálem pro instalaci na stropy s dřevěnými nosníky/trámy. Před instalací se ujistěte, že nosná plocha unese kombinované zatížení zařízení a technického vybavení. Šrouby musí být pevně zajištěny. Šrouby příliš...
- Page 4 Symbols Símbolos Symboles Symbole Symbolen WARNING Simboli ADVERTENCIA ČEŠ Symboly Skip to step. ADVERTISSEMENT Symboly Continúe con el ACHTUNG Símbolos paso. WAARSCHUWING Semboller TÜR Passez à l’étape. AVVERTENZA Weiter mit Schritt. VÝSTRAHA ČEŠ Ga door naar stap. VÝSTRAHA Vai al passo. AVISO ČEŠ...
- Page 5 Tools Needed for Assembly. Herramientas necesarias para el ensamblaje. Outils nécessaires au montage. To properly tighten screws: Tighten until screw Für den Zusammenbau erforderliche Werkzeuge. head makes contact, then tighten another 1/2 Voor montage benodigd gereedschap. turn. Do not overtighten screws. Attrezzi necessari per l’assemblaggio.
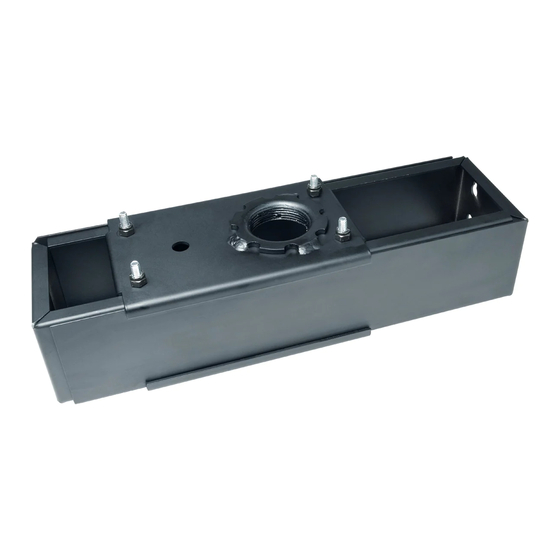
- Page 6 Parts (Before beginning, make sure you have all parts shown below). Piezas (antes de iniciar, asegúrese de tener todas las piezas siguientes). Pièces (avant de commencer, assurez-vous d’avoir toutes les pièces illustrées ci-dessous). Teile (Achten Sie vor Beginn der Arbeiten darauf, dass alle unten abgebildeten Teile vorhanden sind). Onderdelen (hoort u zich ervan te overtuigen dat u alle onderdelen hebt, die hieronder te zien zijn).
- Page 7 C (2) 2018-02-01 #:092-9003-2 (2019-03-27)
- Page 8 Hand tighten. Apriete a mano. E (4) Serrer à la main. Handfest anziehen. Draai met de hand aan. Serrare a mano. ČEŠ Dotáhněte rukou. Utiahnite rukou. Aperte à mão. Elle sıkıştırılabilir. TÜR C (2) D (4) 2018-02-01 #:092-9003-2 (2019-03-27)
- Page 9 Hand tighten. Apriete a mano. D (4) Serrer à la main. Handfest anziehen. Draai met de hand aan. Serrare a mano. ČEŠ Dotáhněte rukou. Utiahnite rukou. Aperte à mão. Elle sıkıştırılabilir. TÜR C (2) E (4) 2018-02-01 #:092-9003-2 (2019-03-27)
- Page 10 This page intentionally left blank. Página en blanco. Cette page a été laissée en blanc intentionnellement. Diese Seite wurde absichtlich freigelassen. Deze pagina is met opzet blanco gelaten. Pagina lasciata intenzionalmente vuota. Tato strana je záměrně prázdná. ČEŠ Táto strana je zámerne prázdna. Esta página foi intencionalmente deixada em branco.
- Page 11 WARNING ENG - When installing Peerless ceiling mounts on a wood joist/beam covered with gypsum board (drywall), verify that the joists or beams are a minimum of 2" x 4" nominal size. Do not install over gypsum board thicker than 5/8". ADVERTENCIA ESP - Cuando vaya a instalar soportes de techo de Peerless en viguetas / vigas de madera recubiertas con yeso-cartón (gypsum board) verifique que todos las viguetas / vigas tengan un tamaño mínimo de 2"...
- Page 12 Mark mounting holes. Marque los orificios de montaje. Marquez les trous de fixation. Markieren Sie die Montagelöcher. Markeer montagegaten. Contrassegna I fori di montaggio. ČEŠ Vyznačte montážní otvory. Vyznačte montážne otvory. Marque os furos de montagem. Montaj deliklerini işaretleyin. TÜR 2 1/4"...
- Page 13 1/2" 2" (13mm) (51mm) 2" 1/2" (51mm) (13mm) Align Alinear Aligner Ausrichten Op één lijn zetten Allineare ČEŠ Vyrovnejte Zarovnať Alinhar Hizala TÜR 3/4" (19mm) 1/8" 1/8" (3mm) (3mm) Drill mounting holes into supporting surface (3/4" (19mm) minimum depth required). Taladre los agujeros de montaje en la superficie de apoyo;...
- Page 14 F (4) 1/4" (6mm) Install using wood screws provided. Nivele e instale. Mettez à niveau et procédez au montage. Waagerecht ausrichten und anbringen. Installeer de schroeven waterpas. Livella e installa. Vyrovnejte a namontujte. ČEŠ Vyrovnajte a namontujte. Nivelar e instalar. Dengeleyin ve takın.
- Page 15 Tighten. Apretar. F (2) Serrer. Anziehen. Aandraaien. Stringere. Utáhněte. ČEŠ Utiahnite. Apertar. Sıkmak. TÜR Maximum 80 in. • lb (9 N.M.). Máxima 80 in. • lb (9 N.M.). Maximum 80 in. • lb (9 N.M.). Maximum 80 in. • lb (9 N.M.). Maximaal 80 in.
- Page 16 2b-4 Tighten. Apretar. 3/8" Serrer. (10mm) Anziehen. Aandraaien. Stringere. Utáhněte. ČEŠ Utiahnite. Apertar. Sıkmak. TÜR Sold separately. Vendidos por separado. Vendu séparément. Separat verkauft. Apart verkocht. Venduto a parte. Prodává se samostatně. ČEŠ Predáva sa samostatne. Vendido em separado. Ayrıca satılır. TÜR 2018-02-01 #:092-9003-2...
- Page 17 (from date of the original installation of the product). At its option, Peerless-AV will repair or replace, or refund the purchase price of, any product which fails to conform with this warranty.
- Page 18 (dalla data dell’installazione originale del prodotto). A sua discrezione, Peerless-AV sostituirà o riparerà, o restituirà il prezzo pagato se il prodotto non è conforme a questa garanzia.
- Page 19 (a partir da data da primeira instalação do produto). A seu critério, a Peerless-AV reparará ou substituirá (ou reembolsará o preço de compra de) qualquer produto que não esteja em conformidade com esta garantia.
- Page 20 Peerless-AV Peerless-AV Europe Peerless-AV de Mexico 2300 White Oak Circle Unit 3 Watford Interchange, Ave de las Industrias 413 Aurora, IL 60502 Colonial Way, Watford, Herts, Parque Industrial Escobedo Email: tech@peerlessmounts.com WD24 4WP, United Kingdom Escobedo N.L Mexico 66062 Ph: (800) 865-2112...